
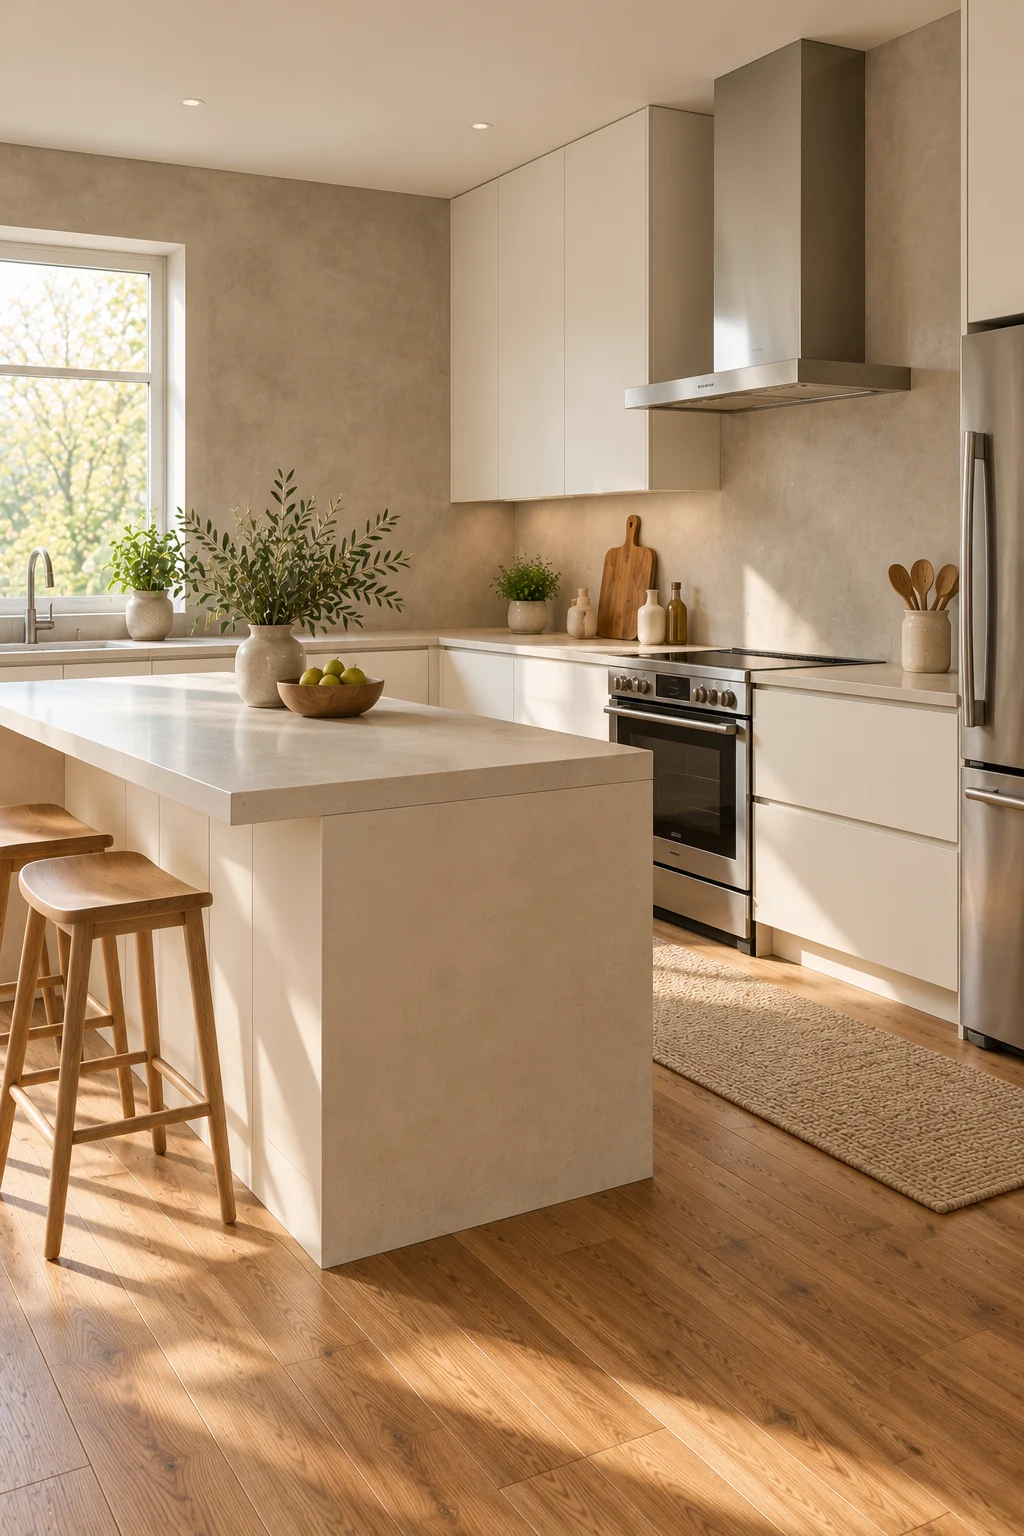
17 Microcement Kitchen Ideas for a Modern Textured Interior
A modern kitchen can sometimes feel too uniform when every surface is smooth and highly polished. Microcement introduces a subtle mineral texture that creates depth while maintaining the clean appearance associated with contemporary interiors.
This finish can be used on selected walls, backsplashes, islands, and other suitable surfaces, depending on the product and installation system. Its seamless appearance is particularly appealing to homeowners who prefer understated materials over decorative patterns.
These 17 microcement kitchen ideas explore ways to combine the finish with wood, cabinetry, countertops, lighting, and practical kitchen layouts. Before choosing a location, confirm that the specific system is suitable for the surface and the conditions it will face.
1. Choose a Warm Gray Microcement Kitchen
Warm gray microcement creates a restrained contemporary foundation. Its subtle surface variation adds character without relying on strong colors or visible tile patterns.
Pair the finish with simple white or beige cabinetry and natural wood accents. The combination can feel modern while remaining comfortable and approachable for everyday use.
Choose a shade that complements the existing flooring and countertop. Avoid selecting a gray with undertones that clash with the warmer materials in the room.
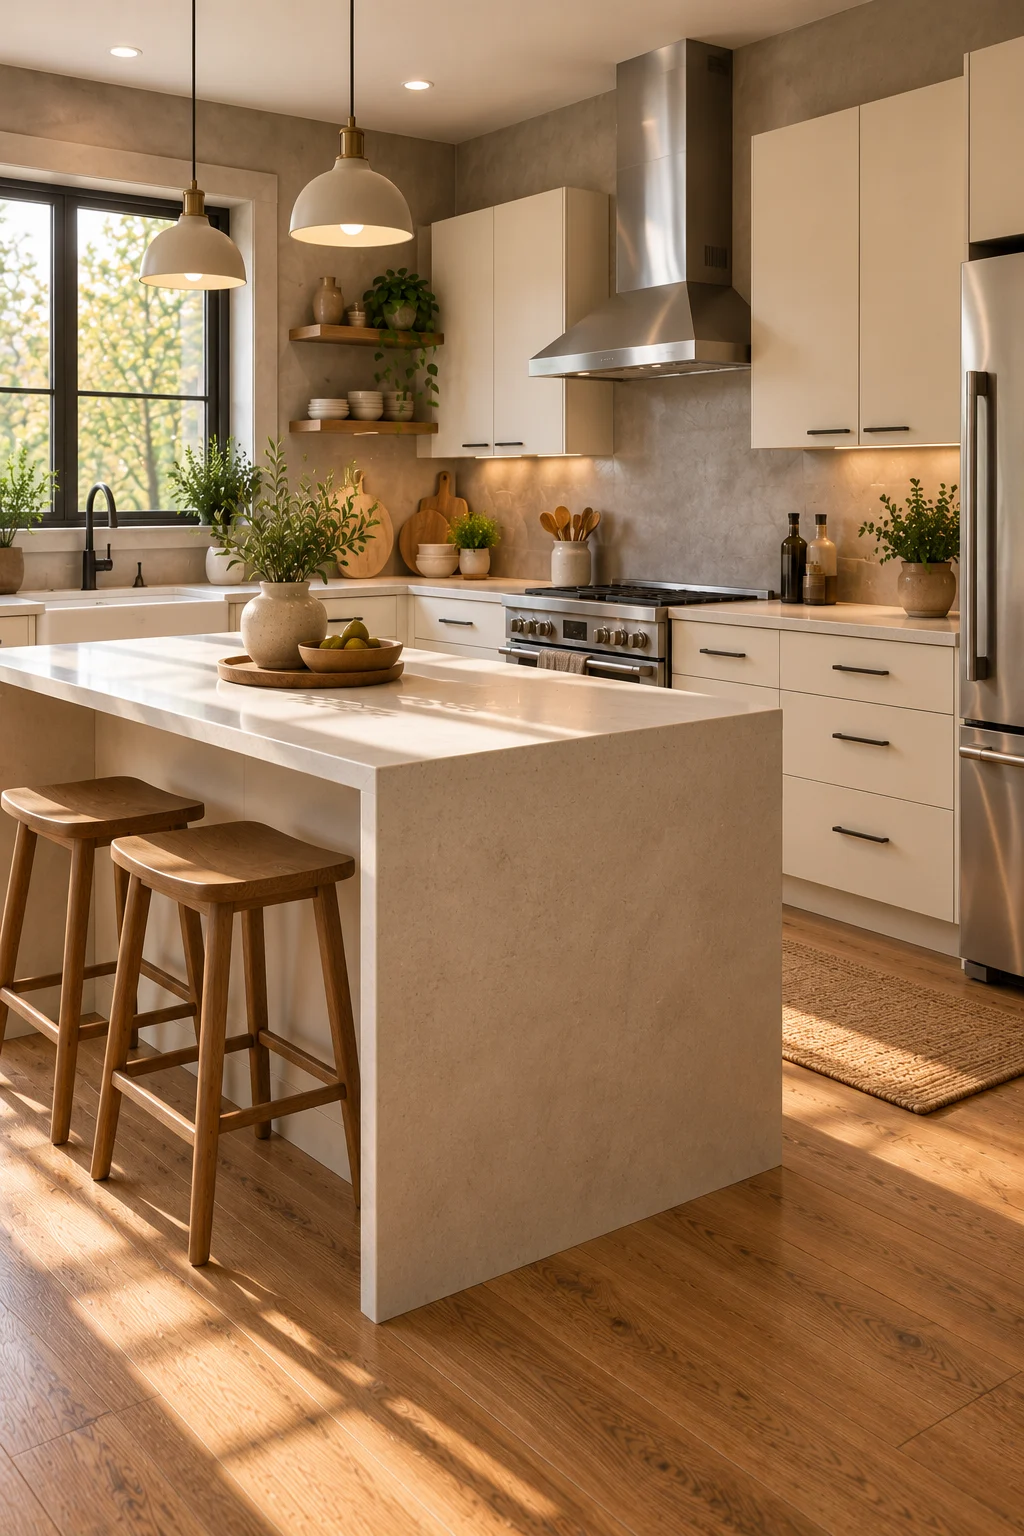
2. Use Microcement on a Kitchen Backsplash
A microcement backsplash can create a continuous visual surface without the grout lines associated with conventional tile. Its restrained texture works well in contemporary kitchens with simple cabinet fronts.
Choose a system specifically suitable for backsplash conditions and follow the manufacturer’s requirements for water resistance, sealing, and cleaning. A warm gray or sandy beige finish can complement both painted cabinetry and natural wood.
Keep the surface easy to access for routine cleaning. Avoid assuming that every microcement product is automatically waterproof or suitable for direct exposure to heat and frequent splashing.

3. Create a Seamless-Look Kitchen Island
A microcement-finished island can become a sculptural focal point through its simple shape and continuous-looking surface. The restrained finish suits contemporary kitchens where clean lines are more important than decorative detailing.
Choose a suitable system designed for the island’s substrate and intended use. Coordinate the island with simpler cabinetry and a countertop or work surface compatible with the cooking and preparation tasks planned for it.
The underlying construction and protective finish are essential to durability. Avoid applying microcement directly to an unsuitable or unstable surface without the required preparation and system components.
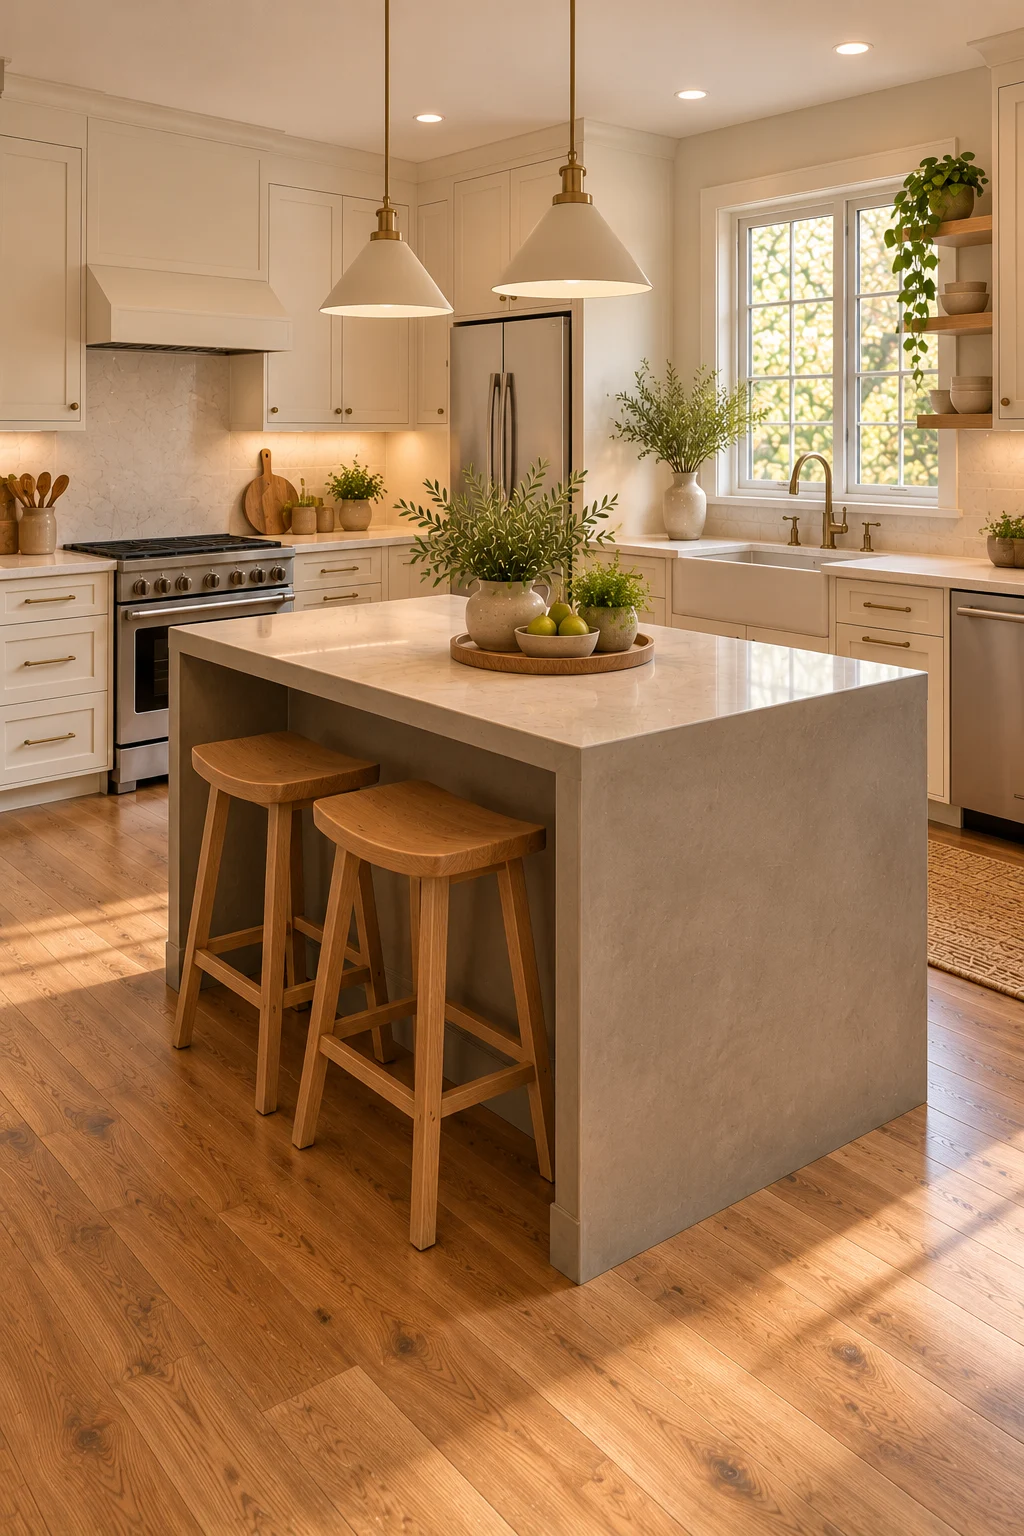
4. Pair Microcement With Natural Oak Cabinets
Natural oak softens the understated character of microcement. The wood grain creates a warm contrast against the mineral finish and helps the kitchen feel less industrial.
Use oak for lower cabinets, a pantry section, or a few open shelves. Warm gray, sand, and pale taupe microcement tones generally provide a flexible backdrop for natural wood.
Keep the wood finish consistent across the main elements. Avoid introducing several unrelated timber colors, especially if the microcement already has noticeable tonal variation.

5. Choose a Sandy Beige Microcement Finish
Sandy beige microcement creates a warmer interpretation of contemporary kitchen design. Its earthy tone complements natural wood, cream cabinetry, and muted green accents.
Choose a finish with subtle variation rather than a highly dramatic mottled effect if you prefer a calm interior. Pair it with pale countertops and simple cabinet fronts to let the texture remain visible without dominating the room.
Compare samples under the kitchen’s natural and artificial lighting. Avoid choosing a beige that clashes with the undertones of the existing flooring or cabinets.

6. Combine Microcement With Matte Black Hardware
Matte black hardware gives a microcement kitchen clear definition. The contrast works particularly well with pale gray or beige walls and simple flat-panel cabinetry.
Choose straightforward handles, a suitable faucet, and restrained lighting details in a coordinated finish. The black accents can outline the cabinetry without adding another decorative color.
Keep the amount of dark metal balanced against the lighter surfaces. Avoid using black on every major element if the kitchen is small or receives limited daylight.
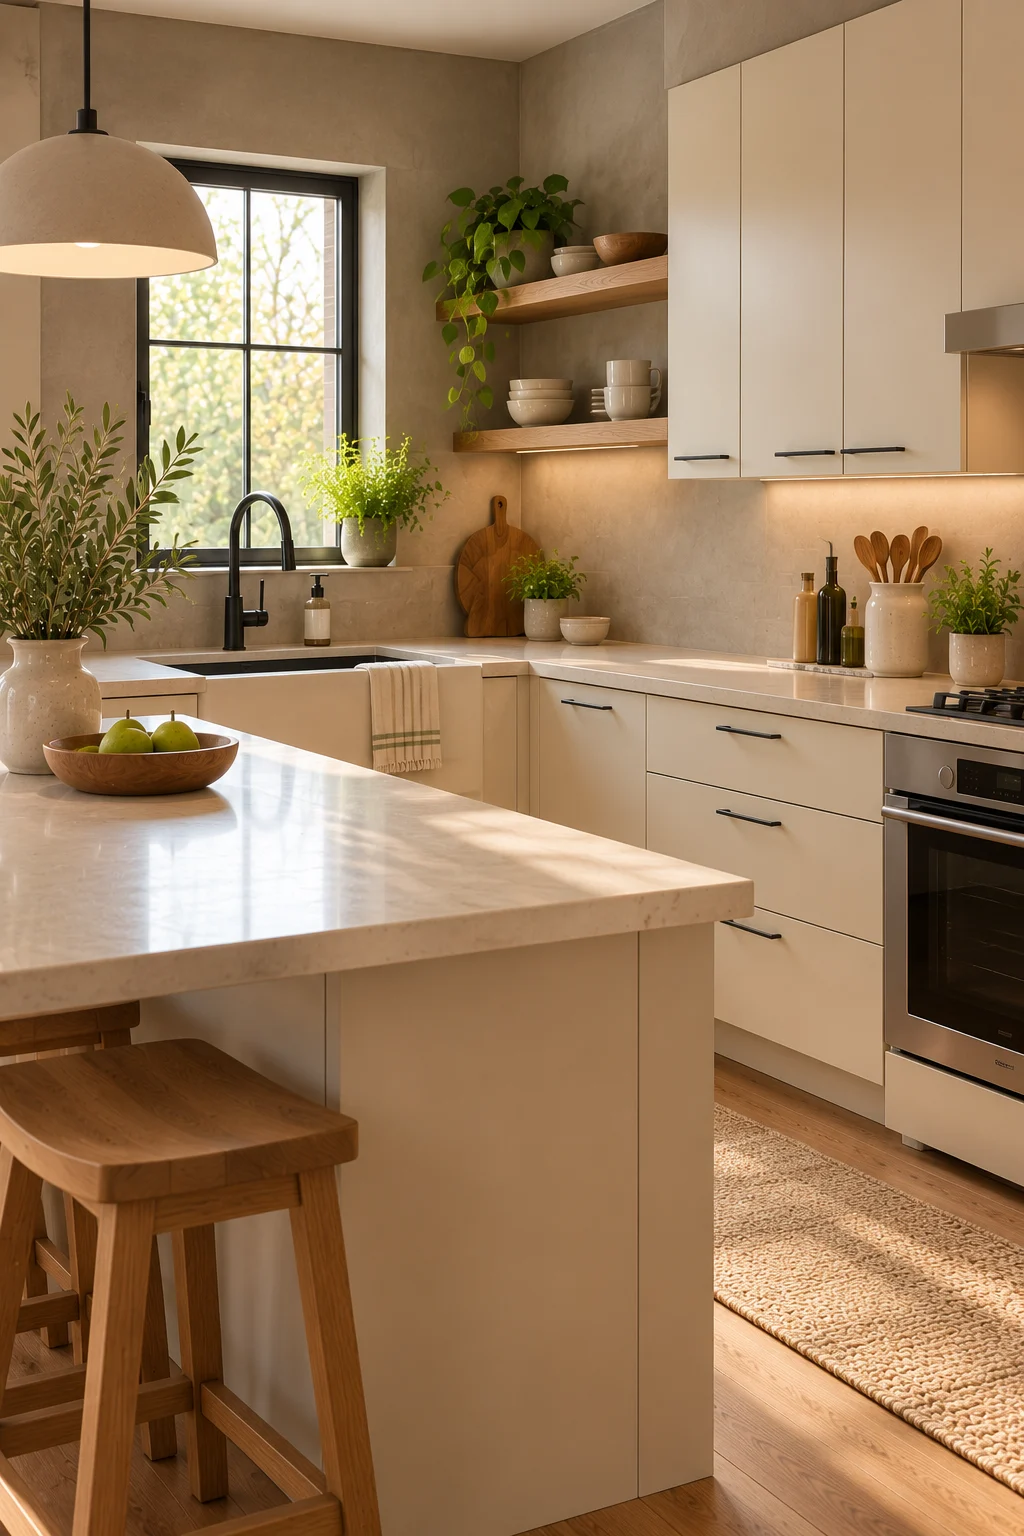
7. Use Microcement to Create a Minimalist Kitchen
Microcement suits minimalist kitchens because it provides surface texture without introducing a visible tile pattern. A restrained palette and simple cabinetry allow the material to become the main source of visual interest.
Choose a limited combination of colors, such as warm gray, pale oak, and soft white. Keep hardware discreet and leave the countertops clear enough for everyday preparation.
Avoid confusing minimalism with a lack of storage. The kitchen still needs practical places for cookware, food, and appliances, even when the visible design is simple.
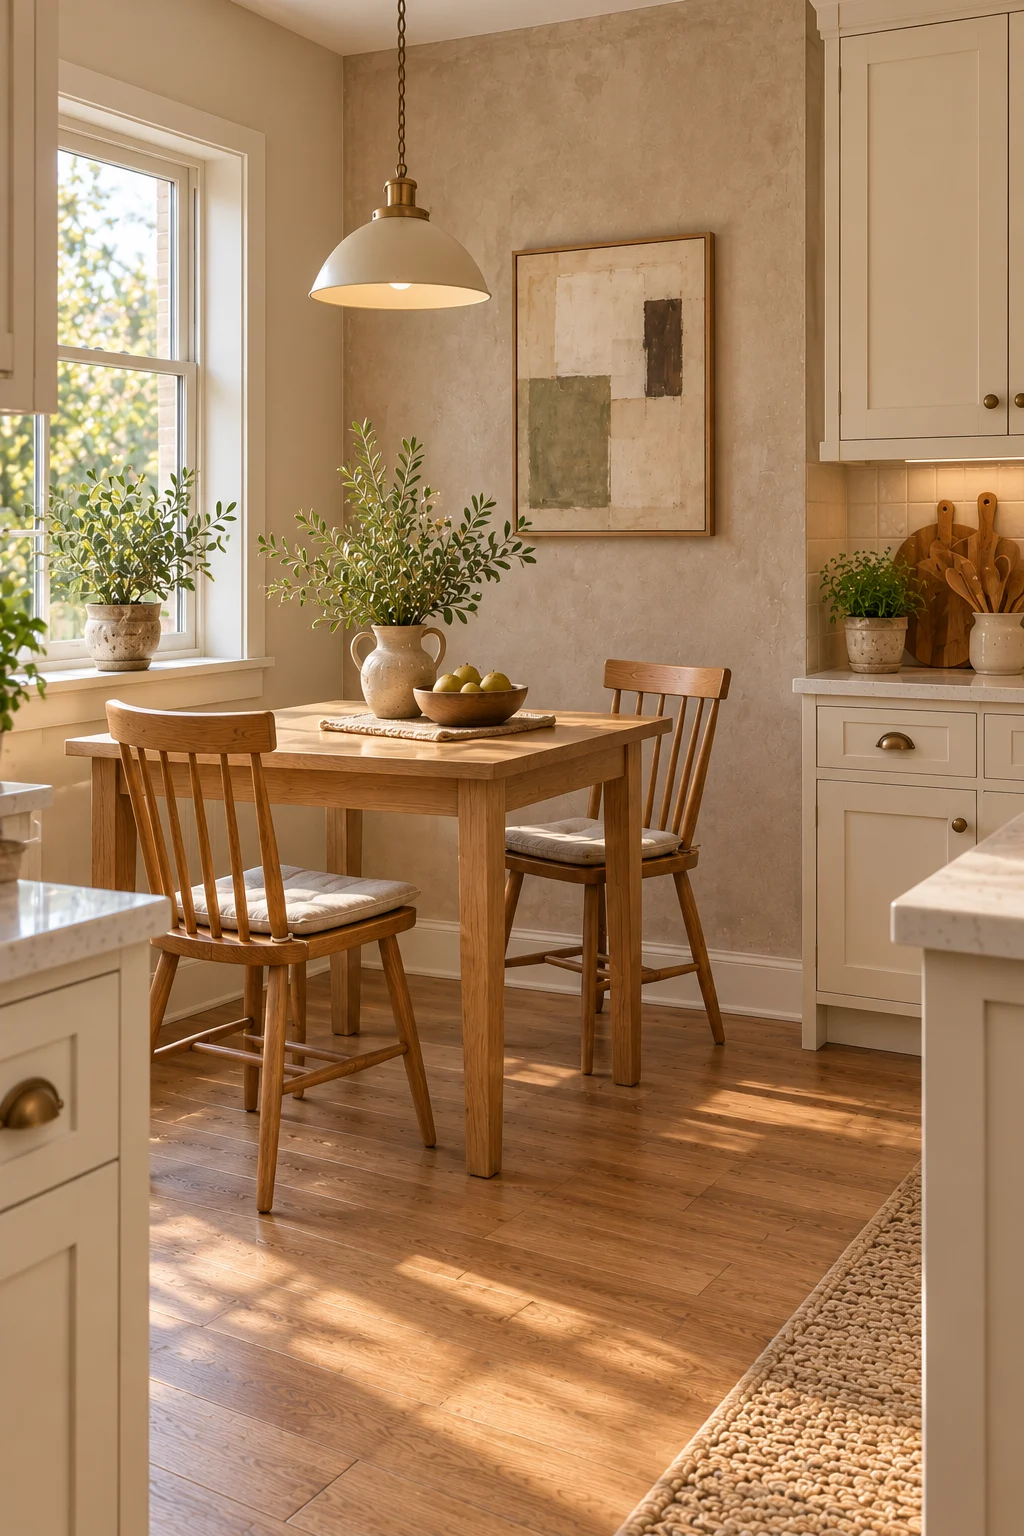
8. Add Microcement Around a Breakfast Nook
A microcement wall can give a breakfast nook a subtle architectural background. Its continuous texture contrasts with the furniture and makes the dining area feel connected to the kitchen without requiring another color or patterned wallpaper.
Choose a warm neutral finish and pair it with a compact wooden table and simple chairs. A small framed artwork can provide a personal detail if it suits the wall and remains securely mounted.
Keep the finish away from areas where it is not suitable for repeated splashing or abrasion. Avoid using a delicate decorative treatment where furniture regularly rubs against the wall.
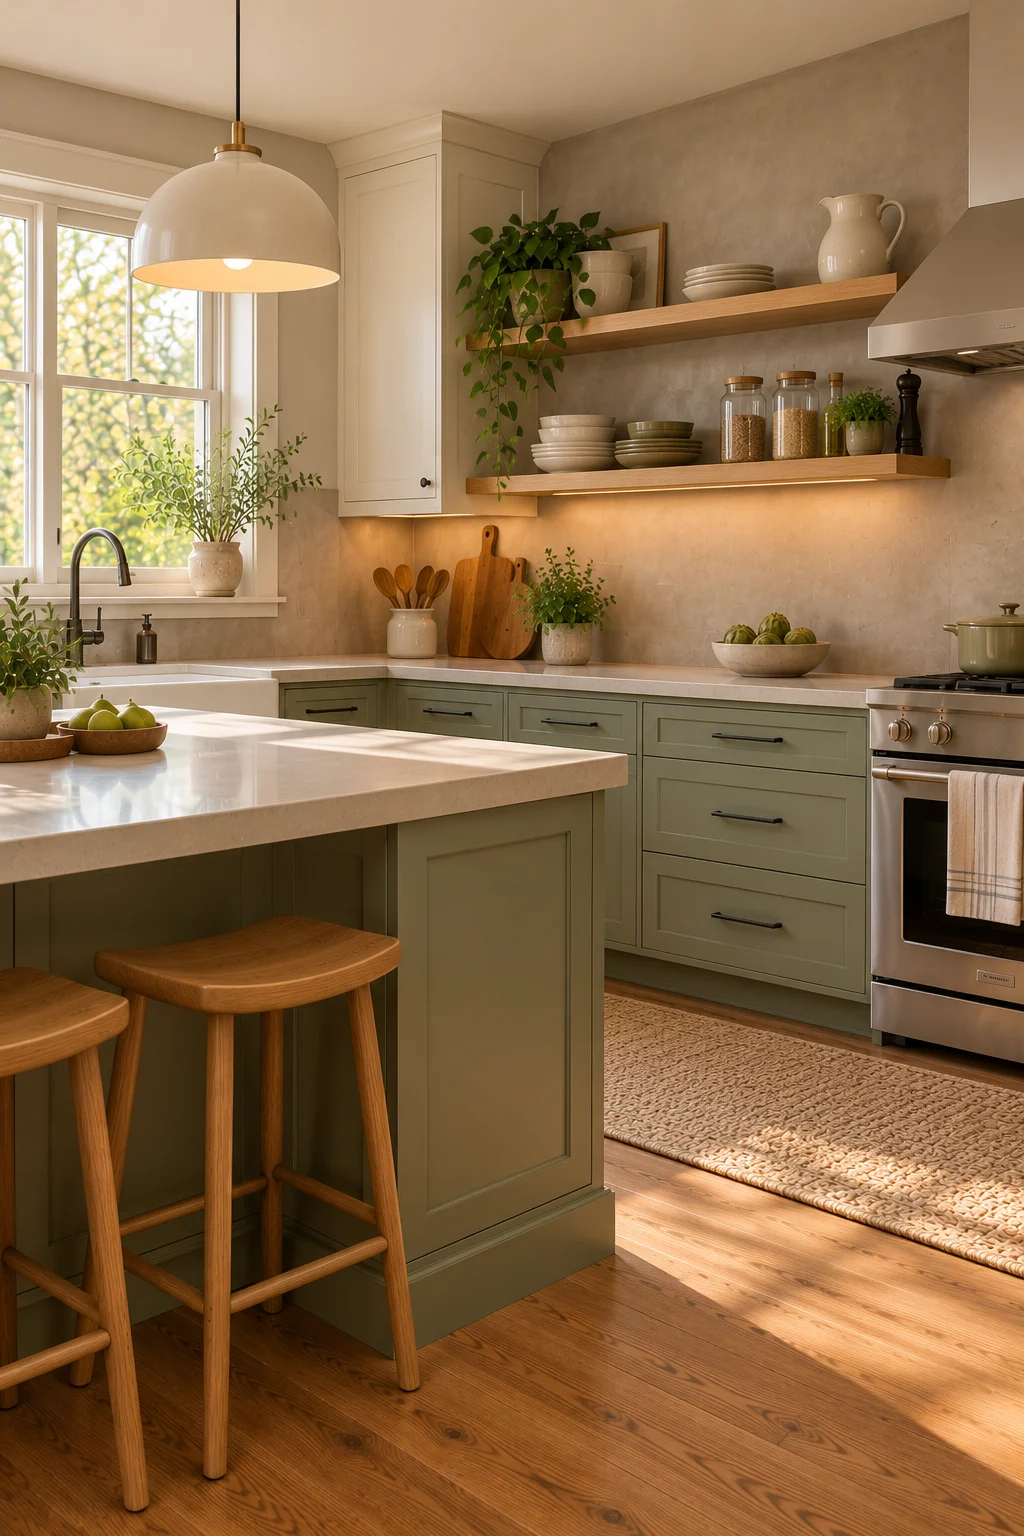
9. Combine Microcement With Muted Green Cabinets
Muted green cabinetry introduces color while preserving the understated character of microcement. Sage, gray-green, and softened olive can complement warm gray or sandy mineral finishes.
Use the green on lower cabinets or a compact island and keep the remaining surfaces simple. Natural oak and pale countertops help connect the green cabinetry with the textured walls.
Test the finishes together before committing to the full room. Avoid combining several strong colors and highly varied surface textures without a clear visual plan.
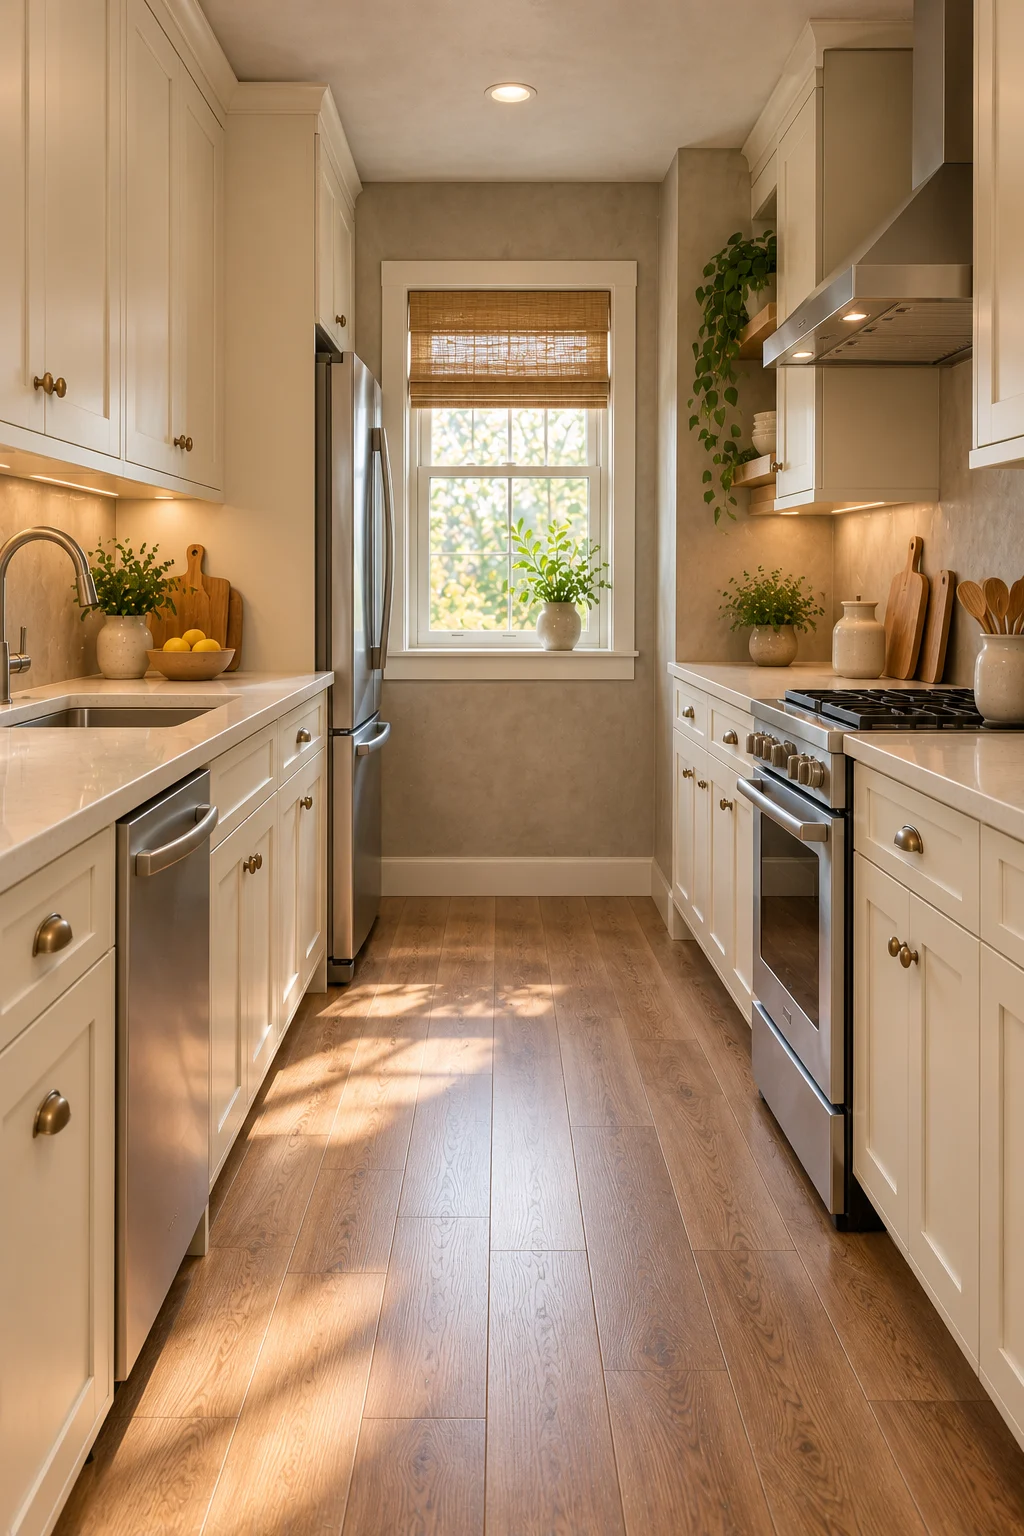
10. Use Microcement in a Compact Galley Kitchen
A continuous microcement-look wall finish can help a compact galley kitchen feel visually connected. Its minimal pattern avoids the repeated grout lines that may make a narrow room feel busy.
Choose a pale warm gray or beige and pair it with simple cabinetry and consistent flooring. Good task lighting helps reveal the surface texture while keeping the preparation areas useful.
Confirm the finish is appropriate for the backsplash and wall conditions. Avoid adding too many shelves or decorative elements that reduce the already limited space.
11. Add Warm Lighting to Highlight the Texture
Lighting can reveal the subtle variation in a microcement surface. Soft side lighting creates gentle shadows that help the finish look dimensional without requiring a dramatic color.
Use suitable under-cabinet lighting and a well-positioned ceiling fixture to illuminate the kitchen evenly. Warm white light can make sandy and beige finishes feel welcoming, while neutral white may suit cooler gray surfaces.
Check the finish under the lighting conditions used most often. Avoid harsh glare or poorly positioned fixtures that create distracting shadows across the worktop.
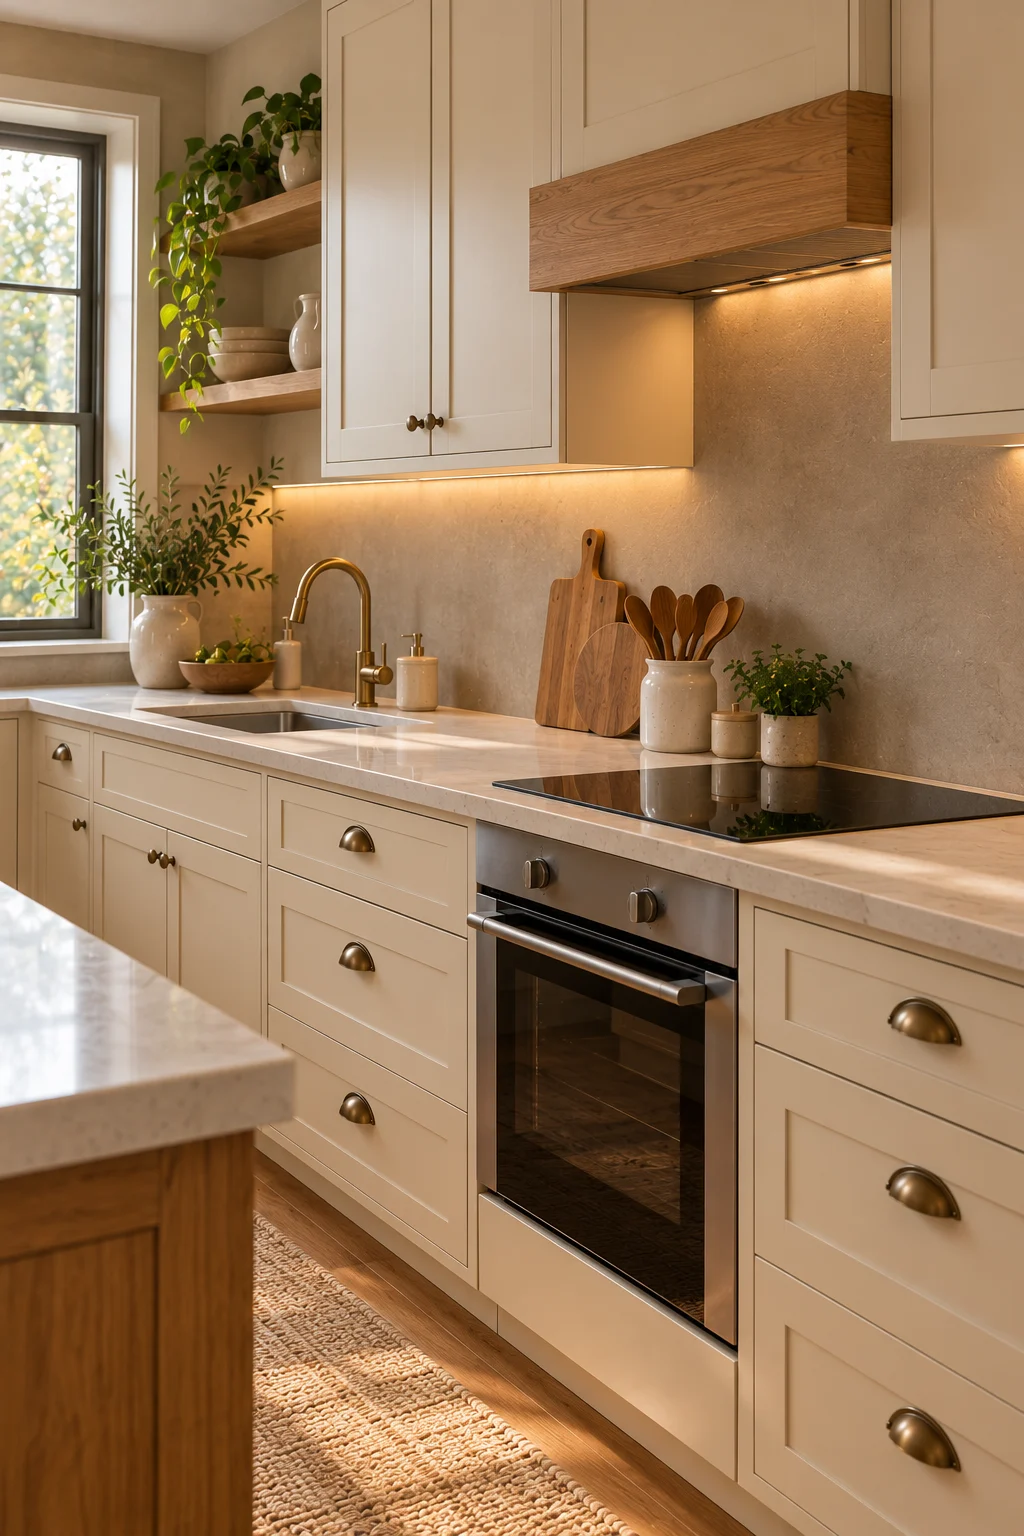
12. Choose a Textured Microcement-Look Range Wall
A textured wall finish can provide a restrained focal point behind the cooking area. Its subtle variation works well with plain cabinetry and understated countertops.
Choose a product or system explicitly suitable for the intended location and the heat and cleaning conditions. Follow the appliance manufacturer’s clearances and the finish manufacturer’s requirements.
Consider using a compatible protective surface in areas exposed to heavy splashing or grease. Avoid assuming that a decorative wall coating can replace an appropriate kitchen backsplash in every situation.
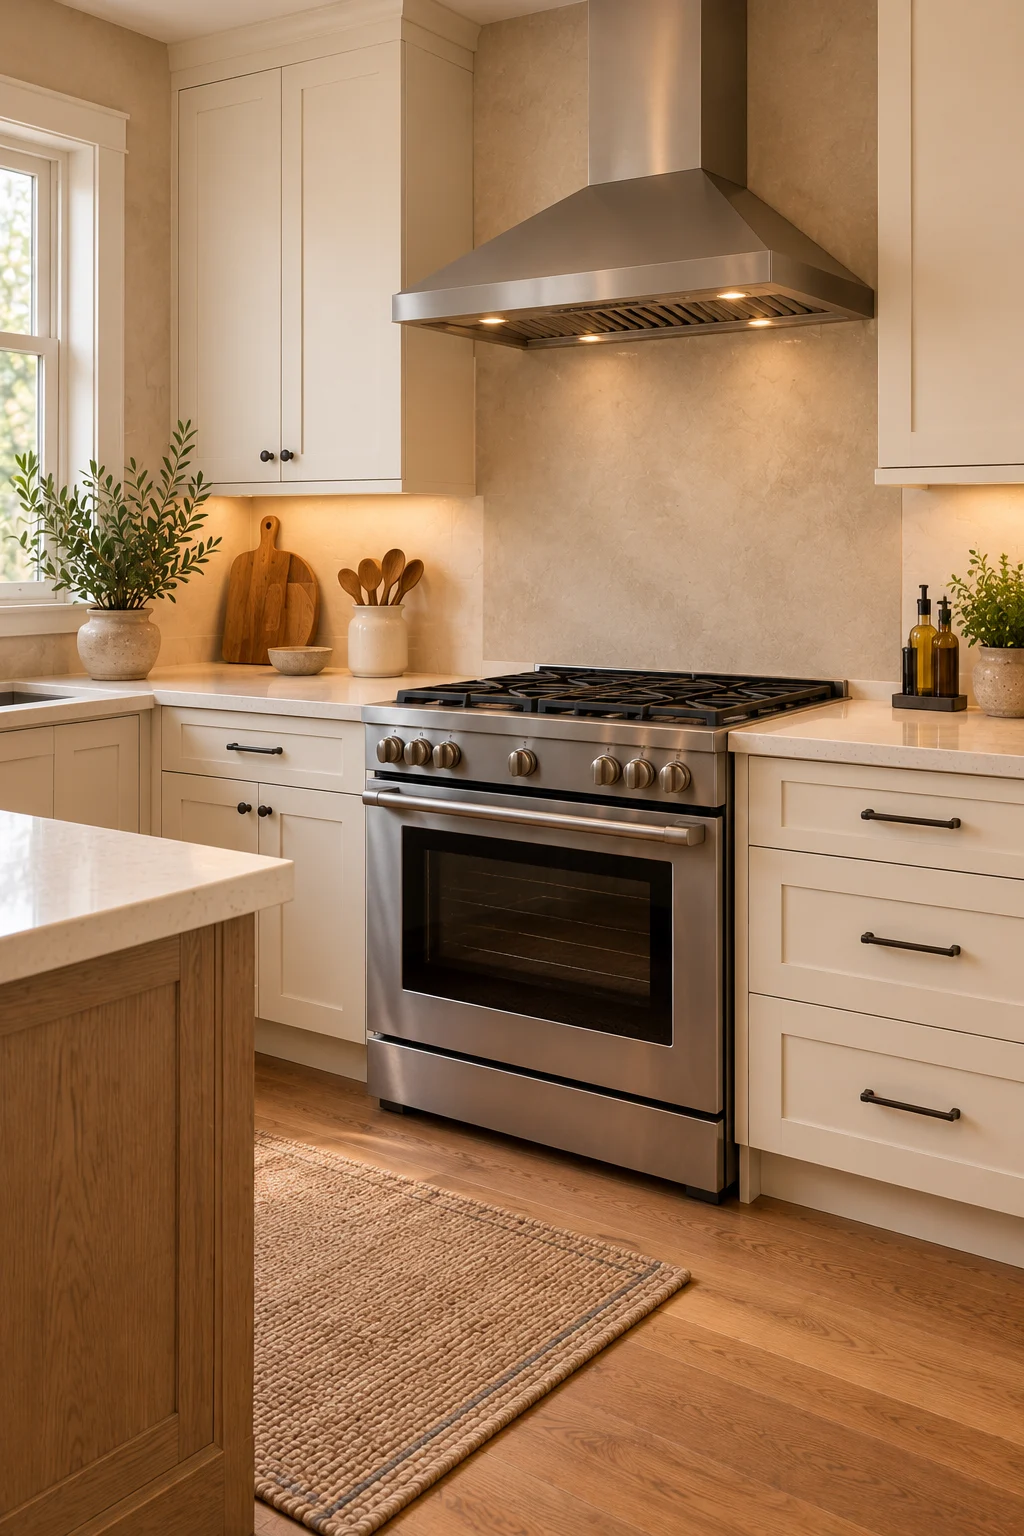
13. Mix Microcement With Open Wood Shelving
Open wood shelves add warmth and practical storage to a microcement kitchen. The contrast between mineral texture and natural grain can make a minimalist interior feel more inviting.
Choose shelves with suitable structural supports and arrange everyday dishes in a restrained palette. Natural oak, cream ceramics, and a few muted green pieces work well with warm gray or beige walls.
Keep heavier dishes securely supported and place the shelves away from cooking grease where possible. Avoid overcrowding the display or choosing a shelf finish that is difficult to clean.
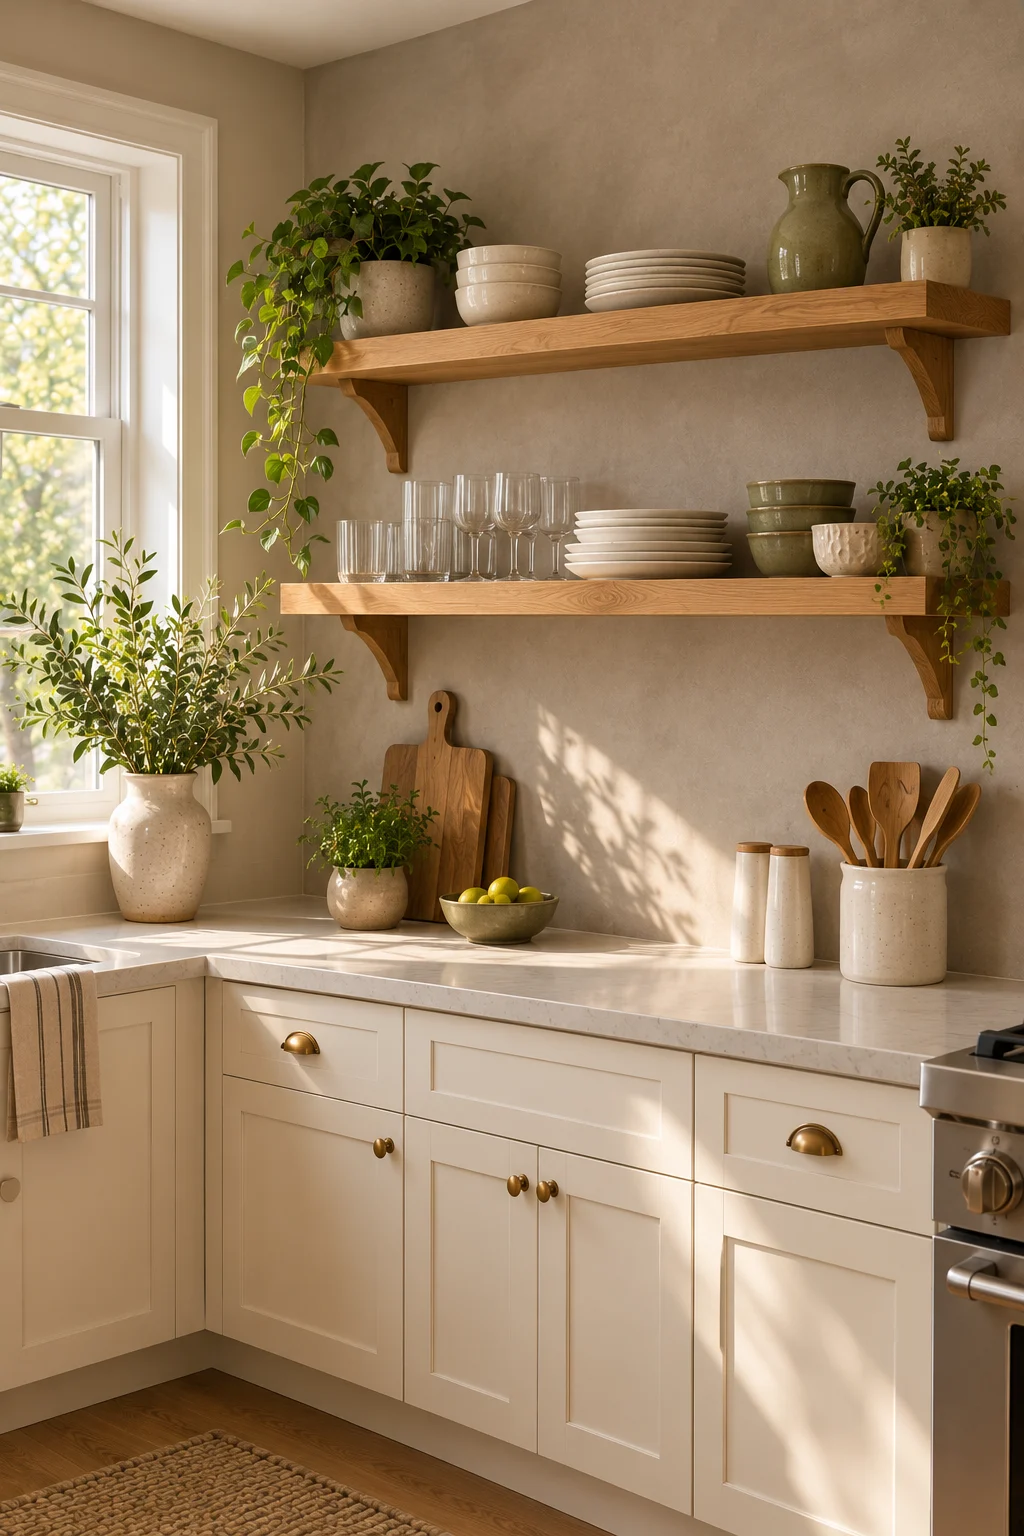
14. Use Microcement With a Wood Breakfast Counter
A wood breakfast counter softens the contemporary appearance of a microcement kitchen. Its natural grain adds a furniture-like element that makes the room feel comfortable rather than overly industrial.
Choose a compact counter extension or a small wood-topped peninsula, depending on the layout. Pair it with a neutral microcement-look wall and simple cabinetry.
Ensure the countertop is properly supported and suited to its intended use. Avoid adding a large breakfast bar if it restricts circulation or leaves insufficient room for the kitchen’s main work areas.
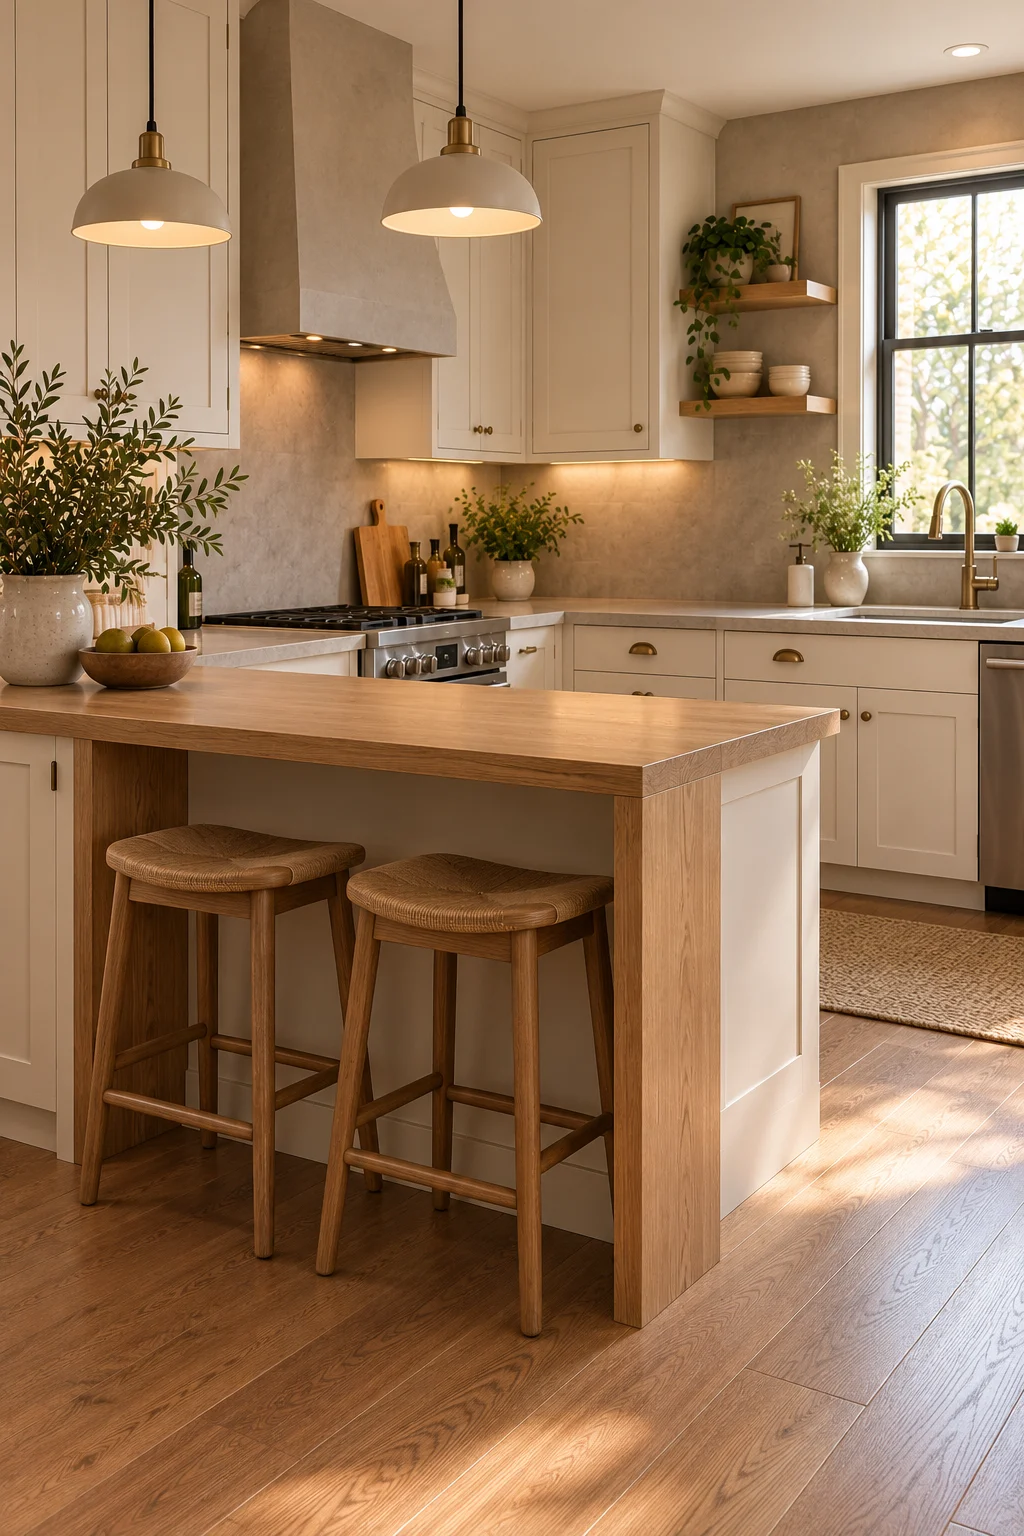
15. Create Contrast With Dark Cabinetry
Dark cabinetry can create a dramatic contrast against a pale microcement-look wall. Charcoal, deep brown, or muted navy can make the surface texture more noticeable while keeping the overall palette controlled.
Use a pale countertop and adequate lighting to prevent the darker cabinets from overwhelming the room. Natural wood accents can soften the contrast and add warmth.
Consider the kitchen’s daylight and dimensions before choosing a dark finish. Avoid making every surface dark in a compact space without providing enough visual relief.
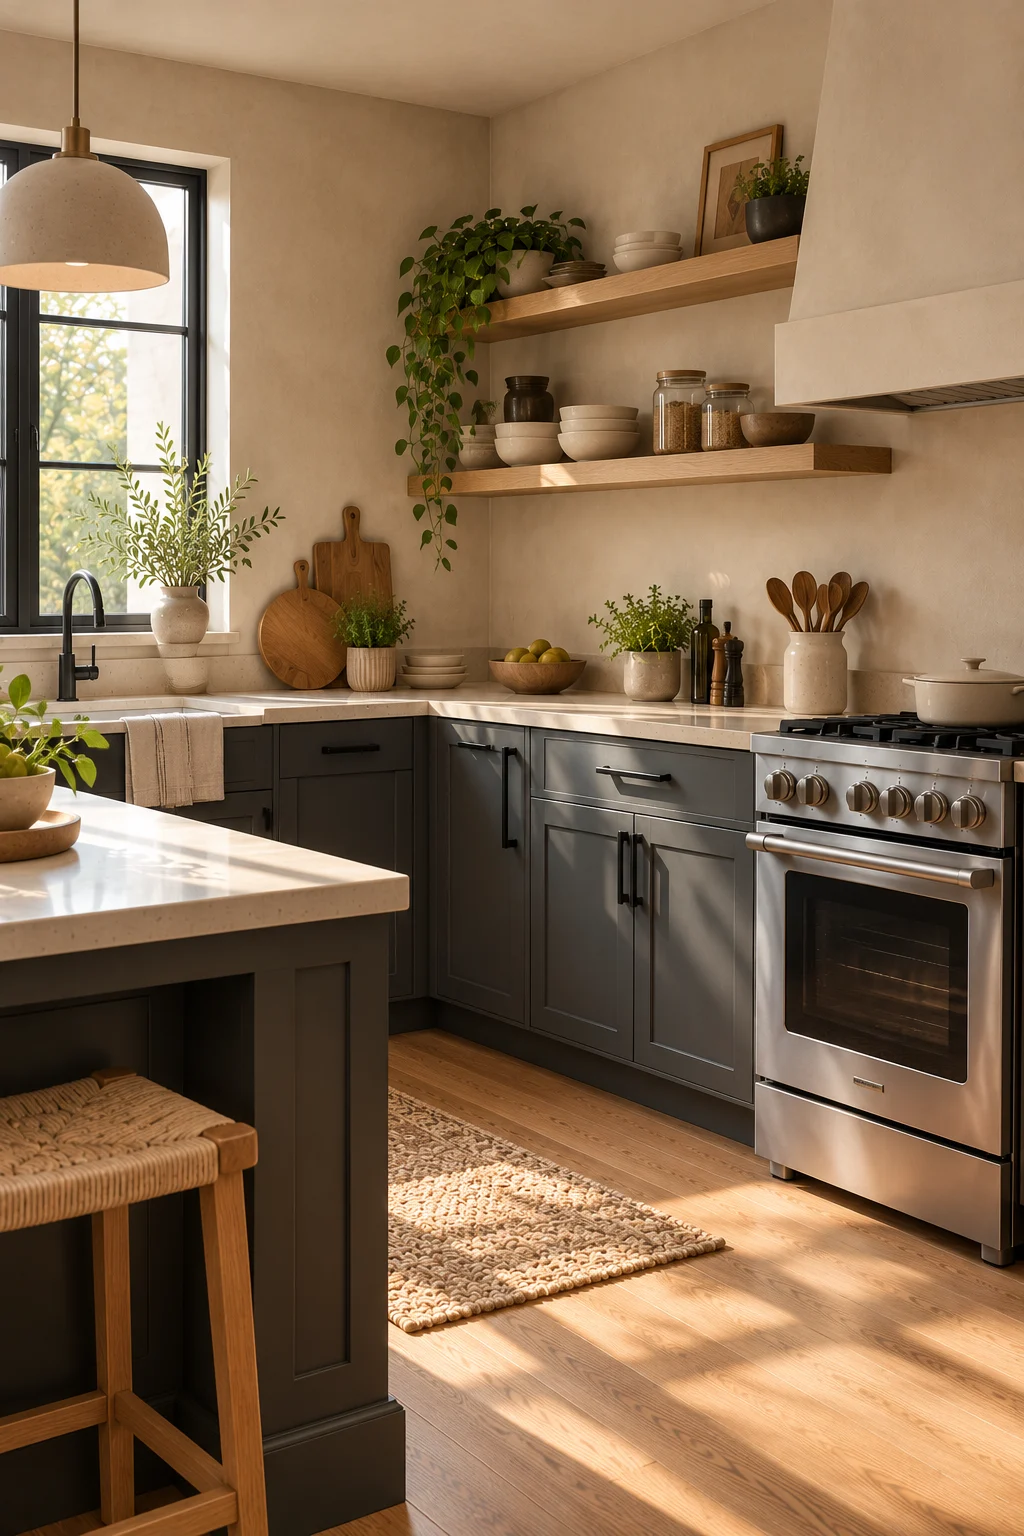
16. Use Microcement-Look Finishes in a Rental-Friendly Refresh
A renter-friendly kitchen refresh can borrow the appearance of microcement through suitable removable or non-permanent finishes rather than permanent wall applications. The goal is to introduce a mineral-inspired texture while respecting the existing kitchen surfaces.
Consider removable wall treatments or accessories designed for the intended surface and environment. Check their suitability around moisture, heat, and cleaning before applying them.
Avoid using decorative films or coatings near a range or other high-heat area unless the product is specifically approved for that location. Keep existing ventilation and appliance clearances unchanged.
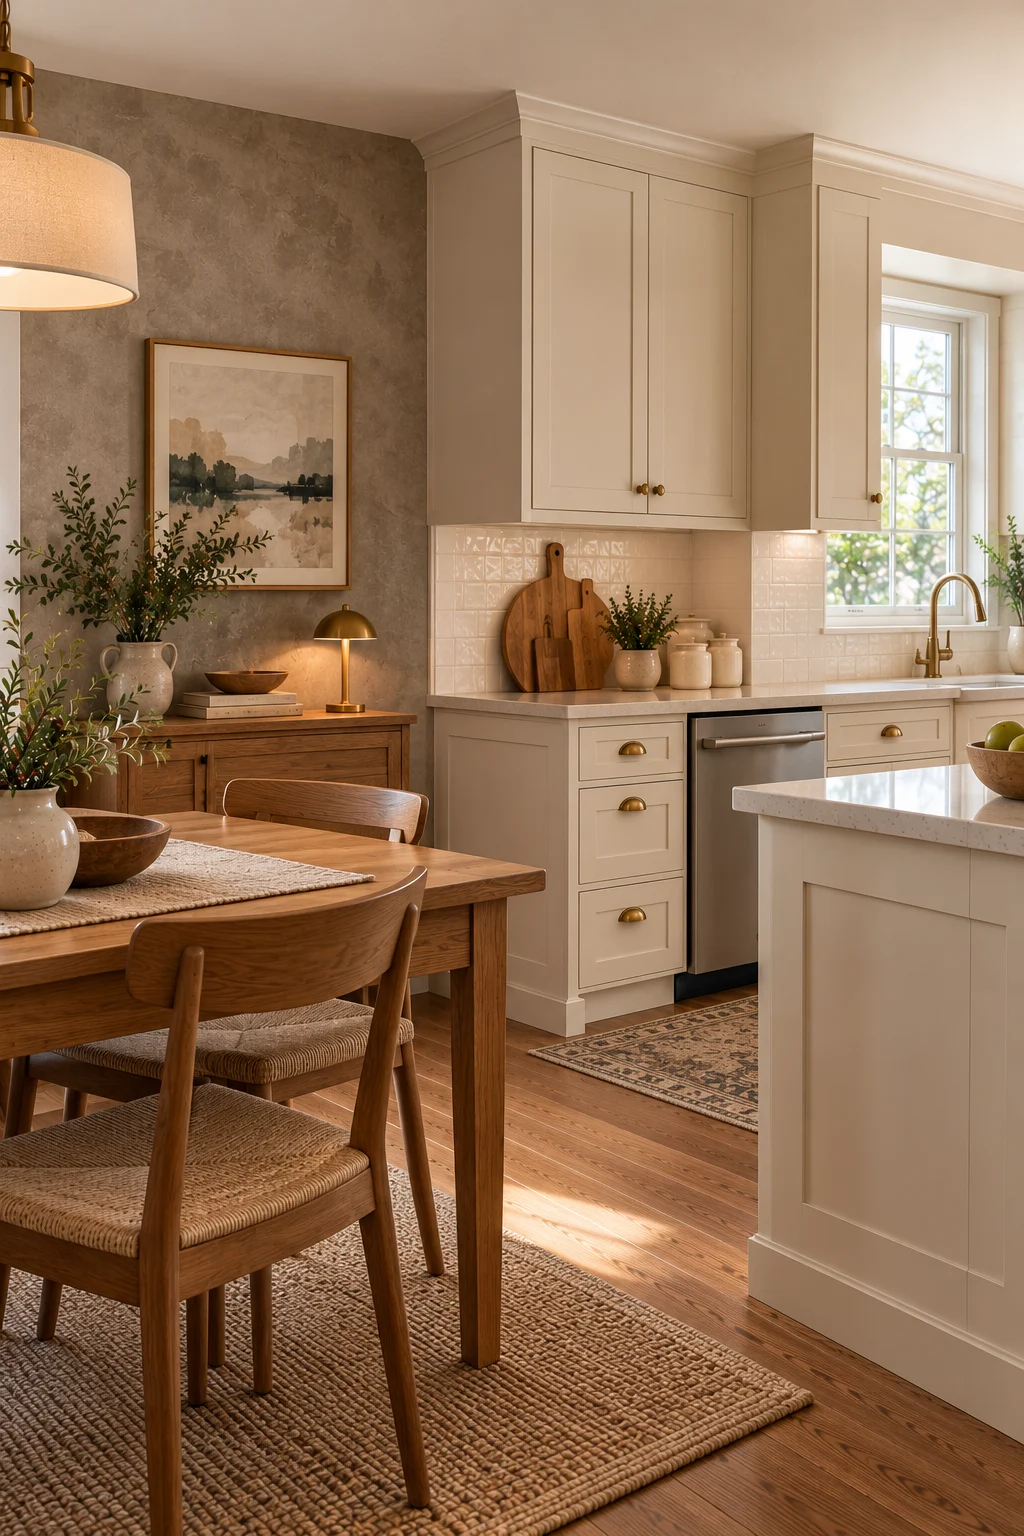
17. Create a Cohesive Microcement Kitchen Palette
A cohesive microcement kitchen uses the finish as one part of a balanced material scheme rather than covering every surface with the same texture. Natural wood, pale cabinetry, and understated metal accents can make the room feel complete.
Choose one main microcement tone and repeat related colors in the countertop and cabinetry. Introduce contrast through wood grain or a restrained accent color instead of adding numerous competing finishes.
Confirm that each material is suitable for its intended location and can be maintained according to its requirements. Avoid prioritizing a seamless appearance over durability and proper installation.
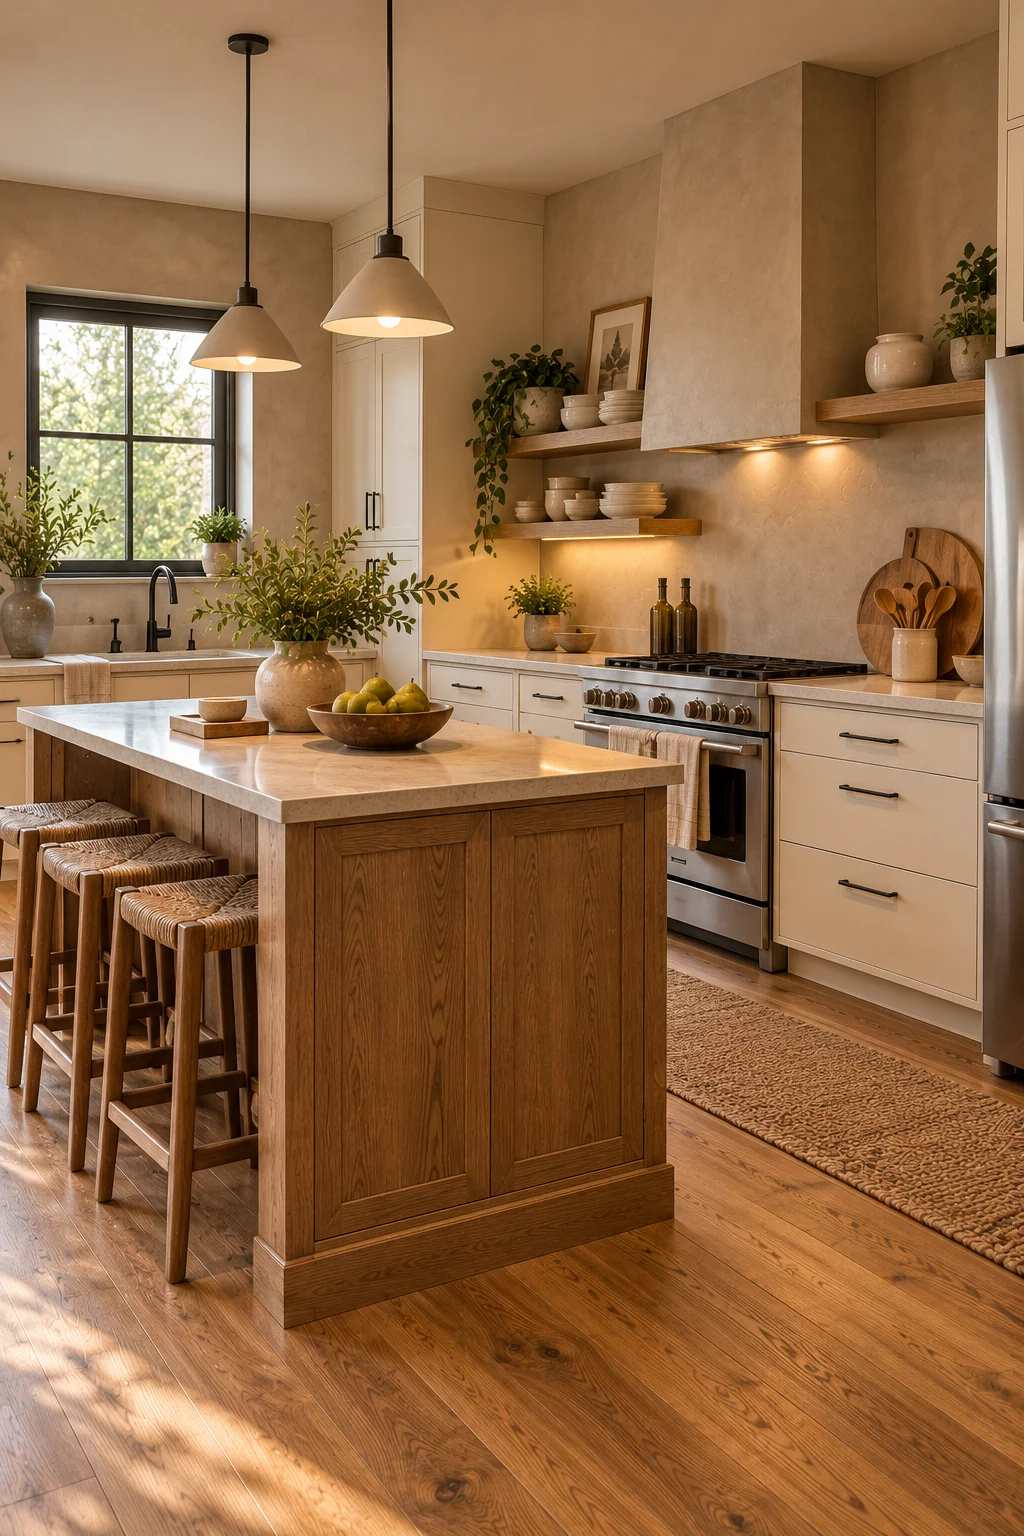
How to Choose Microcement for a Kitchen
Start by identifying where the finish will be installed. A wall, backsplash, island base, and countertop face may have different exposure to water, heat, abrasion, and cleaning products.
Choose a complete system intended for the relevant substrate and location. Preparation, reinforcement where required, protective sealing, and correct installation all influence the final appearance and durability.
Request samples and compare them with the existing cabinets and flooring. Subtle differences in gray, beige, and undertones can change the overall atmosphere of the kitchen.
Microcement Ideas for Small Kitchens
In a small kitchen, a restrained microcement finish can reduce visual clutter and create continuity across the walls. Pale gray and sandy beige are flexible choices when combined with simple cabinetry and natural wood.
Keep storage practical and avoid covering every surface with decorative treatments. A few open shelves or a compact breakfast counter can add character without sacrificing essential workspace.
Do not choose a dark finish solely because it looks dramatic in a large room. Consider the actual daylight and proportions of the kitchen.
Budget Considerations for Microcement
The cost of a microcement project depends on the surface, preparation requirements, product system, and installation complexity. Existing damage or unsuitable substrates may require additional work before the finish can be applied.
Compare the complete installation requirements rather than focusing only on the visible coating. Protective finishes and proper preparation are important parts of the system.
For a smaller refresh, consider using the finish on one suitable wall rather than throughout the kitchen. A limited application can introduce the texture without committing every surface to the same treatment.
Common Microcement Kitchen Mistakes
One mistake is assuming that microcement is automatically waterproof or suitable for every kitchen surface. Its performance depends on the complete system, substrate, installation, and protective finish.
Another is using the same tone everywhere without considering contrast. Natural wood, a pale countertop, or a restrained cabinet color can help the finish feel more dimensional.
Avoid choosing the finish before planning ventilation, cooking clearances, and cleaning requirements. Practical suitability should guide the placement.
Cleaning and Maintaining Microcement Surfaces
Follow the product manufacturer’s care instructions and use compatible cleaning products. Avoid abrasive tools or harsh chemicals unless the system specifically permits them.
Wipe spills promptly and pay attention to areas exposed to moisture, grease, and repeated cleaning. Inspect the protective finish periodically for signs of wear or damage.
Address cracks, peeling, or deteriorating sealers promptly with suitable professional guidance. Maintenance requirements vary by system and installation location.
Safety and Practical Considerations
- Confirm that the selected microcement system is suitable for the intended surface.
- Follow manufacturer instructions for preparation, sealing, cleaning, and maintenance.
- Use appropriate heat-resistant and moisture-resistant materials near cooking and sink areas.
- Keep ventilation openings and appliance clearances unobstructed.
- Ensure shelves, countertops, and wall-mounted fixtures are securely supported.
- Have complex surface preparation and installation completed by a qualified professional where appropriate.
- Keep the kitchen functional and easy to clean after the finish is installed.
Microcement can bring subtle texture and a contemporary character to a kitchen when it is used thoughtfully. By combining the finish with practical cabinetry, natural materials, and suitable protective systems, you can create a modern interior that feels warm rather than stark.
