

15 DIY Wall-Mounted & Floating Shoe Rack Ideas You Can Actually Build
Shoes are one of those things that seem manageable until they start multiplying across the floor. If you’re short on storage, the wall is often the best place to look next.
A wall-mounted shoe rack can free up floor space, keep everyday pairs visible, and fit into spots where a regular shoe cabinet simply won’t. The trick is building something that actually supports the shoes you own and attaches safely to the wall—not just something that looks clever in a photo.
These DIY shoe racks on wall space range from simple pine shelves to pegboard systems and narrow hanging designs, with build approaches that are realistic for a weekend project.
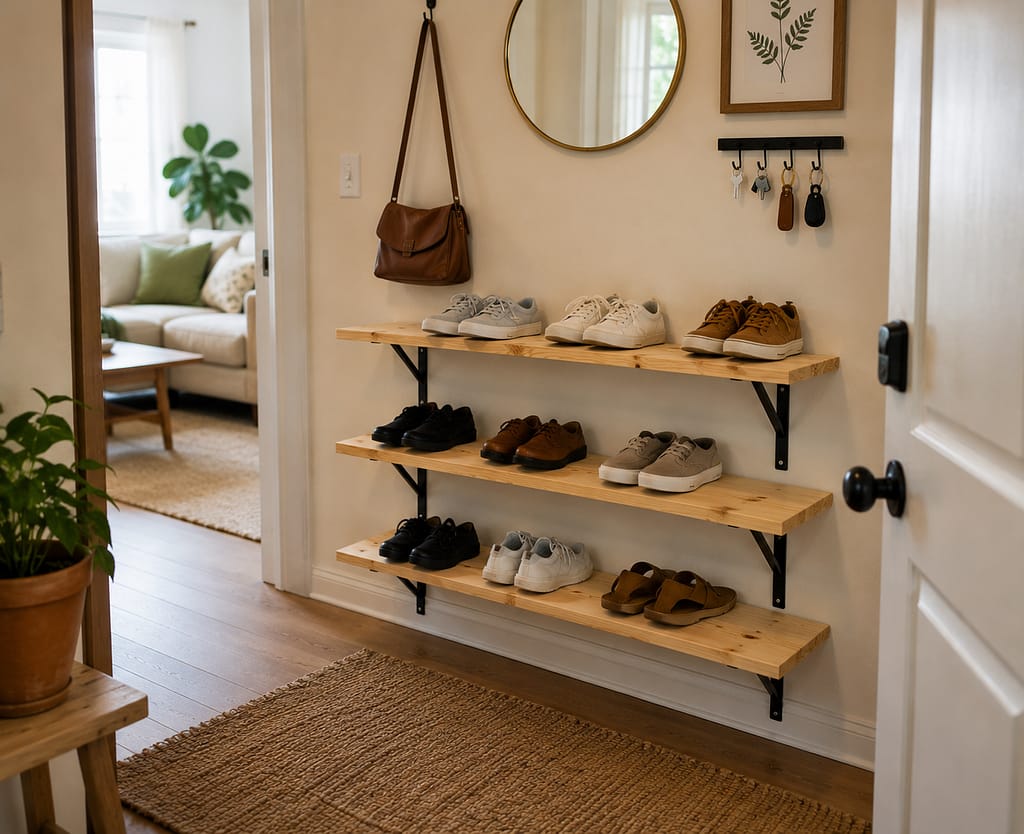
1. Build a Simple Pine Board Shoe Shelf
This is probably the easiest DIY wall shoe shelf to start with. Use a straight pine board deep enough for the shoes you plan to store, sand the edges, then paint, stain, or leave it natural. Mount it with sturdy L-brackets fastened into studs where possible or appropriate wall anchors elsewhere. A shelf around the width of a small doorway can usually hold several pairs depending on shoe size. It’s especially practical for sneakers, flats, and everyday shoes that you want to grab quickly.
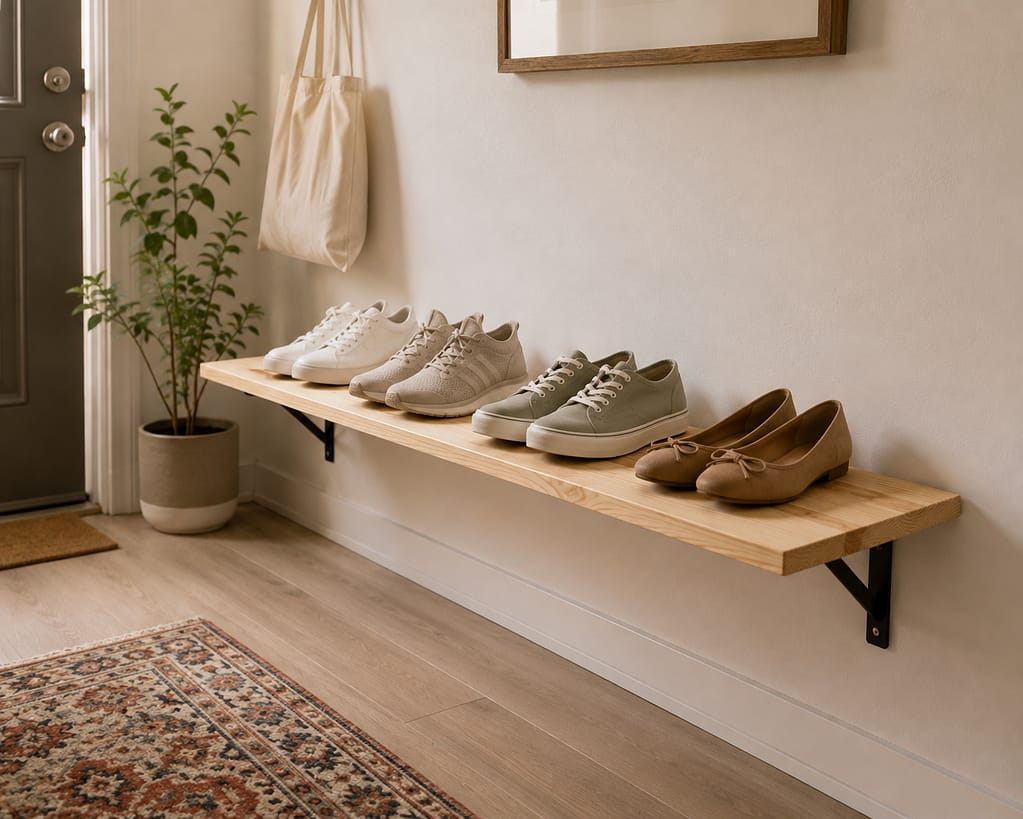
2. Stack Two or Three Floating Shoe Shelves
If one shelf isn’t enough, build upward instead of outward. Install two or three narrow wood shelves with floating shelf brackets, leaving enough vertical clearance between them for your shoes. Before drilling, place your tallest everyday pair against the wall and use that as your spacing guide. This arrangement works well on an unused entry wall because it stores several pairs while keeping the floor almost completely free. Use the lowest shelf for heavier shoes and lighter pairs higher up.

3. Make an Angled Wall Shoe Rack
Angled shelves can reduce how far the rack projects into a narrow hallway. Build shallow wood shelves and mount them with a slight upward tilt toward the wall so the toes sit higher and the heels stay closer to the front edge. Add a small front lip or dowel if needed to help prevent shoes from sliding. This homemade wall shoe rack works best for low-profile shoes rather than tall boots. Test the angle with one pair before building the full set.

Pro tip: Build and mount one test shelf before cutting material for the entire rack. It’s much easier to adjust depth, angle, or shoe clearance after testing one real pair than after finishing six shelves.
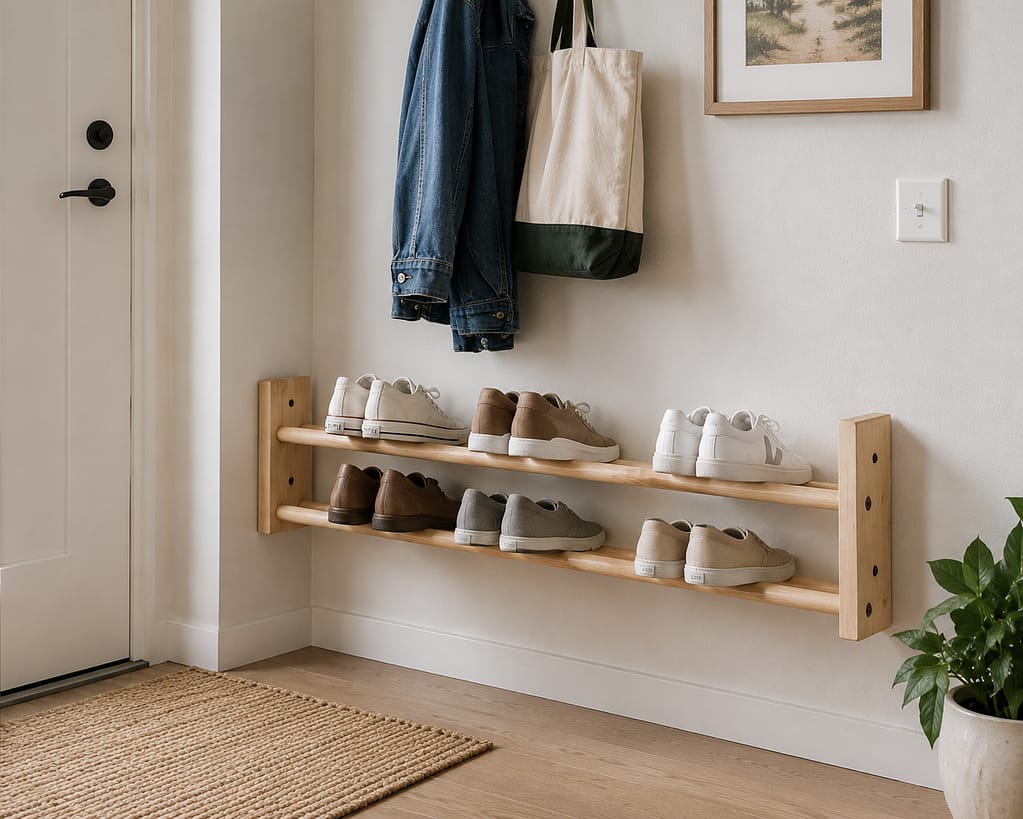
4. Use Wooden Dowel Rods as Shoe Rails
For a lighter-looking DIY wall shoe holder, try parallel wooden dowels instead of solid shelves. Mount short wood side supports to the wall, then run two dowel rods between them so each pair rests across the rails. The exact spacing depends on the shoes you own, so test sneakers, flats, and sandals before drilling the dowel holes. This style uses less lumber than solid shelving and keeps dirt from collecting on a shelf surface. It’s best for relatively lightweight everyday footwear.
5. Build a Pegboard Shoe Storage Wall
Pegboard is useful if you want a shoe setup that can change over time. Mount a sturdy pegboard panel with the required gap behind it, then use compatible hooks, short shelf supports, or small wood platforms to create individual shoe stations. Keep heavier footwear lower and use the upper area for lighter pairs or accessories. A pegboard DIY shoe rack wall mounted near an entrance is especially useful for families because the hooks can be rearranged as shoe sizes and storage needs change.

6. Add a Narrow Picture-Ledge-Style Shoe Rack
A picture ledge can inspire a surprisingly useful shoe shelf. Build a shallow shelf from a base board, back rail, and low front lip, then fasten the finished ledge securely to the wall. Instead of framed art, use it for flats, sandals, lightweight sneakers, or children’s shoes. Because the ledge is shallow, it works particularly well in a narrow entry where a standard shelf would stick out too far. Several ledges installed vertically can turn a small strip of wall into useful shoe storage.

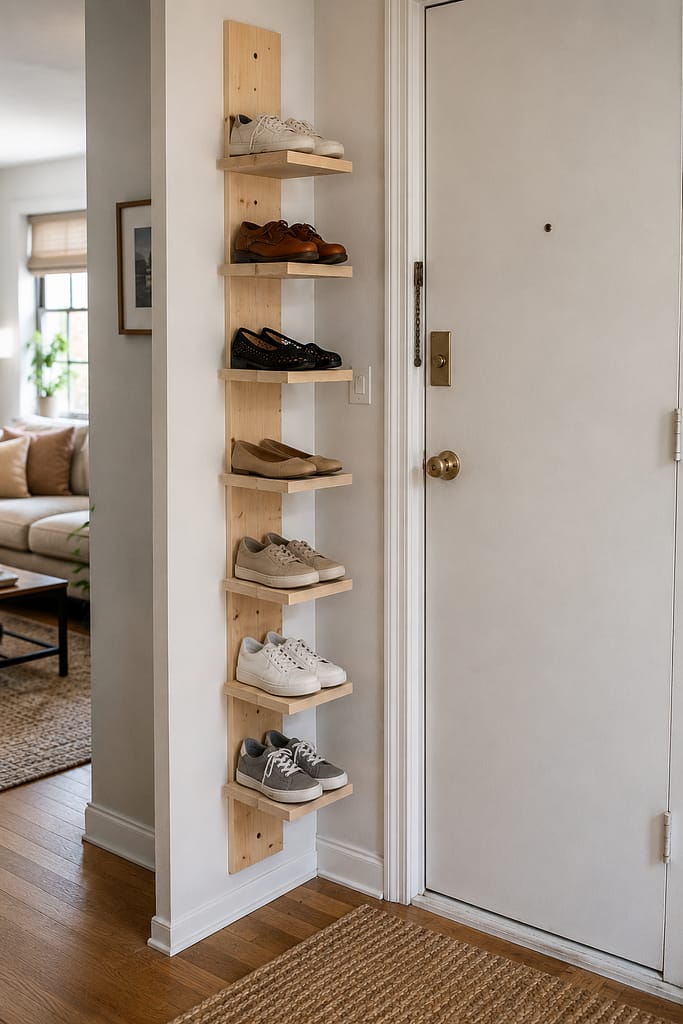
7. Make a Vertical Shoe Rack for a Narrow Wall Strip
Sometimes the only available wall is barely wider than one pair of shoes. Build a tall, narrow frame from simple pine boards and add small shelves or rails at regular intervals. Mount the frame securely to the wall rather than relying on it to stand alone. Storing one pair per level lets you use a thin vertical strip beside a closet, doorway, or cabinet. This DIY shoe rack on wall space works best when you have height available but almost no horizontal room.
Budget tip: Standard pine boards are often easier to work with than specialty shelving. If the store offers cutting services, have long boards cut close to size there, then do the final sanding and assembly at home.
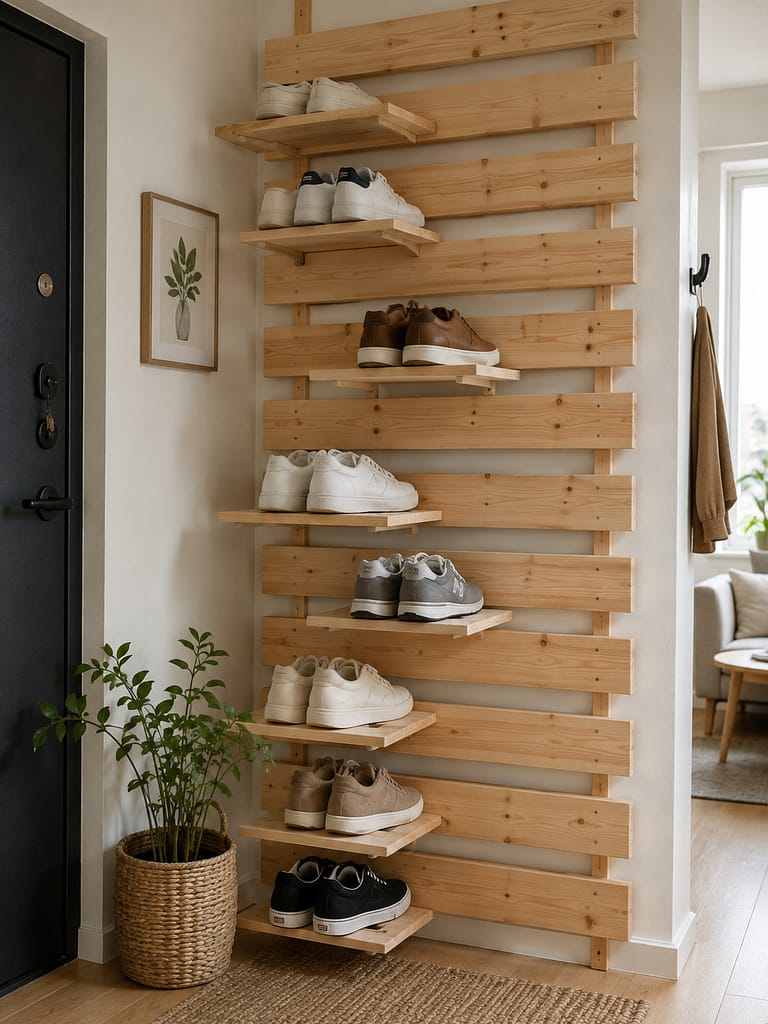
8. Build a Slatted Wood Shoe Wall
A slatted rack gives you multiple attachment points without building a full cabinet. Fasten horizontal wood slats to vertical backing strips, leaving gaps between them, then add small removable shelf brackets or shoe supports where needed. The backing strips create clearance from the wall and help keep the slats aligned. You can dedicate some sections to shoes and others to hooks for a bag or shoehorn. It’s a good choice if you like modular DIY wall shoe storage that can evolve later.
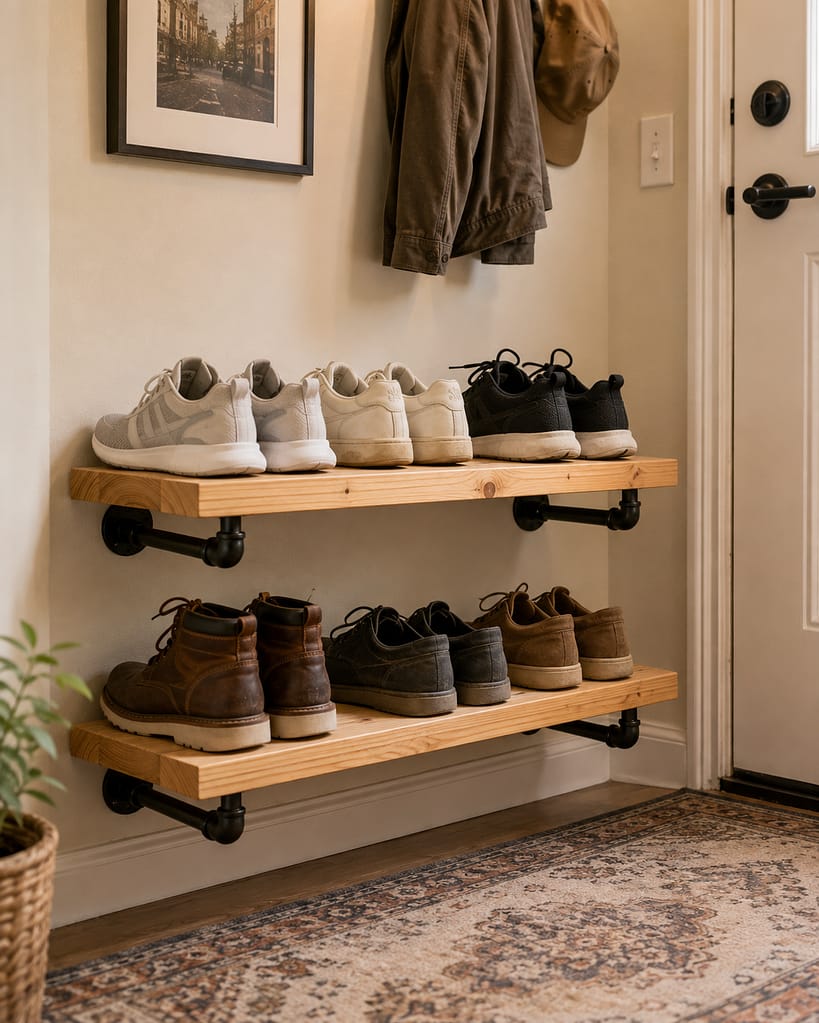
9. Make a Metal Pipe and Wood Shoe Rack
For a more utilitarian look, combine wood shelves with simple metal pipe supports or brackets. Cut one or two pine boards to fit your wall, finish them as desired, and mount them on pipe-style brackets secured appropriately to the wall structure. The metal adds visual contrast and works nicely in an industrial or garage-adjacent entry. Keep the design straightforward—too many pipes can make a small wall feel busy. Two shelves are often enough for several everyday pairs without turning the project into a large installation.
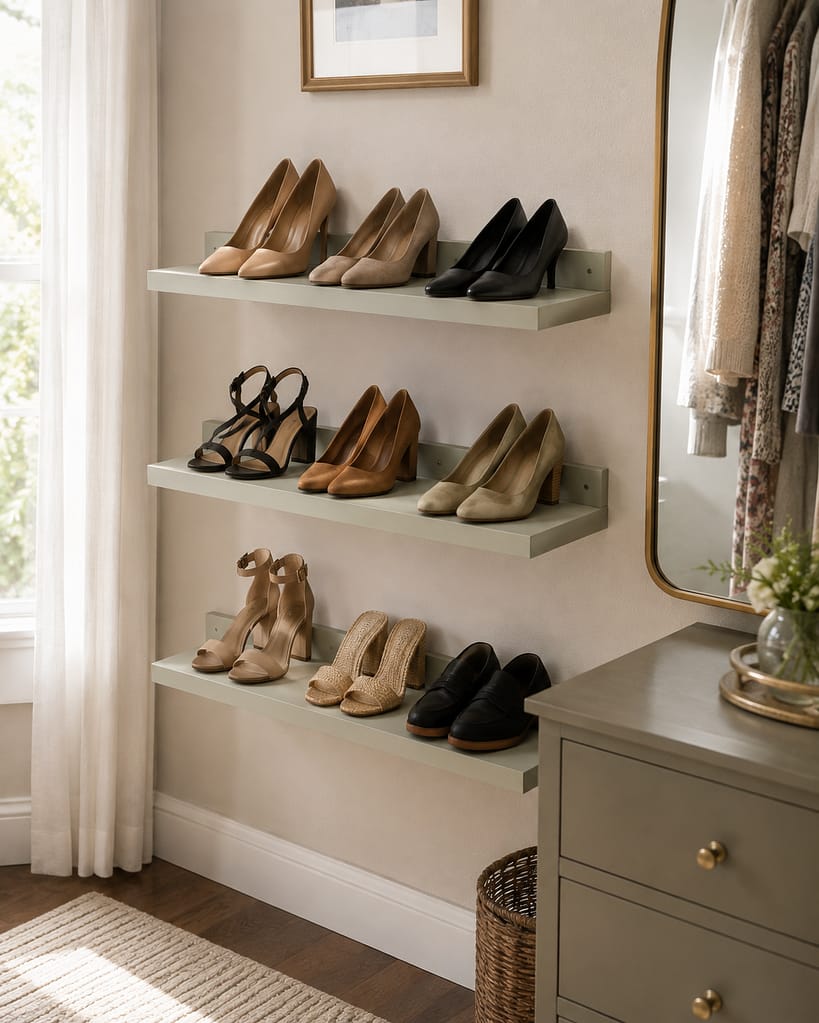
10. Build a Floating Shelf With a Heel Rail
If you wear shoes with heels, a standard flat shelf isn’t always the most efficient option. Build a narrow floating shelf and add a raised rear rail or shallow groove that gives heels a place to catch. Test your footwear before committing to the final spacing, since heel shapes vary. The shelf still needs enough depth to support the front of the shoe safely. This approach can turn a bedroom dressing wall or entry corner into a more tailored DIY floating shoe rack without requiring a full-depth cabinet.
11. Try a Hanging Canvas Shoe Panel on a Wall Rail
A DIY hanging shoe rack doesn’t have to mean an over-the-door organizer. You can sew or adapt sturdy fabric pockets onto a heavy canvas backing, then hang the finished panel from a wall-mounted rail or securely installed hooks. This is best for slippers, flats, children’s shoes, and lightweight footwear rather than heavy boots. The advantage is that the panel stays very close to the wall and can be removed for cleaning. Make sure the wall attachment is appropriate for the total loaded weight.

Pro tip: Before mounting several shelves, draw a level reference line across the wall or use a laser level if you have one. A small tilt becomes very obvious once multiple shoe shelves are stacked vertically.
12. Build a Wall Rack With Individual Shoe Cubbies
Instead of one long shelf, build small open cubbies from plywood or pine boards, then mount the completed unit securely to the wall. Each cubby can hold one pair, which helps prevent shoes from piling on top of one another. Keep the boxes relatively shallow and test your largest pair before deciding the internal dimensions. A row of three or four cubbies works well above a baseboard in an entry. Painting the unit the same color as the wall can make it feel less bulky.

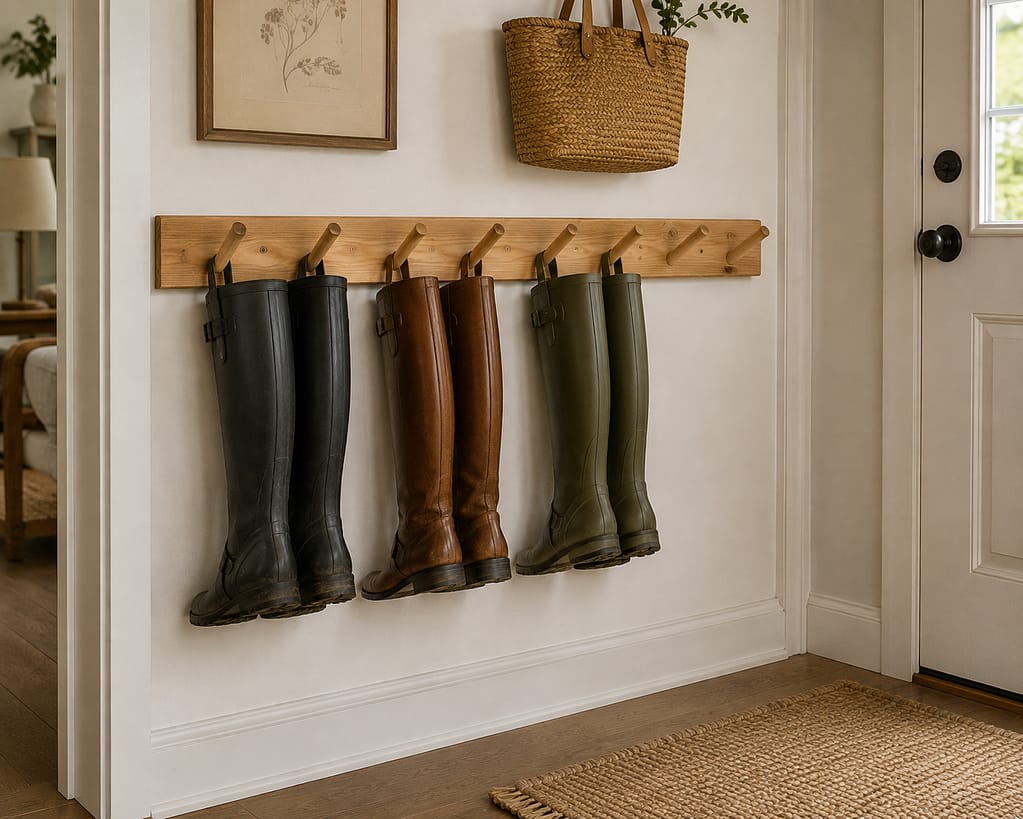
13. Make a Wall-Mounted Boot Rail
Tall boots need a different approach than sneakers. One option is a wall-mounted rail with sturdy pegs or dowels positioned so boots can hang carefully without collapsing into a heap on the floor. Build the rail from a solid wood board, drill and glue the dowels as appropriate, then fasten the board securely into suitable wall structure. Keep the rail low enough that boots are easy to reach but high enough to clear the floor. This is better for a few pairs than a huge collection.
14. Build a Shoe Shelf Above the Baseboard
If you want the floor to stay easy to vacuum or mop, mount your lowest shoe shelf a few inches above the baseboard rather than resting anything directly on the floor. Use a simple pine or plywood shelf with brackets, then add a second level if needed. This small lift makes the whole entry easier to clean and visually separates the rack from the floor. It’s a useful DIY wall mount shoe rack for households that mainly need storage for a handful of frequently worn pairs.
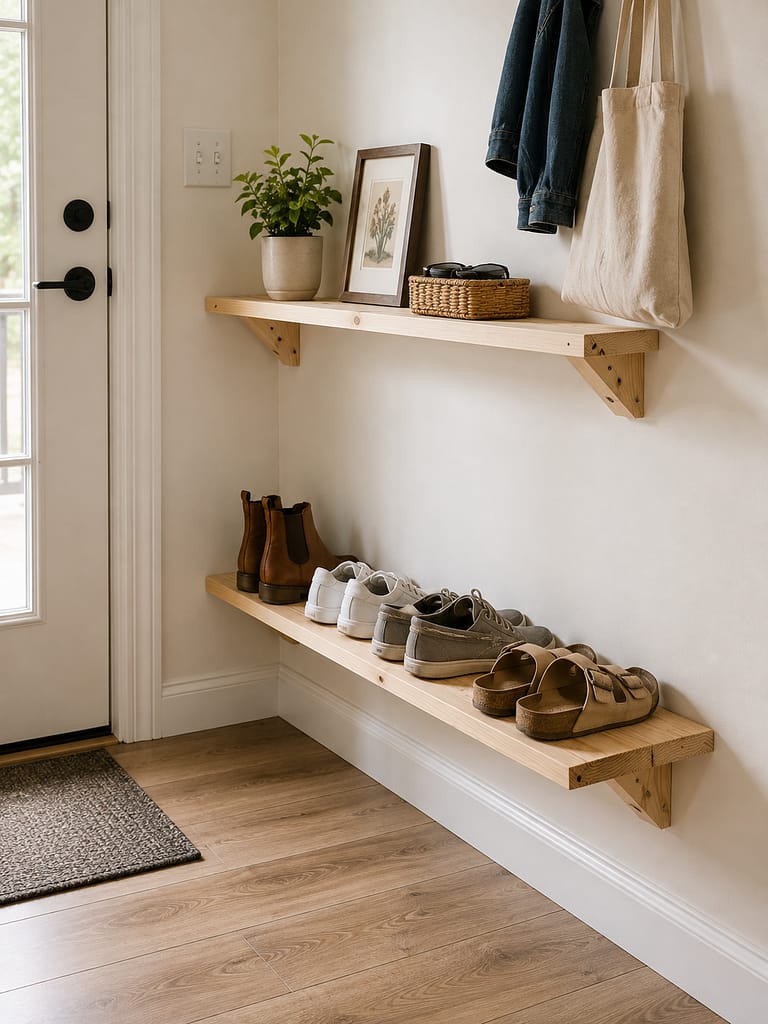
15. Build a Full-Height Floating Shoe Wall
If you have a larger collection but only one usable wall, repeat narrow floating shelves from low to high instead of building a deep cabinet. Keep shelf depths consistent and adjust vertical spacing to suit sneakers, flats, and taller footwear. Mount each level using hardware appropriate for the wall and expected load, and place heavier pairs toward the bottom. The repeated lines make the system look intentional while still being simpler to build than enclosed cabinetry. Leave some empty sections so it doesn’t feel overcrowded.
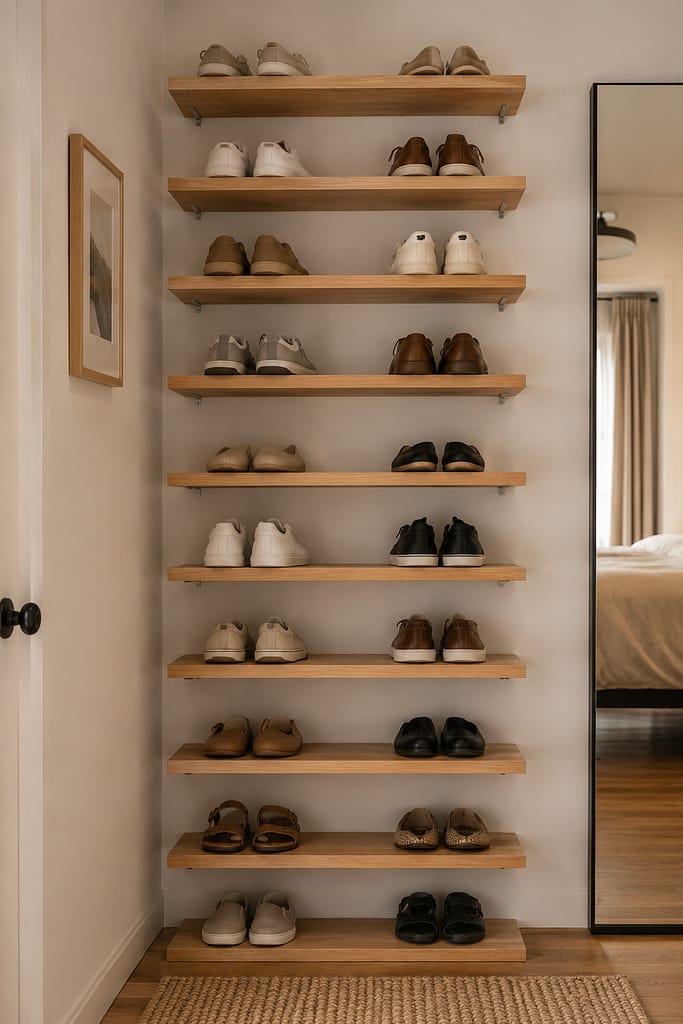
Budget tip: If you’re building several identical shelves, cut one accurately first and use it as a template for the remaining pieces. Consistent dimensions make installation faster and help the finished wall look much cleaner.
Frequently Asked Questions
How much weight can a DIY wall-mounted shoe rack hold?
That depends on the shelf material, bracket design, fasteners, wall construction, and how the load is distributed. Follow the mounting hardware manufacturer’s guidance, use studs where practical, and choose anchors that are specifically rated for the wall type and intended load rather than guessing.
Can I mount a shoe rack on drywall?
Yes, but the mounting method matters. Studs provide the most reliable attachment points where they’re available; otherwise, use wall anchors suitable for your drywall and the expected load, following the anchor manufacturer’s installation instructions.
What tools do I need to build a wall shoe rack?
For many simple designs, you’ll need a measuring tape, level, pencil, drill or driver, sandpaper, and a saw if your boards aren’t already cut to length. A stud finder is also useful for locating solid attachment points before drilling.
Are wall-mounted shoe racks renter-friendly?
Anything screwed into the wall may require patching when you move, so check your lease before installing it. Very lightweight hanging systems may work with approved removable hardware, but shoes become heavy in groups, so don’t substitute weak adhesive strips for proper mounting just to avoid holes.
How far apart should wall shoe shelves be?
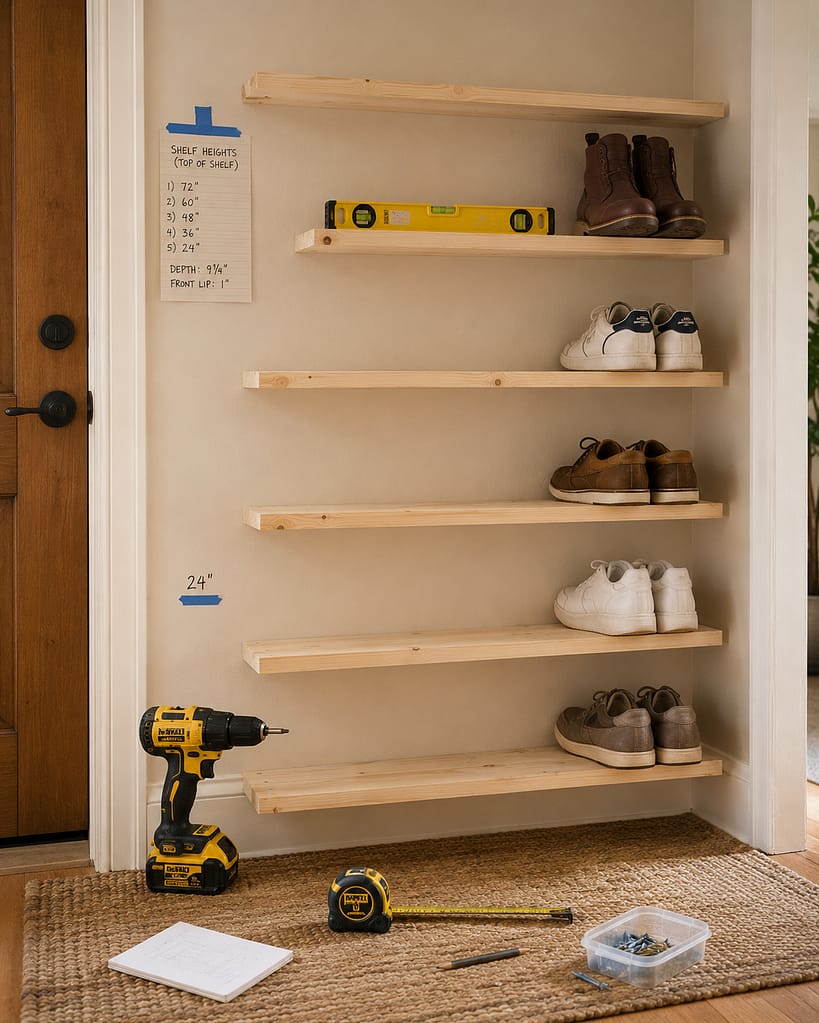
Use your actual shoes as the guide rather than relying on one universal measurement. Put your tallest pair on the lower shelf, hold the next shelf above it, and leave enough clearance to remove the shoes easily without scraping the shelf overhead.
Put the Wall to Work
A good homemade wall shoe rack doesn’t need complicated joinery or custom cabinetry. A few boards, reliable mounting hardware, accurate measurements, and a layout based on the shoes you actually own can solve a surprising amount of floor clutter.
Start with the simplest version that fits your space. Build one shelf, test it, then add more only if you need them. That usually produces a cleaner result than covering an entire wall on the first try.
Save or pin these DIY wall-mounted shoe rack ideas for your next weekend project, and come back when you’re ready to put that unused wall space to work.