
17 DIY Skeleton Decoration Ideas for a Spooky Front Yard
A skeleton can turn an ordinary front yard into a memorable Halloween scene. Unlike decorations that simply hang or stand in place, a poseable skeleton can climb a tree, dig beside a grave, carry pumpkins, or greet visitors from a porch chair.
The most effective DIY skeleton decorations for outdoors usually begin with one recognizable action. A carefully positioned figure with a well-chosen prop can make a stronger impression than several skeletons scattered randomly across the lawn.
Think about how your display will look from the sidewalk. Bent knees, angled shoulders, and a skull turned toward the action help communicate the scene. A simple lantern or ground light can make those details visible after sunset.
You don’t need expensive animatronics or a large collection to get started. Many of these 17 DIY skeleton decoration ideas for a spooky front yard use everyday items such as chairs, planters, wheelbarrows, pumpkins, and garden tools. Others explore more involved homemade props using lightweight frames and decorative materials.
Whether you prefer creepy graveyard scenes or playful Halloween humor, these ideas will help you create a front-yard display that looks intentional, stays manageable, and welcomes the season in style.
1. Pose a Skeleton Climbing a Front-Yard Tree
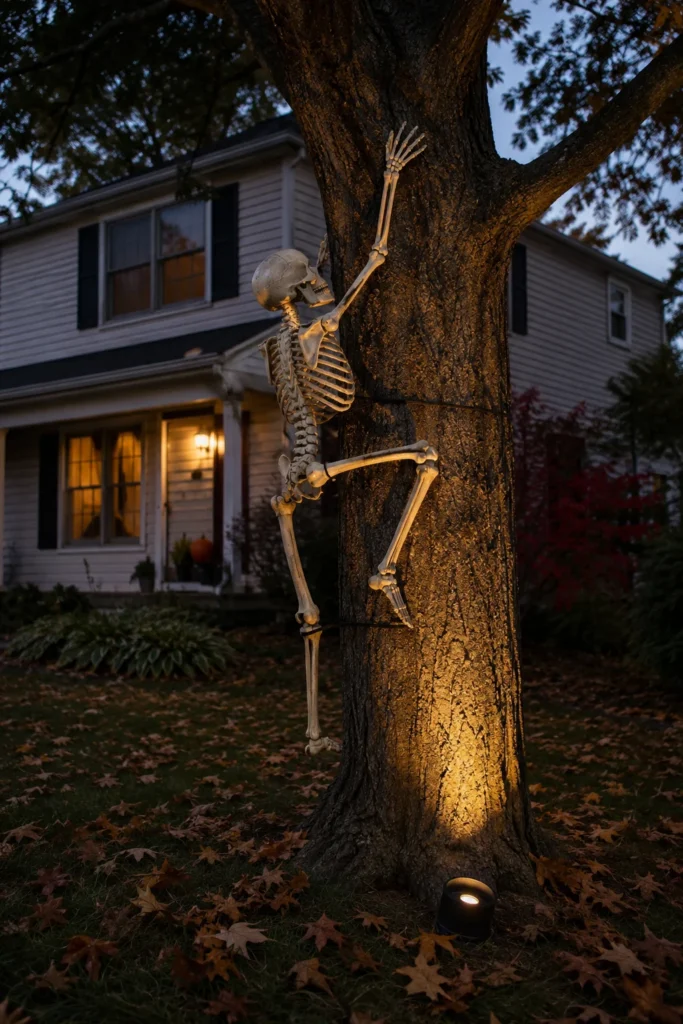
A skeleton climbing a tree creates an eye-catching Halloween scene because the tree provides both a natural backdrop and a clear setting for the action.
Position a full-size plastic skeleton against the lower trunk of a sturdy front-yard tree. Raise one arm above the other, bend one knee as though the figure is searching for a foothold, and turn the skull toward the next branch.
Secure the skeleton with non-damaging attachments that support its weight independently of the decorative joints. Keep the figure low enough to install and remove safely without climbing.
A single outdoor-rated ground light aimed toward the trunk can emphasize the skull and rib cage after dark. Choose a position away from sidewalks and driveways, and check the attachments after windy weather.
This idea works especially well in smaller yards because the existing tree provides most of the visual impact.
2. Build a Grave-Digger Skeleton Scene
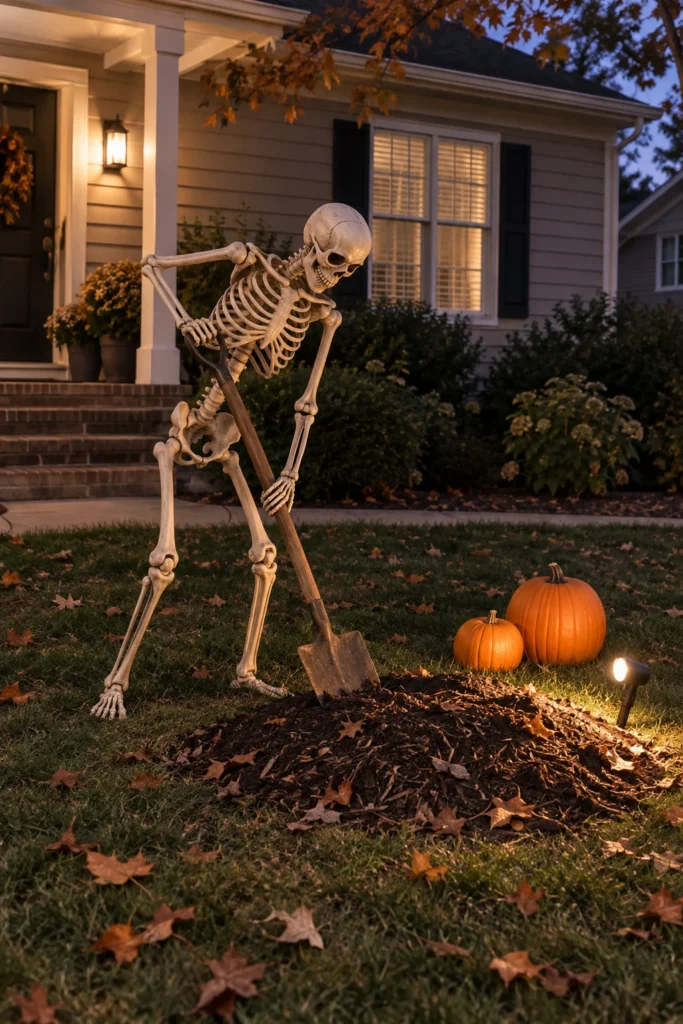
A grave-digger scene gives a single skeleton a recognizable role and creates a classic Halloween atmosphere without requiring an elaborate cemetery display.
Arrange a poseable skeleton beside a low faux grave mound made from temporary, yard-safe materials such as dark mulch or fallen leaves. Bend its knees, lean the torso forward, and position a lightweight shovel between its hands.
Use discreet ties to hold the shovel in place rather than relying on the skeleton’s fingers. The tool should be large enough to remain recognizable from the street.
Add one or two pumpkins near the mound and illuminate the scene with a low outdoor-rated LED light. Keep the surrounding lawn relatively clear so the digging action remains the focal point.
Place the arrangement away from walking routes, and avoid leaving raised materials where visitors could trip over them after dark.
3. Seat a Skeleton in a Porch Rocking Chair
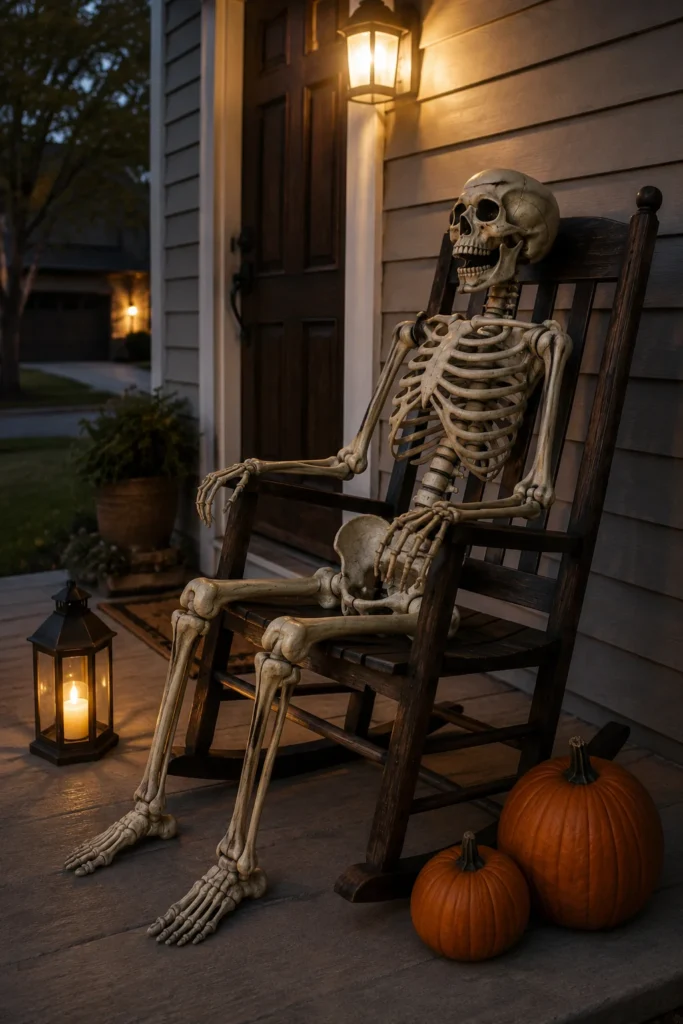
A skeleton relaxing in a rocking chair can make a front porch feel spooky and welcoming at the same time. It’s one of the simplest ways to create a Halloween character using furniture you may already own.
Place a full-size skeleton in a sturdy outdoor rocking chair near one side of the porch. Bend its knees naturally, rest an elbow on the chair arm, and angle the skull toward approaching visitors.
Position a battery-operated LED lantern on a nearby table or beside the chair. A couple of pumpkins or one autumn planter can complete the scene without overcrowding the entrance.
Secure the skeleton to the chair with discreet ties if its joints won’t hold the seated position. Make sure the chair itself is stable and cannot rock into the walkway.
This arrangement is especially effective on covered porches, where the skeleton and accessories receive some protection from the weather.
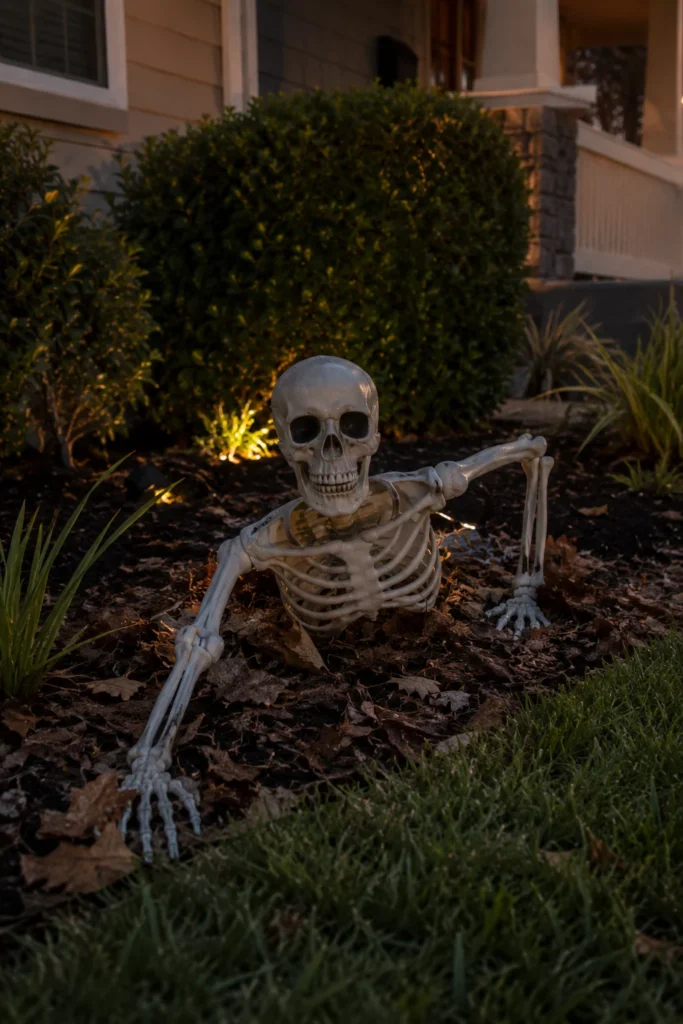
4. Make a Skeleton Crawl Out of a Garden Bed
A skeleton emerging from a garden bed creates the illusion of something rising from beneath the ground, using the existing landscaping to conceal part of the figure.
Position the upper body of a plastic skeleton at the edge of a planting bed. Extend one arm onto the lawn, bend the other elbow beneath the torso, and angle the skull upward.
Use mulch, leaves, or surrounding plants to hide the lower portion of the skeleton. There’s no need to dig into the soil or disturb established roots.
For a more convincing appearance, keep the shoulders and reaching arm clearly visible from the street. A low LED spotlight positioned behind the planting bed can highlight the rib cage after sunset.
Anchor the figure so wind or rain doesn’t shift its pose. Keep its arms within the planting area rather than extending them into paths or places where people regularly walk.
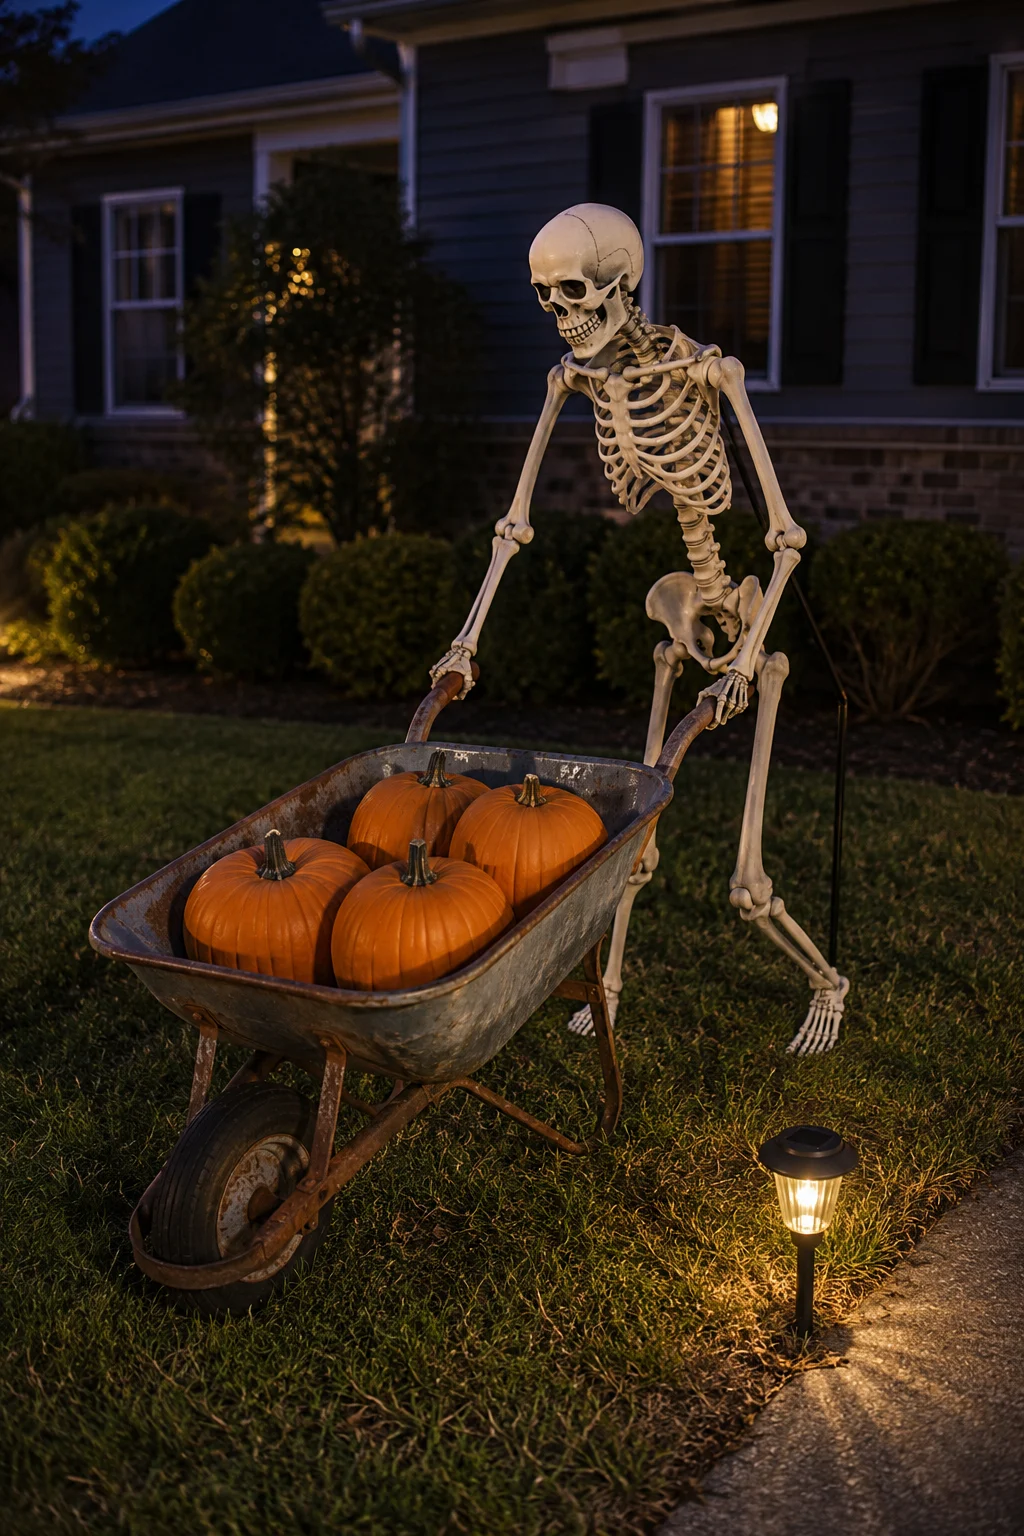
5. Put a Skeleton Behind a Wheelbarrow Full of Pumpkins
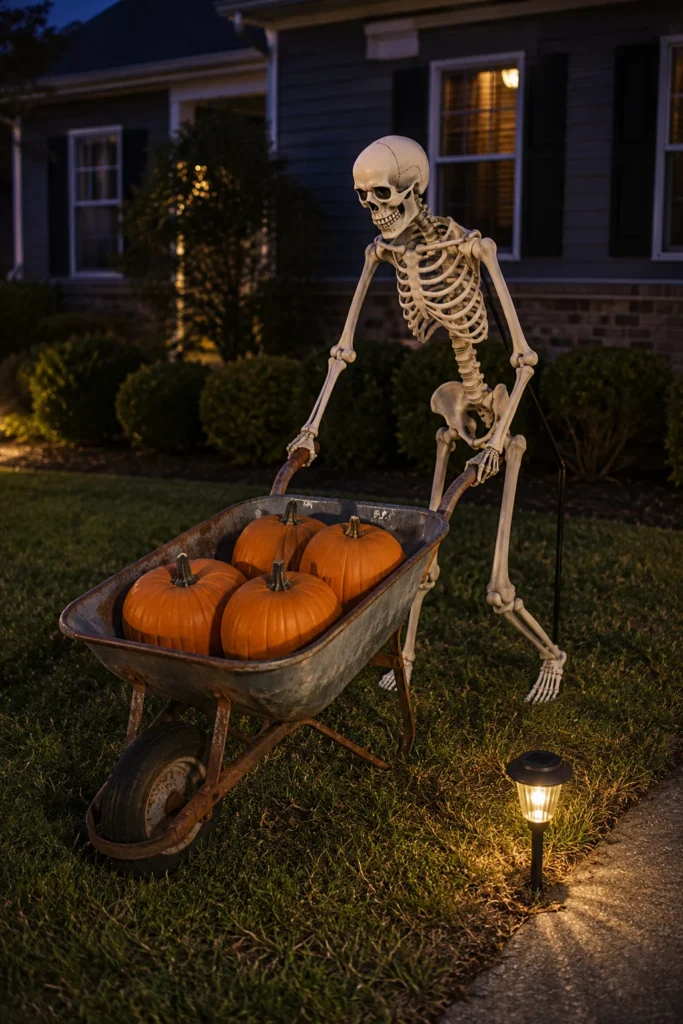
A skeleton pushing a wheelbarrow creates a playful Halloween scene that works beautifully with traditional fall decorations.
Fill a stable garden wheelbarrow with three or four pumpkins, then position a skeleton behind the handles. Lean its torso slightly forward, bend the elbows, and place one foot ahead of the other to suggest movement.
Attach the skeleton’s hands to the handles using discreet ties, but provide separate support for the figure so the wheelbarrow isn’t carrying its weight.
Choose pumpkins large enough to be visible from the curb. A nearby solar pathway light or low outdoor LED spotlight can illuminate the arrangement in the evening.
Keep the wheelbarrow on level ground, outside the driveway and normal walking routes. This family-friendly scene is a good choice when you want Halloween decorations that feel amusing rather than frightening.
6. Create a Skeleton Picnic Scene
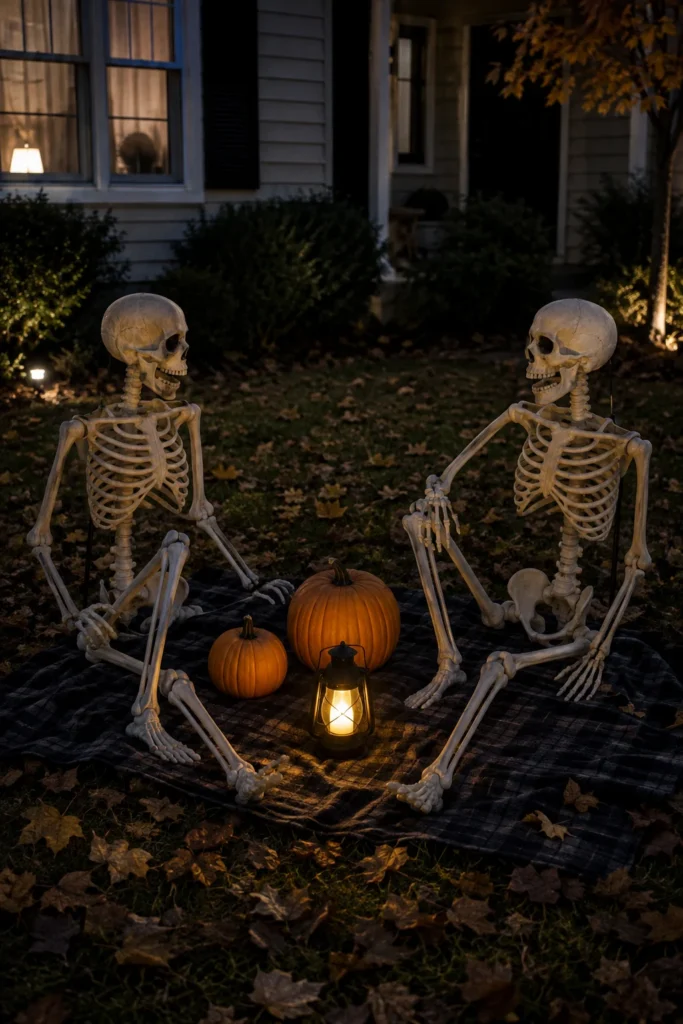
Two skeletons enjoying a picnic can turn an empty section of lawn into a humorous Halloween gathering.
Arrange two poseable skeletons on a dark picnic blanket or low outdoor chairs. Angle their skulls toward each other and position their arms around a central prop, such as a pumpkin, oversized decorative mug, or LED lantern.
The interaction between the figures is more important than the number of accessories. A simple arrangement with two pumpkins and one lantern will usually be easier to recognize from the street than a detailed miniature picnic spread.
Use low supports or discreet ties if the skeletons cannot maintain their seated positions. Warm LED lantern light suits the relaxed, playful mood.
Place the picnic several feet away from sidewalks and driveway edges. Keep fabric and lightweight accessories secured against wind, and bring them indoors during severe weather.
7. Make a Skeleton Walk a Fake Dog
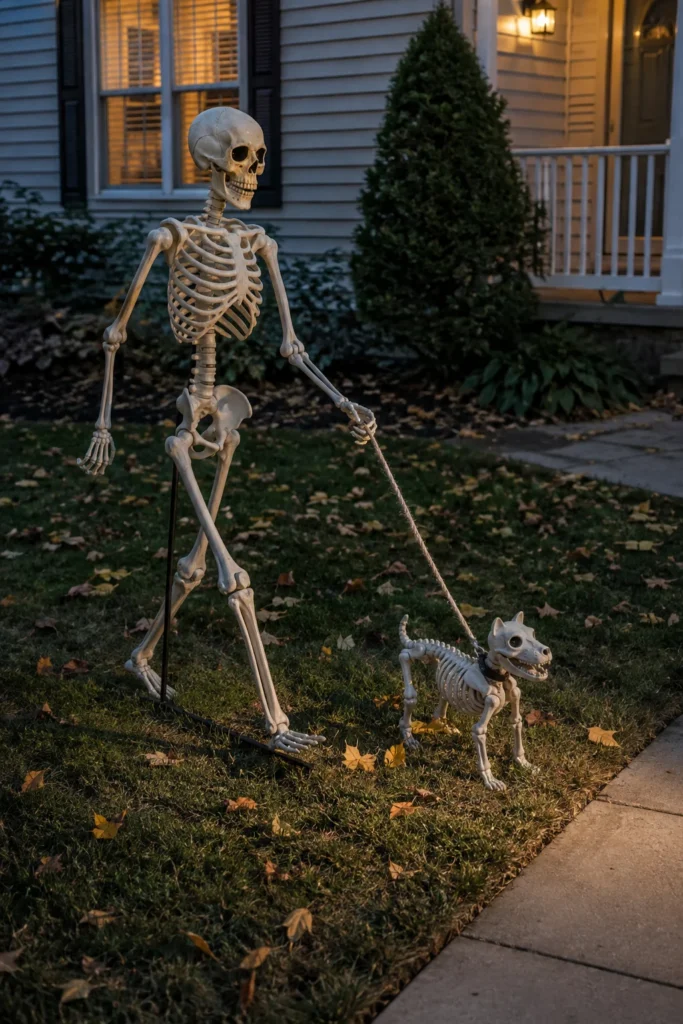
A skeleton walking a spooky pet is an entertaining front-yard decoration that tells a complete story with just two figures.
Pose a full-size skeleton in a walking position, with one knee bent forward and the opposite arm angled back. Attach a short, lightweight leash to one hand and connect it to a skeleton dog or another clearly decorative Halloween pet.
Keep the figures close enough that the relationship remains obvious from the sidewalk. A long leash stretched across the grass can become difficult to see and may create a tripping hazard.
Use a discreet rear stake to support the standing skeleton rather than depending on its joints to balance the figure.
Position the scene beside the front walkway, not directly on it. A single outdoor-rated ground light can illuminate both silhouettes after dark.
This is an effective option for a small front yard because the dog adds character without requiring another full-size skeleton.
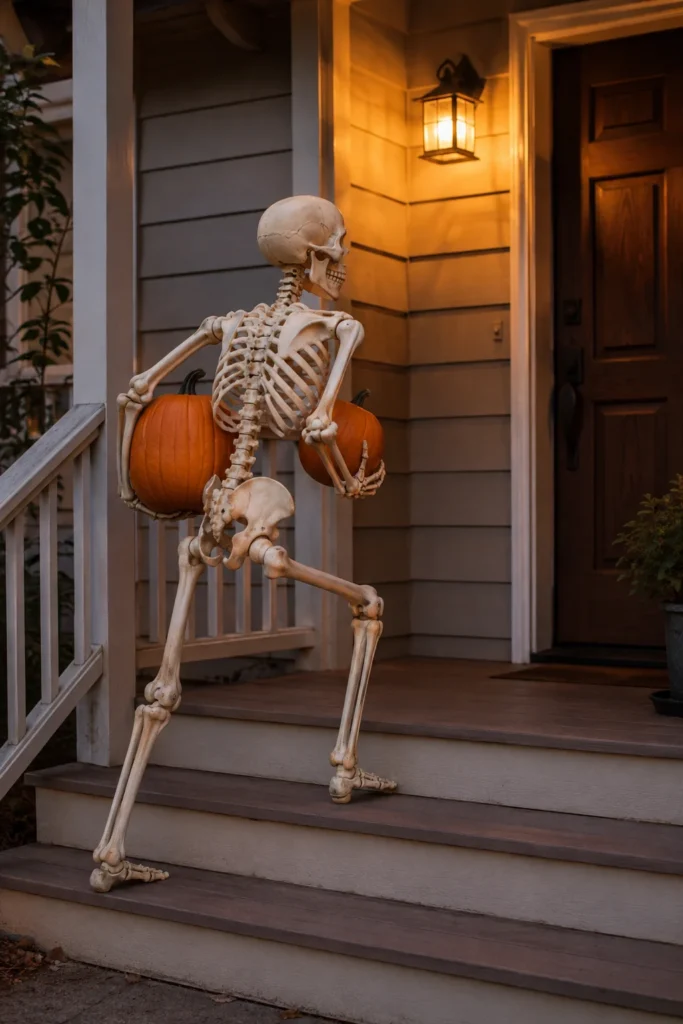
8. Pose a Skeleton Carrying Pumpkins Up the Porch Steps
A skeleton carrying pumpkins toward the front door makes use of the natural height provided by porch steps.
Position a poseable skeleton on the lower or middle steps, with one foot raised onto the next step. Tuck a lightweight plastic pumpkin under one arm and angle the skull toward the entrance.
Bend the knees and shoulders slightly to suggest that the figure is climbing rather than standing still. Use discreet attachments to keep the pumpkin and skeleton securely positioned.
Existing porch lighting may be enough to illuminate the scene, especially when the skeleton is placed near a wall sconce.
Keep the usable width of the stairs and the entrance completely clear. The display must not obstruct normal access, handrails, or an emergency exit route.
If the steps are too narrow, create the same pose beside the staircase using a stable platform outside the walking area.
9. Hang a Skeleton From a Fence in an “Escape” Pose
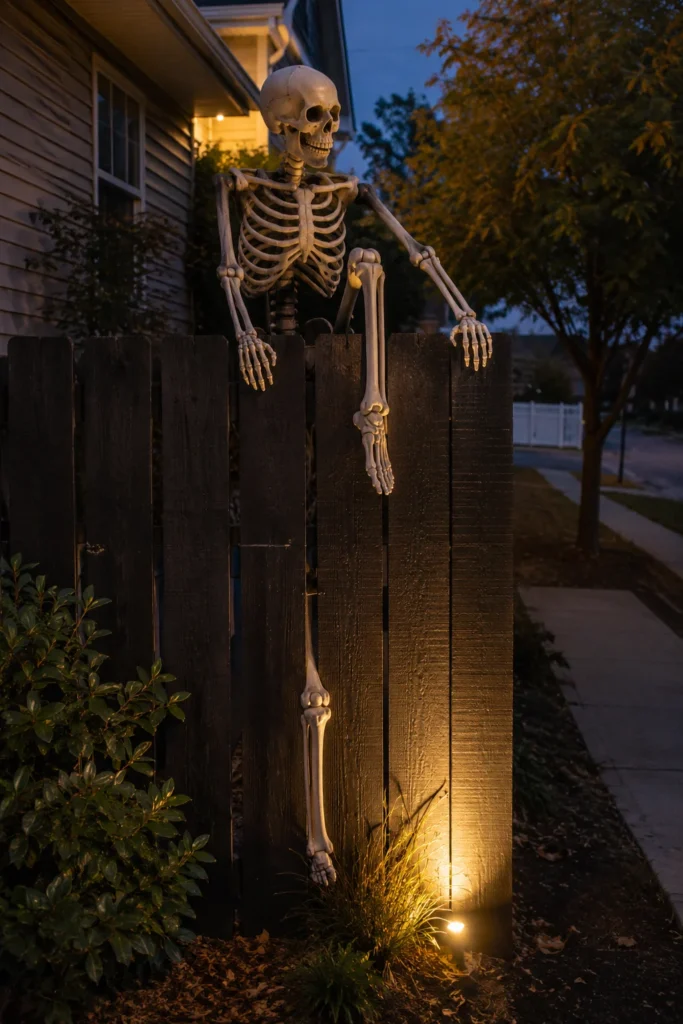
A skeleton appearing to climb over a fence creates a dramatic Halloween silhouette without taking up much lawn space.
Position the upper body of a plastic skeleton above a sturdy fence, with both hands reaching over the top. Let one leg hang lower while bending the opposite knee to suggest the figure is halfway through an escape.
Turn the skull toward the yard or sidewalk to give the scene personality. The fence provides a strong background that makes the bone shapes easier to recognize.
Secure the skeleton at several points with non-damaging attachments. Its decorative hands should not be responsible for supporting the entire figure.
A small outdoor-rated uplight can highlight the skull and shoulders after sunset.
Keep the skeleton entirely within your property and make sure it cannot fall toward a sidewalk, neighboring yard, or driveway.
10. Make a Skeleton Pop Out of a Trash Can
A skeleton emerging from a trash can is a funny, inexpensive Halloween decoration that works particularly well near a garage or driveway.
Use a clean, sturdy outdoor trash can or large plastic bin. Position the lower half of the skeleton inside the container and lean its torso over the rim.
Let one arm hang toward the ground while the other rests along the edge. Turn the skull toward the street so the scene is easy to recognize.
A few dry leaves around the opening can add character, but avoid covering the skeleton with unnecessary props.
Stabilize the container and secure the figure internally so the forward-leaning pose doesn’t cause it to tip. Keep the arrangement away from vehicle movement and pedestrian routes.
If you use a household trash can, choose one that won’t be needed for regular collection while the display is installed.

11. Turn One Skeleton Into a Creepy Gardener
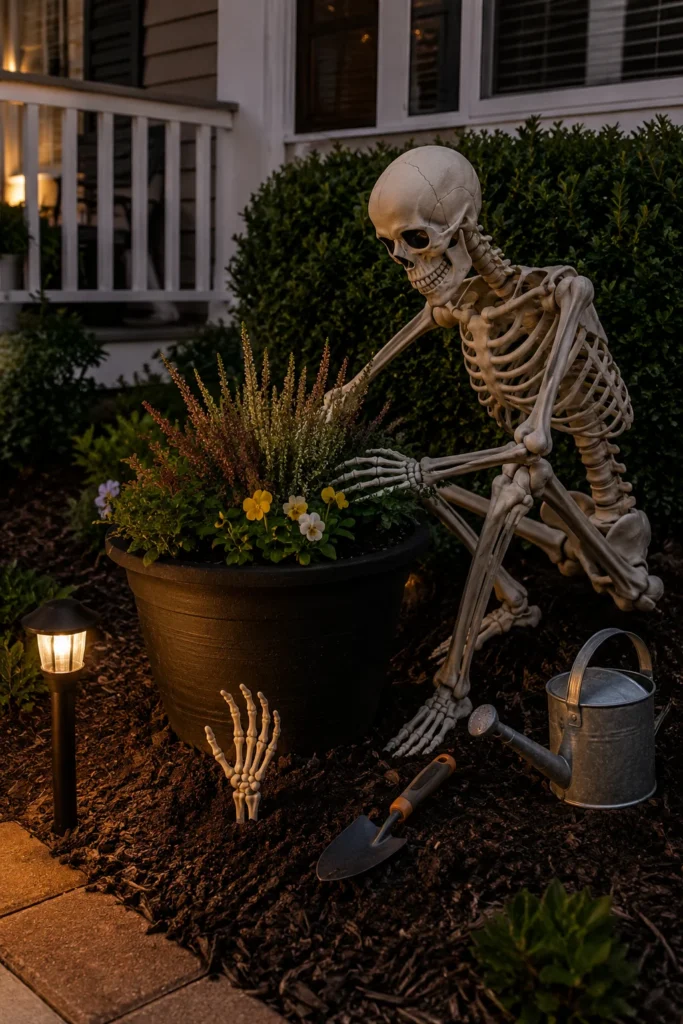
A gardening skeleton is a creative way to incorporate Halloween decorations into an existing flower bed or front-yard planter.
Place a poseable skeleton beside a large planter, either crouching or sitting on a low outdoor stool. Angle its skull downward toward the plants and position a lightweight watering can or hand trowel nearby.
Lean the torso forward slightly so the skeleton appears focused on its task. For a playful detail, add a small plastic bone or skeletal hand emerging from the planter.
Use the existing plants and soil as part of the setting rather than creating a separate decorative background.
A nearby pathway light can illuminate the figure without requiring additional equipment.
Secure lightweight garden tools and accessories so they cannot blow away. This scene works particularly well for homeowners who already decorate their porch or garden with autumn planters.
12. Use a Skeleton as a Lantern Keeper by the Walkway
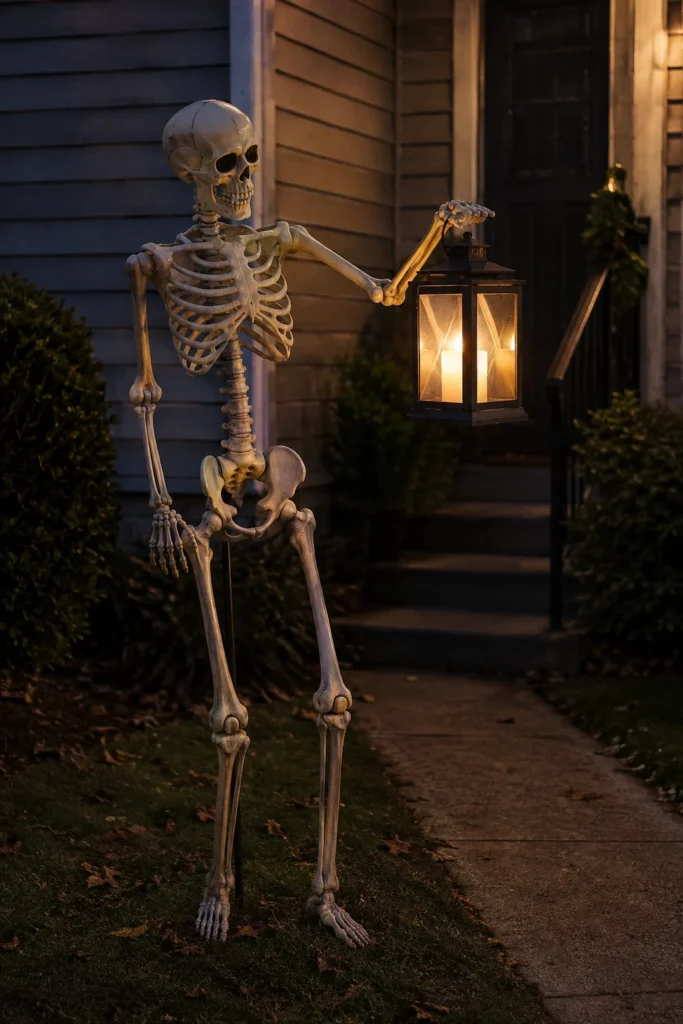
A lantern keeper creates a simple but atmospheric Halloween welcome near the front entrance.
Position a standing skeleton beside the walkway, with one arm extended toward a large battery-operated LED lantern. Turn its skull toward approaching guests and bend one knee slightly to avoid a stiff pose.
The lantern acts as both the main accessory and a gentle light source. Choose a design large enough to remain visible from the sidewalk.
Use a stable rear support or weighted base to keep the skeleton upright. An extended arm can catch wind and shift an unsecured figure.
Keep the lantern lightweight and avoid open flames around plastic decorations, fabric, or dry autumn leaves.
This arrangement is especially suitable for narrow townhouse lawns and small porches because it creates a complete Halloween scene without requiring multiple figures.
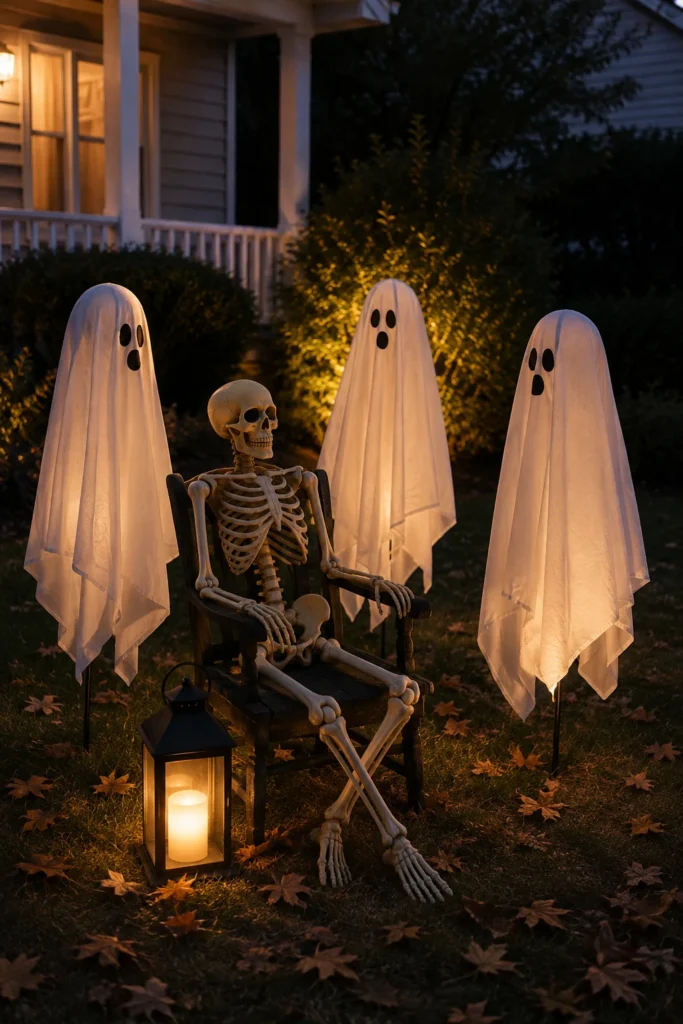
13. Pair One Skeleton With Three Front-Yard Ghosts
Combining skeletons and ghosts can create a charming Halloween gathering when the figures are arranged to tell one story.
Use one seated skeleton as the main character and position three simple white sheet ghosts in a loose semicircle around it.
The skeleton might sit in an outdoor chair holding a lantern while the ghosts appear to gather around and listen.
Keep the ghosts visually simple, with basic dark faces and lightweight white coverings. Their repeated shapes create contrast with the detailed bones of the skeleton.
Place the figures far enough apart for each silhouette to remain visible from the curb. A warm LED lantern near the skeleton and soft backlighting behind the ghosts can provide atmosphere after sunset.
Anchor each ghost support independently and keep all fabric away from flames, hot fixtures, and walking routes.
14. Build a Simplified PVC Skeleton Silhouette
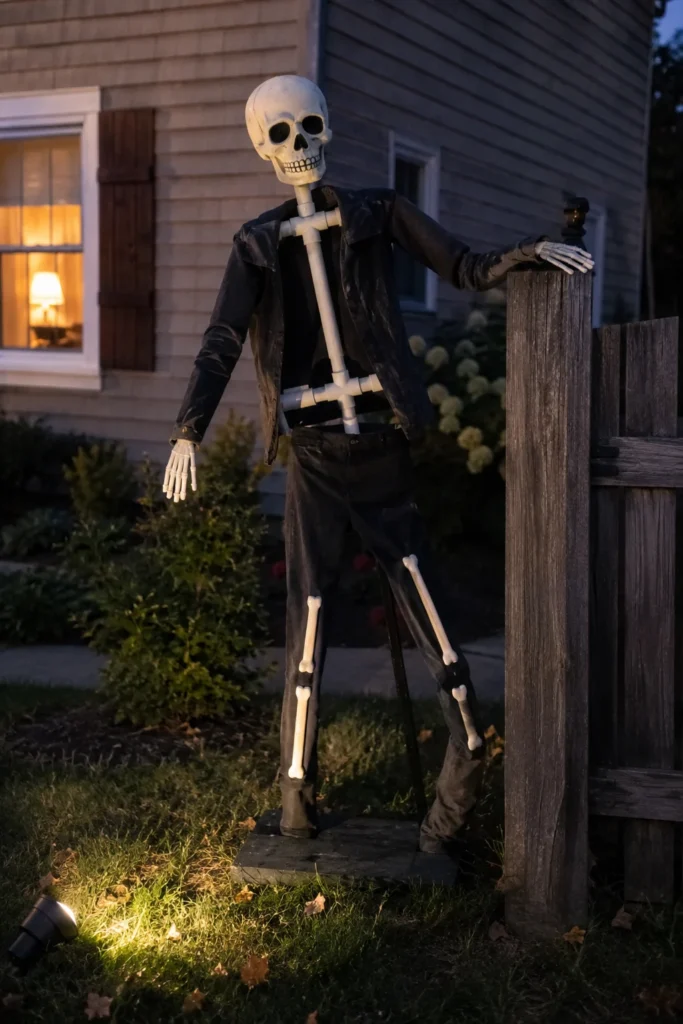
If you enjoy making your own Halloween props, a simplified PVC skeleton silhouette offers an alternative to purchasing a complete poseable figure.
Build a lightweight frame with a central torso, two arms, and two legs, using suitable PVC components and connectors. Add a lightweight decorative skull at the top to establish the recognizable skeleton shape.
Dark thrifted clothing with selected pale bone-like accents can help create contrast without requiring detailed anatomical construction.
Choose one strong pose, such as a figure reaching over a fence or leaning beside a porch column. From the street, the overall outline will matter more than individual ribs or finger details.
Follow appropriate tool and material instructions during construction. Provide a stable weighted base or securely anchored rear support, since tall lightweight frames can be affected by wind.
This is a good weekend project for decorators who want a custom-sized skeleton prop suited to a particular yard location.
15. Add a Spray-Foam Corpse-Like Skeleton Accent to a Fence
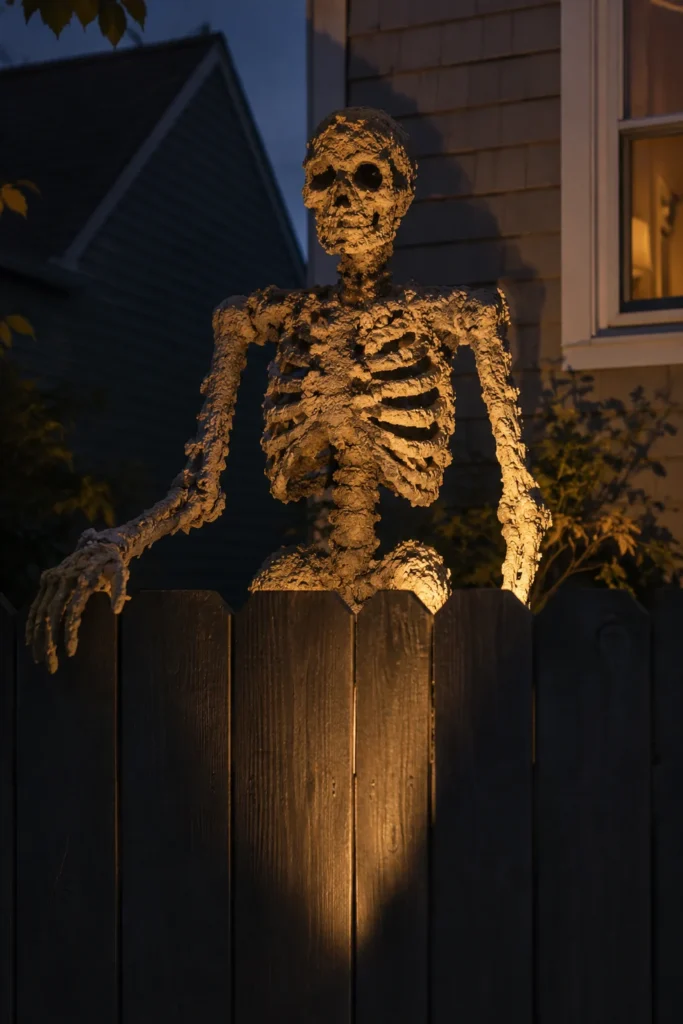
A textured skeleton prop can create a weathered, eerie appearance that contrasts with ordinary smooth plastic Halloween decorations.
Start with a prebuilt lightweight skeleton frame or existing decorative prop. Use an appropriate specialty decorative foam product to add rough texture to selected areas, such as the torso and shoulders.
The goal is an aged, partially mummified silhouette rather than a fully detailed anatomical sculpture.
Follow the foam manufacturer’s instructions for ventilation, protective equipment, application, curing, and compatible finishes. Some products are not suitable for prolonged outdoor exposure, so check their intended use before displaying the prop.
Position the finished figure behind a fence or planter, where only part of its upper body is visible. Secure it independently so it cannot tip or fall.
A low warm-white or amber LED light can emphasize the textured surface and make the unusual silhouette stand out after dark.
16. Make a Funny Puking Skeleton Planter Scene
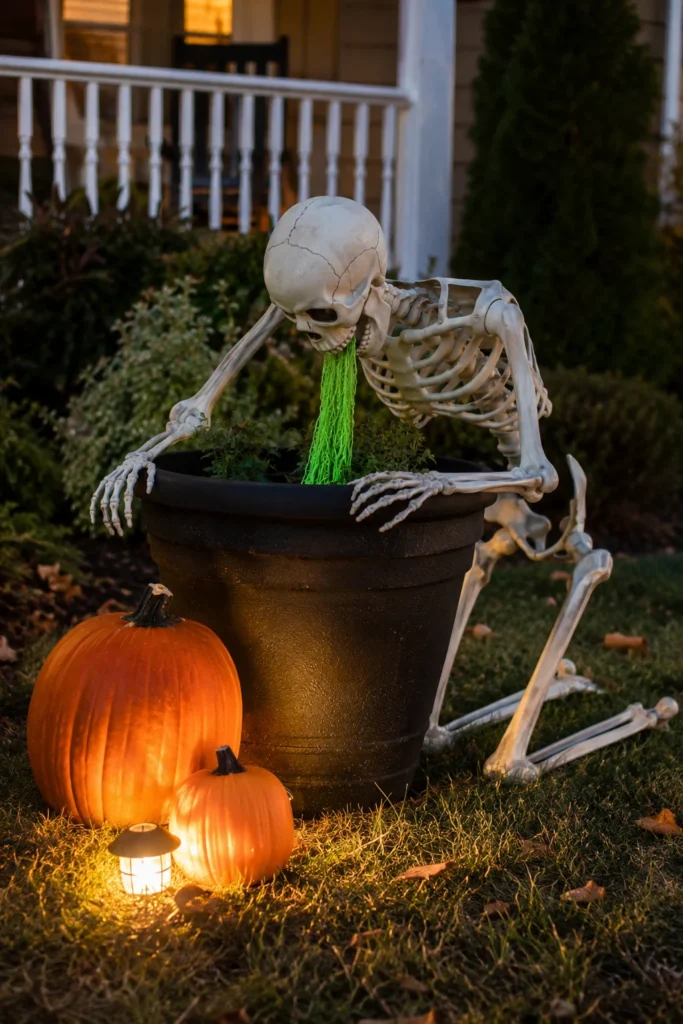
A puking skeleton decoration can bring silly Halloween humor to the front yard without using realistic gore.
Place a kneeling or seated skeleton beside a large outdoor planter. Lean its torso over the rim, position both hands near the top, and angle the skull downward.
Use short strands of bright green yarn or shredded green fabric to create an obviously artificial effect extending into the planter.
Add two pumpkins nearby to reinforce the Halloween theme. A low outdoor-rated LED light can make the skeleton’s pose visible after sunset.
Support the figure from behind or secure it to a stable structure so the forward-leaning posture doesn’t pull it over.
Keep the green decorative material contained within the planter and remove it during strong winds or heavy rain. The scene works best when the effect is playful, simple, and immediately recognizable.
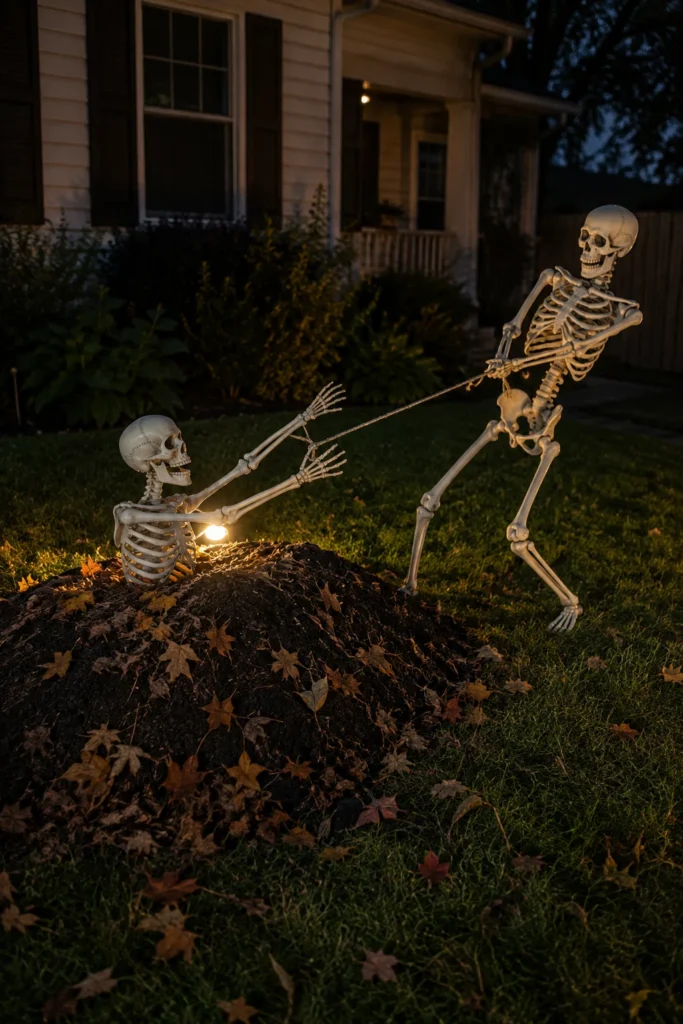
17. Create an “Escaping From the Grave” Skeleton Pair
Two interacting skeletons can create a dramatic graveyard scene without filling the entire lawn with decorations.
Position one skeleton partly concealed behind a low faux grave mound, with its upper body reaching toward a second figure.
Place the second skeleton nearby in a standing position, leaning backward slightly as though helping the first one escape. Angle both skulls toward the interaction.
A short decorative rope or faux chain can connect the figures visually, but it should not be used to support either skeleton’s weight.
Use separate stakes or stable supports for both figures. Add a low outdoor-rated LED spotlight behind the mound to highlight the reaching arms and rib cages.
Keep the grave mound compact if your front yard is small, and position the arrangement away from sidewalks, driveways, and areas where visitors may walk.
The contrasting poses make this a strong focal point for a spooky Halloween front-yard display.
A Simple Formula for Better DIY Skeleton Yard Decor
The best DIY skeleton yard decorations begin with a recognizable action rather than a large collection of accessories.
A useful formula is one clear action, a convincing pose, one or two supporting props, secure anchoring, and appropriate lighting.
Start by deciding what your skeleton is doing. A grave-digger needs a forward-leaning pose and a visible shovel. A climbing skeleton needs raised arms and bent knees. A seated porch skeleton needs a chair, relaxed body position, and a skull angled toward approaching visitors.
Next, choose the main prop. Larger objects such as lanterns, wheelbarrows, pumpkins, and garden tools are usually easier to recognize from the street than numerous tiny accessories.
Check the scene from the sidewalk or curb before adding more decorations. If the action is immediately understandable, the arrangement may already be complete.
For evening displays, use outdoor-rated LED lighting to highlight the skeleton’s silhouette. A single well-positioned light can be more effective than several competing colors or effects.
Finally, consider practical conditions. Anchor figures securely, keep pathways and entrances clear, protect electrical connections, and choose materials suitable for outdoor exposure.
Whether you’re decorating a narrow porch or a spacious front lawn, a thoughtfully posed skeleton can become the centerpiece of your Halloween decorations. Focus on one memorable scene, keep the supporting details simple, and enjoy creating a spooky display that looks great throughout October.
