
15 Garage Tool Organization Ideas That Actually Save Space
A cluttered garage can make even a simple repair frustrating. You know you own the right socket or screwdriver, but finding it means searching through drawers, moving storage bins, and checking the workbench for the third time.
The solution isn’t necessarily buying more storage. It’s giving each type of tool a suitable location, keeping frequently used equipment accessible, and making better use of the walls without overcrowding the floor.
Whether your garage doubles as a workshop, a gardening equipment store, or a place for household repairs, these 15 garage tool organization ideas can help you create a practical system that fits your space and the projects you actually do.
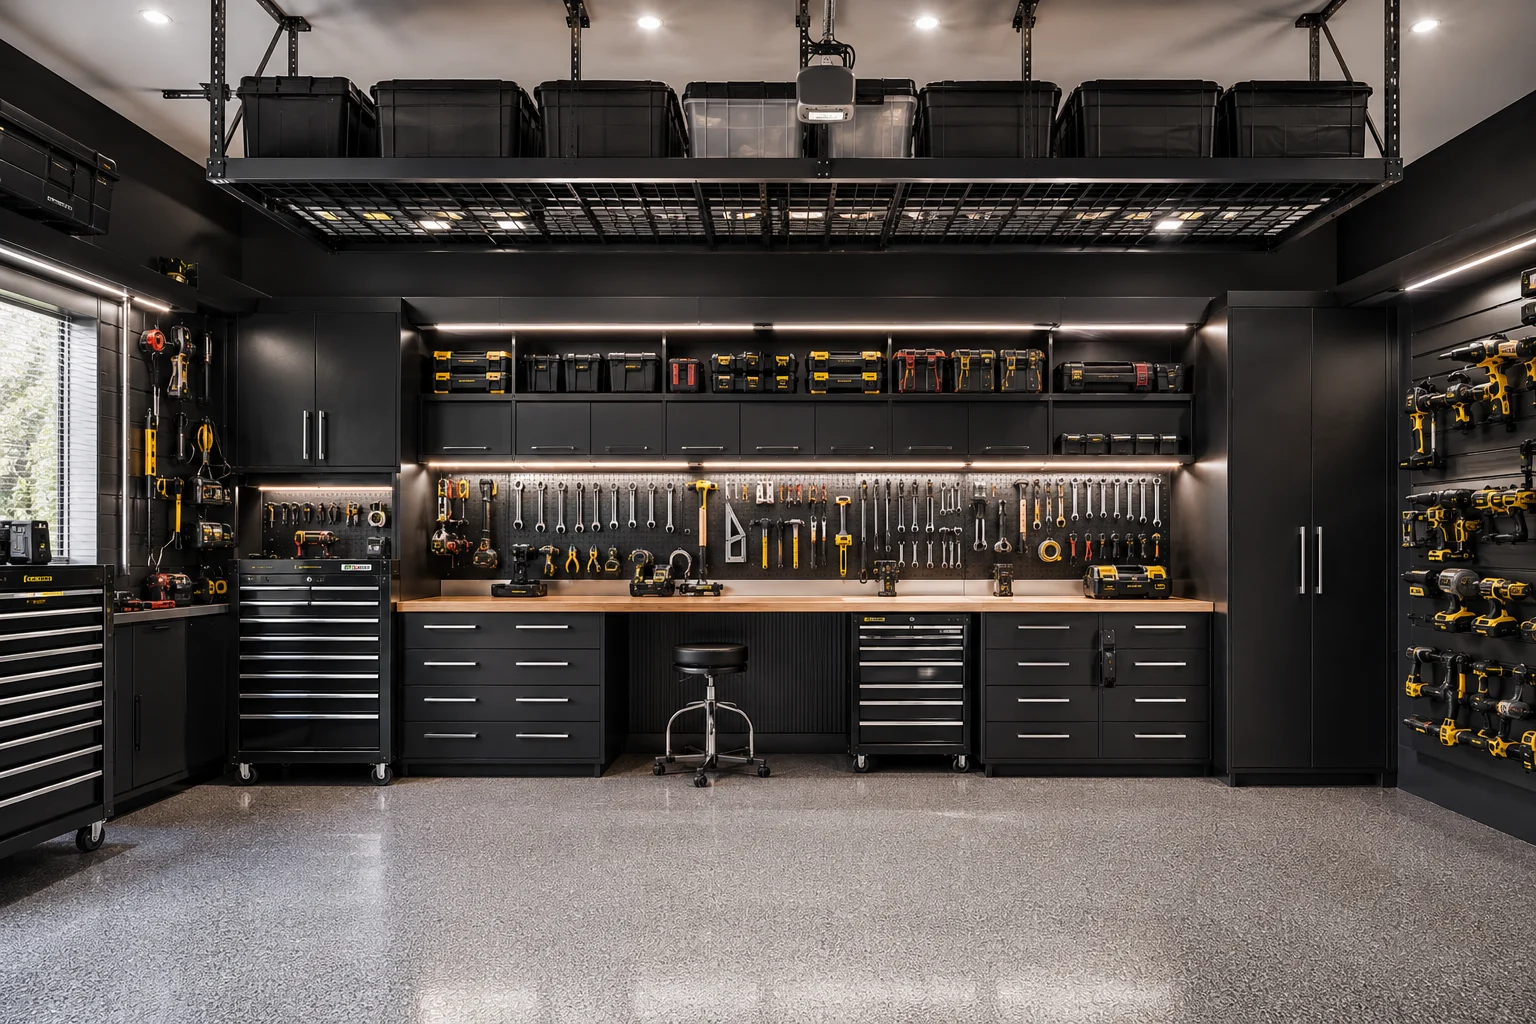
1. Install a Full Garage Pegboard Wall
A pegboard wall keeps frequently used hand tools visible and accessible instead of buried inside drawers or toolboxes. It’s particularly useful above a workbench, where screwdrivers, pliers, measuring tools, and small wrenches are needed regularly.
Choose a pegboard system suited to the tools you plan to hang. Metal panels may offer a durable option for a busy workshop, while hardboard pegboard can work well for lighter hand tools when installed and supported correctly.
Arrange tools by function rather than simply filling every available hook. Keep measuring tools together, group pliers and wrenches, and leave space around larger items so they’re easy to remove.
For a cleaner appearance, use consistent hooks and place the most frequently used tools within comfortable reach. A few empty spaces are useful when your collection changes.
Check the manufacturer’s mounting requirements and load limits before installation. The panel and its accessories need suitable support, especially when heavier tools are involved.

2. Create a Tool Shadow Board
A shadow board builds on the pegboard idea by giving every tool a clearly marked location.
Each tool has an outline or silhouette behind it, making it easy to see where the item belongs and whether something hasn’t been returned. This is particularly useful in a shared garage where several people use the same equipment.
Start by arranging your tools on the board until the layout feels practical. Keep related items together and leave enough space to remove each tool without disturbing the others.
Once you’re satisfied, mark the outlines using paint, removable vinyl, or another material compatible with the board. Removable markings are convenient if you frequently replace or reorganize tools.
Avoid outlining every tiny accessory if doing so makes the display difficult to maintain. Reserve the system for frequently used hand tools and equipment with recognizable shapes.
The result is an organized workspace where putting tools away becomes more straightforward.
3. Add Modular Garage Wall Panels
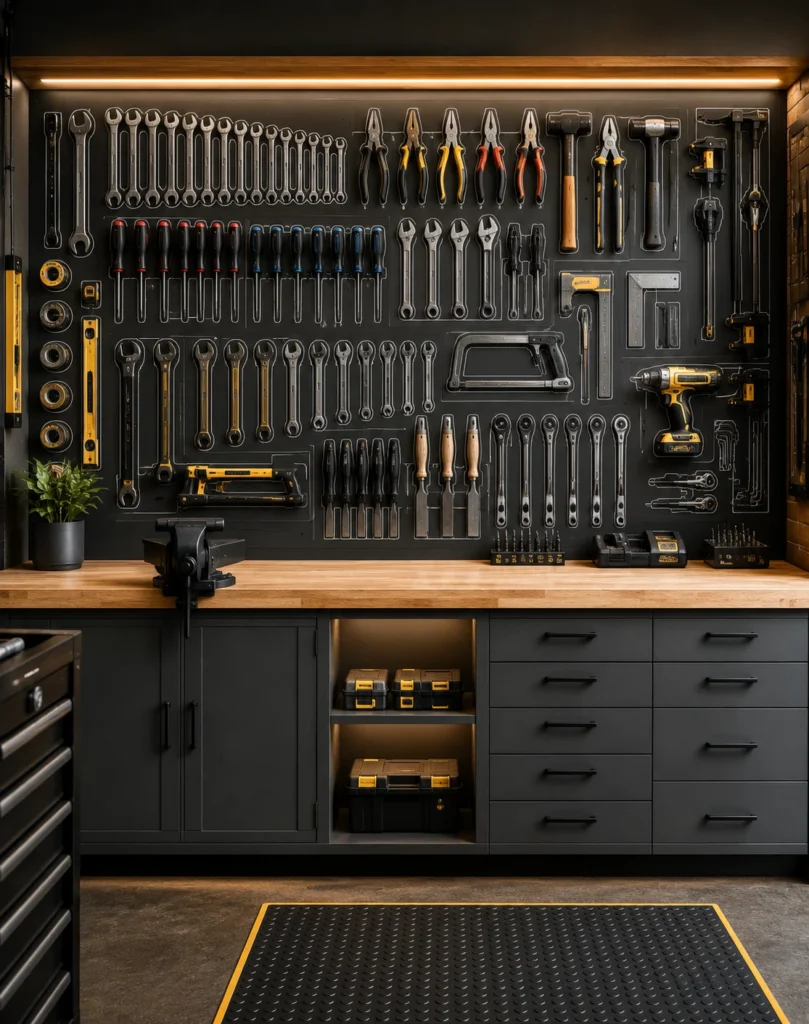
Modular wall panels provide flexible storage for tools and equipment that don’t fit neatly on an ordinary pegboard.
Slatwall systems can accommodate hooks, baskets, shelves, and compatible holders that move as your storage needs change. They’re useful when a garage supports several activities, such as gardening, woodworking, and general home maintenance.
Begin by deciding which tools need wall storage. Long levels, extension cords, hand tools, and selected accessories may benefit from different types of holders.
Choose a system with components designed to work together. Accessories that appear similar aren’t necessarily interchangeable between manufacturers.
Arrange heavier items lower on the wall and reserve upper sections for lightweight equipment that isn’t needed every day.
A modular system is especially appealing if you expect your collection to change. Instead of installing new shelves for every addition, you can rearrange the existing storage.

4. Build a Dedicated Workbench Storage Zone
A workbench becomes more useful when the tools and supplies around it are organized for the tasks you perform there.
Begin with a sturdy work surface that fits the garage without interfering with parked vehicles, doors, or walking routes. A compact bench with good storage may be more practical than an oversized one.
Use drawers beneath the work surface for small tools, drill bits, and measuring equipment. Pegboard or slatwall above the bench can hold frequently used hand tools, while nearby shelving provides space for selected power tools and supplies.
Keep the central work surface relatively clear. If the bench is permanently covered with storage containers, there won’t be much room left for actual projects.
Position task lighting where it illuminates the work without producing uncomfortable glare or shadows.
Choose the bench construction and support according to the activities you plan to perform. Light household repairs and heavy-duty woodworking can place very different demands on a work surface.

5. Use Rolling Tool Cabinets
Rolling tool cabinets provide enclosed storage for equipment that benefits from protection against dust, accidental knocks, and everyday garage clutter.
They work particularly well for socket sets, precision measuring tools, specialty automotive equipment, and smaller accessories.
Choose a cabinet with drawer sizes that match your collection. Shallow drawers can organize wrenches and sockets, while deeper drawers may accommodate larger tools.
Use non-slip drawer liners and organizers to prevent tools from shifting. Group equipment by task, and label drawers if their contents aren’t immediately obvious.
A cabinet with suitable locking casters can move closer to a vehicle or workbench during a project, then return to its usual position.
Before purchasing, check the cabinet’s total load rating, individual drawer capacities, and overall dimensions. Make sure the drawers can open fully without hitting nearby shelving or a parked vehicle.
Keep heavy tools in lower drawers to improve stability, and follow the manufacturer’s instructions for moving and loading the cabinet.

6. Install Overhead Garage Storage Racks
Overhead racks can free wall and floor space by moving infrequently used belongings into suitable ceiling storage.
They’re most useful for lightweight or bulky seasonal items, such as holiday decorations, camping accessories, and equipment that doesn’t need to be accessed regularly.
Choose the storage location carefully. The rack must not interfere with garage door movement, lighting, vehicles, or other equipment.
Ceiling construction varies, so don’t assume every garage can support an overhead rack. The structure, attachment method, and intended load need to be suitable for the specific installation.
Use durable, properly closed containers and label the sides that remain visible from below. Keep the contents organized so you don’t have to lower several bins to find one item.
Avoid storing extremely heavy tools, dense building materials, hazardous substances, or frequently used equipment overhead.
A properly planned rack should reclaim useful space without creating an awkward or unsafe storage area above where people work or walk.
7. Create a Gardening Tool Station
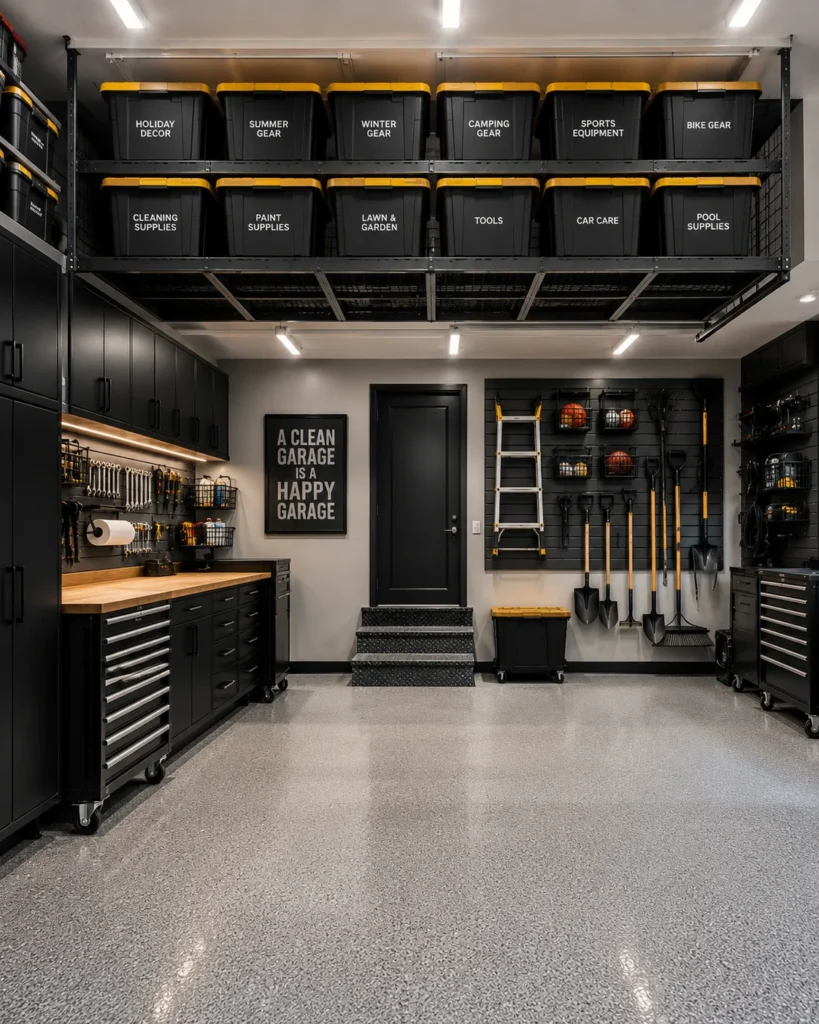
Long-handled gardening tools are difficult to organize when they’re left leaning in a corner. Shovels, rakes, brooms, and hoes can become tangled, making even one tool frustrating to retrieve.
A dedicated gardening station keeps this equipment together and separates dirty outdoor supplies from the main workshop.
Install compatible wall-mounted holders or a purpose-built rack for the tools you own. Allow enough space between handles so each item can be removed without pulling down its neighbors.
Place frequently used tools at a comfortable height. Smaller accessories, gloves, and watering attachments can go into nearby baskets or drawers.
A washable tray or easy-to-clean floor area can help contain soil and debris brought in from outside.
Keep garden chemicals and fuels in appropriate storage rather than mixing them with ordinary tools. Follow product-label instructions and keep hazardous materials away from children, pets, and incompatible substances.
The goal is a station that’s easy to use after gardening, when putting everything away should require as little effort as possible.

8. Store Power Tools on Open Shelving
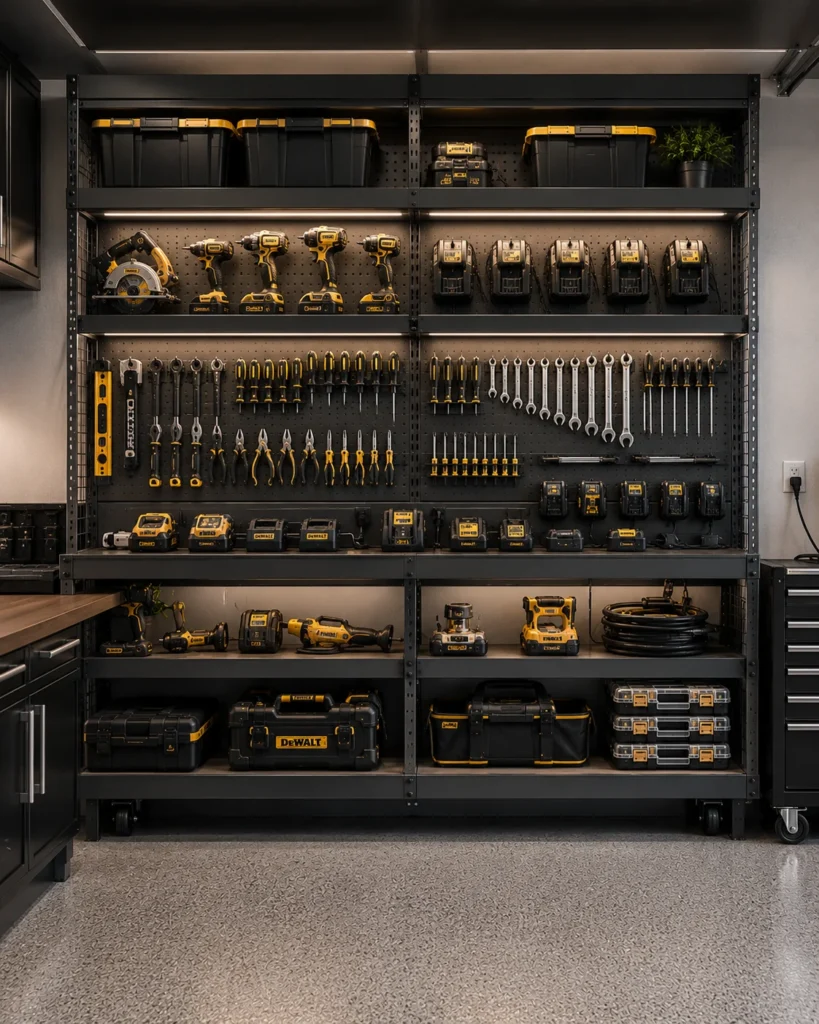
Open shelving gives cordless drills, sanders, saws, and other portable tools a designated home without requiring a separate drawer for every item.
Choose shelves deep and strong enough for the tools you plan to store. Position heavier equipment on lower shelves, where it’s easier to lift and return.
Arrange tools by type or frequency of use. Everyday equipment should be accessible, while less frequently used tools can occupy secondary shelves.
Keep accessories together in labeled containers. Drill bits, sanding discs, blades, and attachments are easier to find when they aren’t mixed into one large box.
Open shelving makes tools visible but also exposes them to dust. Where dust or moisture is a concern, use suitable cases or enclosed cabinets for more delicate equipment.
Store batteries and chargers according to the manufacturer’s instructions. A storage shelf doesn’t automatically make a suitable charging location.
Leave a little unused space so tools can be returned without shifting everything around.
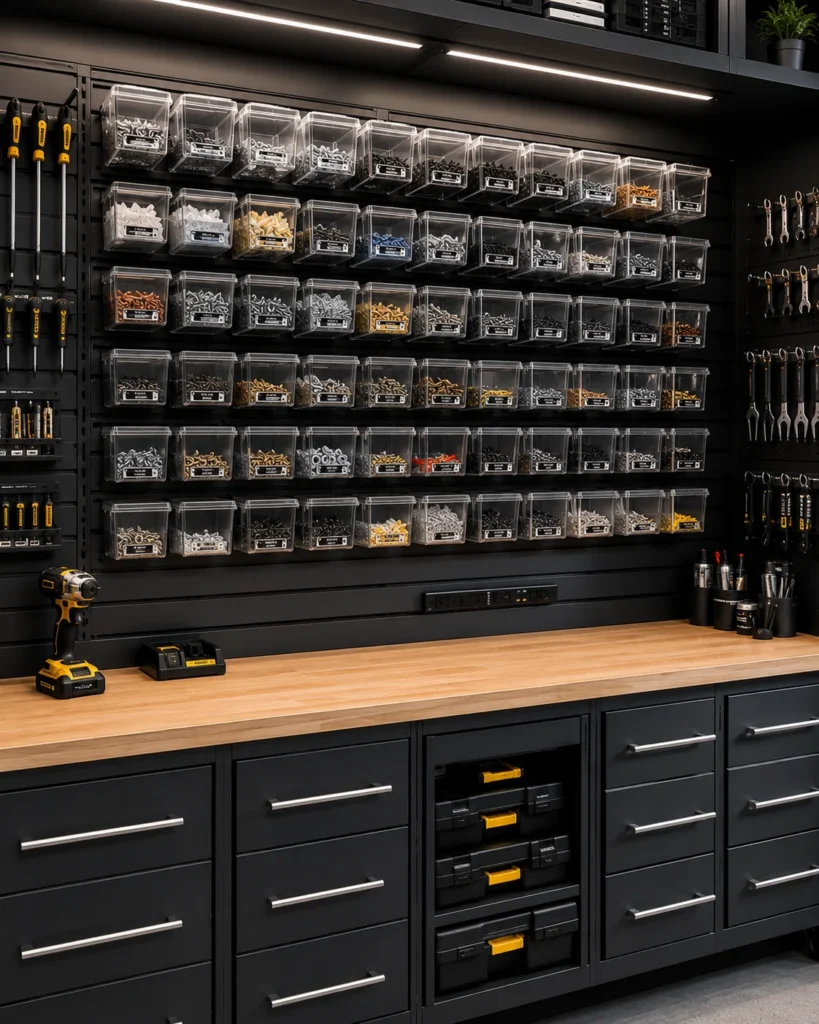
9. Organize Fasteners in Clear Bins
Loose screws, nails, washers, nuts, and bolts can turn a small repair into a lengthy search.
Clear bins or compartment organizers make these supplies easier to identify and keep different sizes from mixing together.
Start by sorting the hardware you already own. Separate fasteners according to the distinctions that matter for your projects, such as type, size, or intended use.
Use containers with dividers that remain secure when opened or moved. Label compartments clearly, particularly when similar-looking fasteners have different specifications.
Position frequently used hardware near the workbench. Less common supplies can go into a larger cabinet or drawer.
Avoid creating so many categories that the system becomes inconvenient. If you only have a few miscellaneous pieces, one clearly labeled compartment may be sufficient.
Check your existing supplies before buying replacements. An organized fastener collection can make it easier to see what you already have.
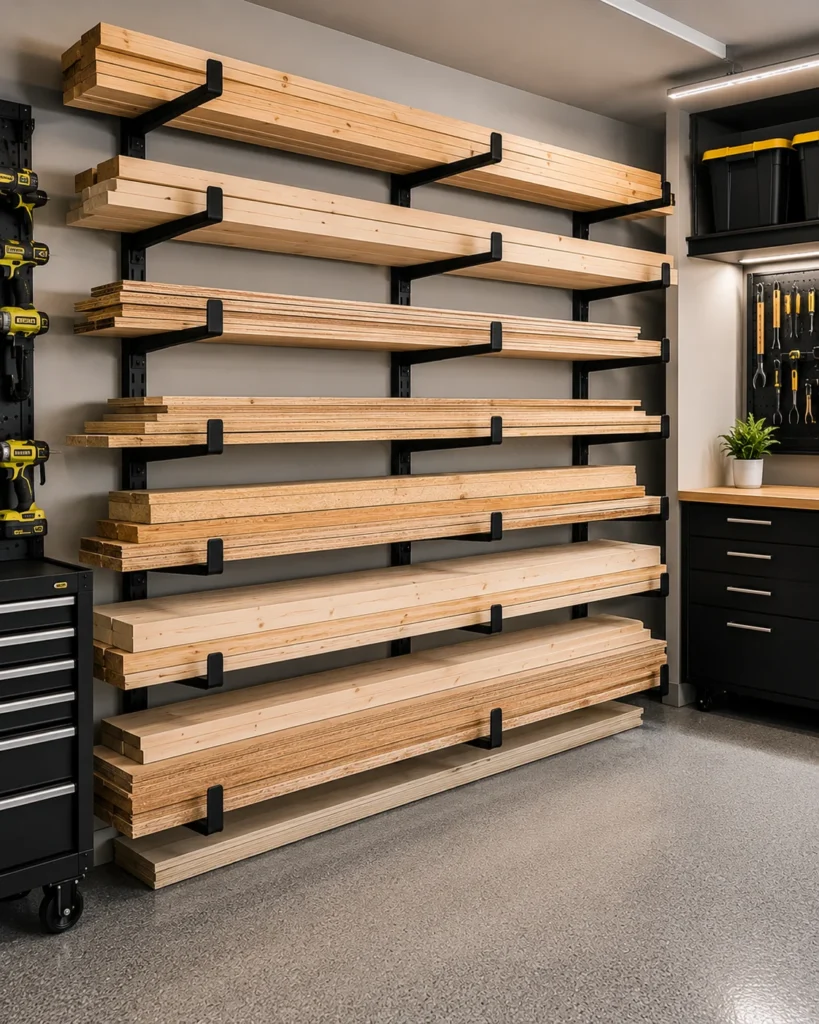
10. Install Vertical Lumber Storage
Lumber and offcuts can quickly take over a garage when boards are stacked across the floor or leaned loosely against walls.
A dedicated storage system keeps wood organized and makes it easier to choose the material needed for a project.
Vertical compartments can work for appropriately sized shorter boards and offcuts. Use dividers or secure restraints to prevent pieces from tipping or sliding into the walkway.
Longer lumber and sheet goods may be better suited to properly supported horizontal racks or storage designed specifically for those materials.
Choose the arrangement according to the dimensions, weight, and condition of the wood. Not every board is suitable for the same storage position.
Keep lumber away from damp areas and consider how the storage arrangement may affect straightness and condition over time.
Separate useful offcuts from scraps you’re unlikely to need. Saving every small piece can eventually consume more room than the full boards you actually use.
11. Create a Yard Equipment Storage Wall
A yard equipment storage wall gives larger outdoor tools their own location instead of allowing them to spread across the garage.
This area can accommodate string trimmers, hedge shears, extension cords, hoses, and compatible lawn-care accessories.
Choose holders specifically designed for the size and weight of each item. Position equipment so it can be removed without striking adjacent tools or requiring awkward lifting.
Group related accessories nearby. Spare trimmer line, gloves, and small attachments can go into labeled baskets or drawers.
Keep cords and hoses neatly coiled according to their care instructions, avoiding tight bends that could cause damage.
This station differs from the gardening tool area by focusing on larger powered equipment and its accessories rather than primarily long-handled manual tools.
Store fuel, batteries, and hazardous maintenance products according to their individual safety requirements. Don’t place them together on an ordinary shelf simply because they’re used for yard work.

12. Add Corner Shelving Units
Garage corners often collect miscellaneous items because standard shelving doesn’t always fit the available shape.
A corner shelving unit can turn that area into organized storage without extending unnecessarily into the main workspace.
Choose a freestanding or wall-supported system appropriate for the space. Measure the corner carefully, including nearby doors, windows, outlets, and vehicle clearance.
Use the lower shelves for heavier supplies and reserve upper shelves for lighter items. Clear bins can help organize smaller accessories that would otherwise disappear toward the back.
Avoid placing frequently used tools in the deepest or least accessible part of the corner. Those locations are better for supplies you need only occasionally.
Keep paint, adhesives, automotive fluids, and other chemicals in suitable storage conditions according to their labels and compatibility requirements.
A corner unit should make the garage easier to navigate, not create another place where belongings are piled out of reach.

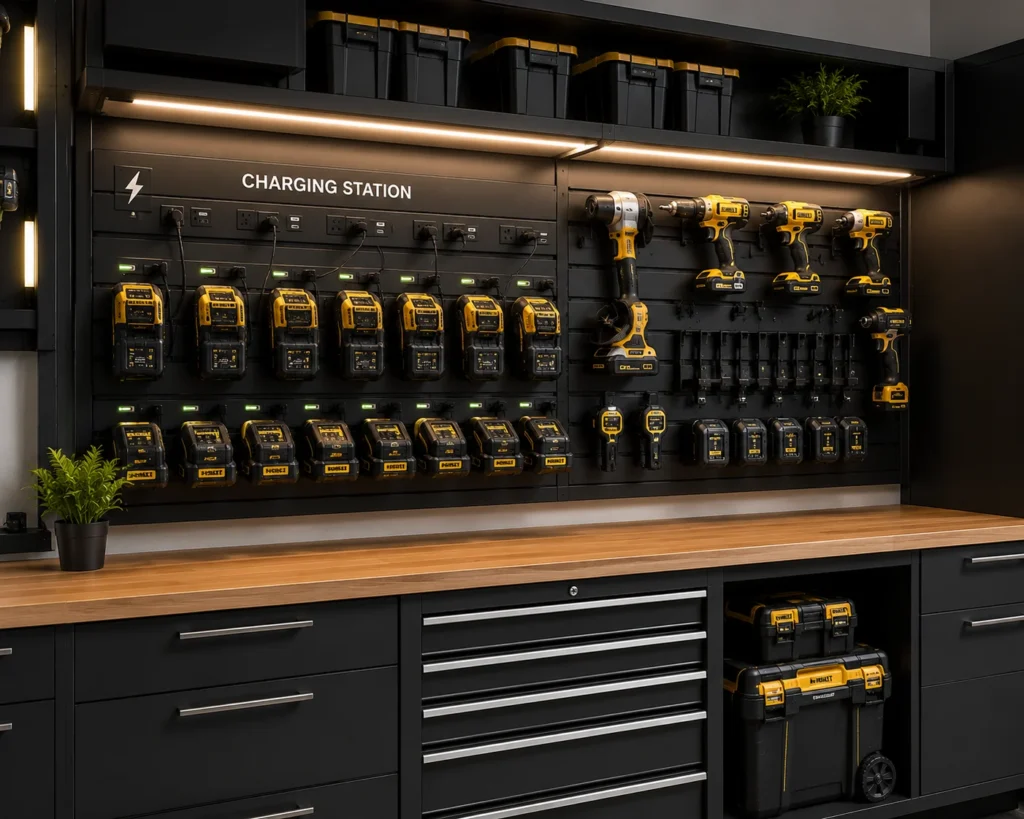
13. Build a Tool Charging Station
Cordless tools are convenient, but several chargers and battery packs can quickly cover a workbench.
A dedicated charging station brings compatible equipment together and helps keep cords organized.
Choose a clean, dry location with suitable ventilation and access to an appropriate electrical outlet. Use a shelf or purpose-built station that accommodates the chargers without crowding their ventilation openings.
Label charging positions if you use several battery platforms. Keep each charger with the batteries approved for that model.
Route cords neatly so they aren’t pinched, damaged, or stretched across walking areas.
Avoid placing chargers near flammable liquids, combustible clutter, or other heat-sensitive materials. Don’t charge batteries inside sealed cabinets or improvised enclosures.
Follow the battery and charger manufacturers’ instructions for charging temperature, supervision, storage, and when to disconnect equipment.
A good charging station keeps the workbench clear while providing a safer, more organized location for cordless tool accessories.
14. Use Labeled Storage Bins
Not every garage item needs to remain visible. Labeled storage bins can organize supplies that are used occasionally or don’t fit neatly onto hooks and shelves.
Choose containers according to their contents and the conditions of the garage. Durable plastic bins may suit many household items, while certain chemicals and equipment require their original approved packaging.
Group belongings by category, such as plumbing parts, painting accessories, seasonal decorations, or spare hardware.
Use labels that are easy to read from the front of the shelf. Clear containers can help with identification, but opaque bins work well when their labels are consistent.
Store heavier bins at lower levels and keep the most frequently used supplies within easy reach.
Avoid stacking containers higher than their design allows or creating unstable piles. Shelving is often a better choice when several bins need regular access.
Before buying more containers, sort through what you already own. Removing broken, unusable, or unnecessary items can free space without adding another storage product.

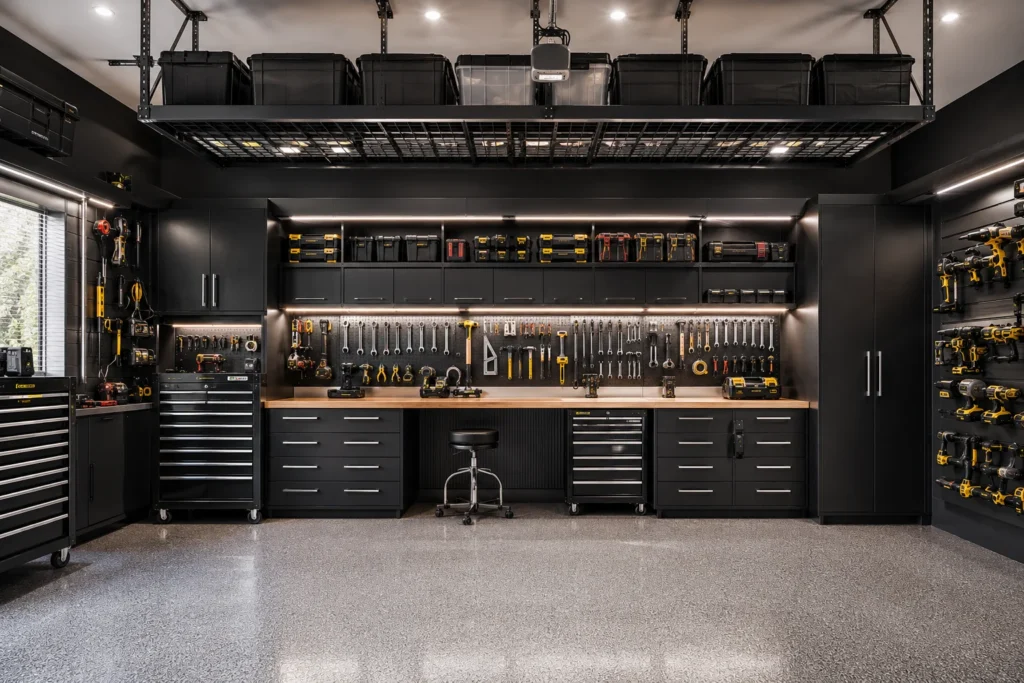
15. Design a Complete Garage Organization System
The most useful garage organization plan combines several storage methods rather than expecting one product to solve every problem.
Start by identifying the main activities in your garage. You might need a workbench for repairs, wall storage for hand tools, cabinets for specialty equipment, a gardening area, and shelves for seasonal belongings.
Sketch the layout before installing anything permanent. Mark doors, windows, vehicles, outlets, equipment, and the space needed to move comfortably.
Assign each category a suitable location. Frequently used hand tools belong near the workbench, while seasonal supplies can occupy less accessible storage.
Choose storage based on the actual items you own. A pegboard may work beautifully for screwdrivers but poorly for bulky equipment, while a rolling cabinet can protect tools that don’t belong on open hooks.
Build the system gradually. Start with the area causing the most frustration, then expand once you understand how the arrangement works during real projects.
Leave room for future additions rather than filling every shelf immediately. A little spare capacity makes the garage easier to maintain.
How to Plan Garage Tool Storage Before Buying Organizers
Begin by taking everything out of the most cluttered area and grouping items by purpose.
Separate everyday hand tools, power tools, hardware, gardening equipment, automotive supplies, and seasonal belongings. This makes it easier to see which categories need wall storage, drawers, shelving, or enclosed cabinets.
Next, measure the available space. Account for the garage door, parked vehicles, access to equipment, and the clearance needed to open drawers and cabinet doors.
Think about how often each item is used. Tools needed every week should be easy to reach, while occasional supplies can occupy secondary storage.
If the garage also serves as a household storage area, consider how the tool system will work alongside other belongings. The best layout keeps workshop activities organized without forcing everything else into awkward corners.
Garage Tool Organization Ideas for Small Spaces
A small garage benefits from storage that uses walls efficiently while keeping the floor available for movement and projects.
Start with a compact pegboard or modular wall system above the workbench. Add shallow drawers or a rolling cabinet that fits beneath or beside the work surface.
Choose vertical holders for compatible garden tools and use smaller bins for hardware and accessories.
Avoid installing overhead racks simply because the ceiling appears empty. Structural suitability, access, and clearance matter more than the potential storage volume.
Multifunctional furniture can also help. A sturdy workbench with drawers may replace the need for a separate table and storage cabinet.
Prioritize accessibility over filling every gap. A small garage works better when tools can be retrieved without moving several other items first.
Common Garage Organization Mistakes
One common mistake is buying storage systems before sorting the tools. This can result in shelves that are too shallow, cabinets with unsuitable drawers, or hooks that don’t fit the equipment.
Another is storing everything overhead. High shelves and racks are inconvenient for heavy or frequently used items and can introduce unnecessary lifting risks.
Overloading wall panels is another concern. A strong-looking hook or shelf isn’t necessarily suitable for every tool, particularly when the mounting surface and accessories have different load limits.
Mixing chemicals, fuels, batteries, and general household supplies can also create avoidable hazards.
Finally, don’t design the garage only for how it looks in a photograph. A practical workshop needs clear working surfaces, safe access, and storage that remains convenient after the initial cleanup.
Garage Storage Safety and Maintenance
Follow the manufacturer’s instructions for wall panels, shelving, cabinets, overhead racks, and other storage equipment. Use appropriate fixings for the actual wall or ceiling construction and seek qualified assistance where the load or structural suitability is uncertain.
Keep garage doors, exits, electrical panels, and access routes unobstructed. Check that vehicles can enter and leave without striking shelves, racks, or hanging tools.
Store heavy equipment at accessible heights, secure tall cabinets against tipping when appropriate, and use stable ladders or steps for items stored above normal reach.
Keep sharp tools protected and prevent long-handled equipment or lumber from tipping into walkways. Store hazardous substances in accordance with their labels, away from incompatible materials and ignition sources.
Charge batteries only with approved equipment and follow the manufacturer’s temperature, ventilation, and storage guidance. Do not charge damaged batteries or leave charging equipment among combustible clutter.
Inspect shelves, hooks, cabinets, and mounting hardware periodically for damage, looseness, corrosion, or overloading.
Keep tools clean and dry according to their care instructions, and return equipment to its designated location after each project.
Keeping Your Garage Organized Over Time
A garage organization system should be easy to maintain without requiring a complete rearrangement every few months.
Return tools after use, keep hardware sorted, and periodically review supplies that are no longer needed. If one area repeatedly becomes cluttered, consider whether its storage arrangement is inconvenient rather than simply adding another bin.
As your tool collection changes, adjust hooks, drawers, and shelving to suit your current projects.
The best garage tool organization ideas aren’t about storing the maximum number of things in the smallest possible space. They’re about making equipment easier to find, safer to store, and more convenient to use, so the garage works for your projects instead of slowing them down.
