

How to Organize a Small Kitchen With No Counter Space
If your kitchen feels crowded the moment you put down a cutting board, you’re definitely not alone. One of the biggest frustrations in a small apartment kitchen or compact home is figuring out how to organize a small kitchen with no counter space. Between everyday appliances, cookware, dishes, pantry staples, and food prep, even a few misplaced items can make the room feel cramped.
The good news is that creating a more functional kitchen doesn’t require a renovation or expensive custom cabinets. A few thoughtful storage upgrades, better organization habits, and smarter use of your walls and cabinets can dramatically increase your usable workspace. Most of these ideas are renter-friendly, budget-conscious, and can be completed over a weekend.
Whether you’re working with a tiny apartment kitchen, a condo with minimal storage, or a kitchen with no pantry, these practical organization ideas will help you make every inch count without sacrificing style or convenience.
1. Clear Everything Off Your Counters
Before adding storage solutions, start by removing anything that doesn’t need to live on the countertop.
Many kitchens lose valuable workspace because appliances, decorative items, paper towels, and random kitchen tools permanently occupy the counters. The more items you remove, the larger your kitchen will immediately feel.
Why It Works
Clearing your countertops instantly creates usable prep space without spending any money. A clean work surface also makes the entire kitchen appear brighter and larger because your eye isn’t distracted by unnecessary clutter. Even gaining an extra 18 to 24 inches of open counter can make chopping vegetables, assembling meals, or washing dishes much easier.
Keeping surfaces mostly clear also makes daily cleaning faster. Instead of moving several appliances every time you wipe the counters, you can clean the entire surface in a minute or two, helping the kitchen stay tidy with less effort.
How To Do It
Walk through your kitchen and separate items into three groups: daily use, weekly use, and occasional use. Only daily essentials deserve permanent counter space. Everything else should be relocated to cabinets, drawers, or wall storage.
Large appliances like stand mixers, slow cookers, air fryers, and blenders can often be stored on lower cabinet shelves or inside a dedicated appliance cabinet. If lifting heavier appliances is difficult, place them on a sturdy pull-out shelf or sliding tray to make them easier to access.
Finish by limiting decorative items to one small piece, such as a compact plant or a simple fruit bowl. Avoid letting mail, reusable shopping bags, or miscellaneous household items accumulate on the counters, as they quickly recreate visual clutter.

2. Use Vertical Wall Storage
When you run out of horizontal space, start thinking vertically.
Walls are often the most underused area in small kitchens. Installing shelves, rails, hooks, or pegboards can dramatically increase storage capacity.
Why It Works
Wall storage transforms empty vertical space into practical storage without reducing your limited workspace. Items that once occupied valuable counters or cabinets become easy to reach while remaining neatly organized.
Floating shelves, rail systems, and pegboards also keep frequently used kitchen tools visible, reducing the time spent opening multiple cabinets while cooking. When arranged neatly, they can double as attractive display features that make a small kitchen feel thoughtfully designed rather than overcrowded.
How To Do It
Install 24- to 36-inch floating shelves using hidden brackets or heavy-duty wall anchors, depending on whether you’re mounting into drywall, brick, or wall studs. Position shelves roughly 16 to 20 inches above the countertop so they’re easy to reach without interfering with food preparation.
Add a metal rail with removable S-hooks beneath the shelves for utensils, measuring cups, or small strainers. Pegboards work especially well for renters because they can be customized as your storage needs change.
Keep heavier items on shelves secured directly into wall studs whenever possible. Reserve lightweight decorative containers, mugs, and dry goods for shelves mounted with drywall anchors to avoid overloading the hardware.
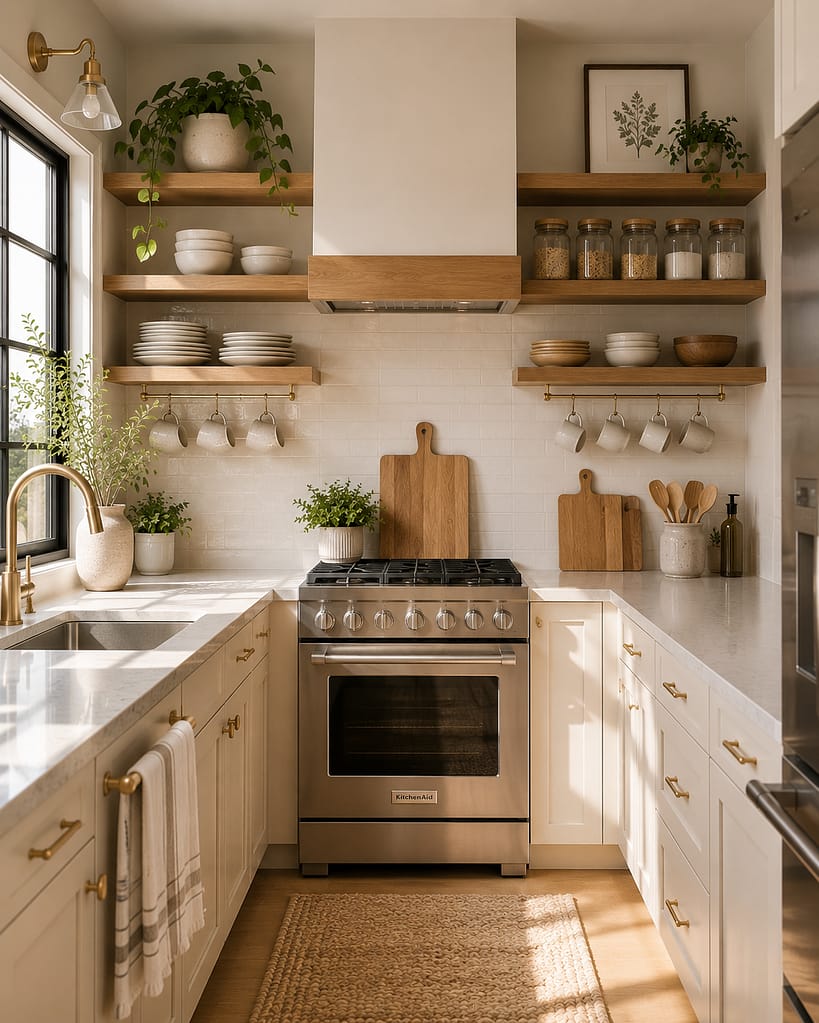
3. Store Appliances Inside Cabinets
Countertop appliances are often the biggest space thieves.
While coffee makers and toasters are convenient, many appliances don’t need permanent counter space.
Why It Works
Moving appliances off the counter immediately creates more usable workspace while giving the kitchen a cleaner appearance. Most people only use certain appliances once or twice a week, making permanent countertop storage an inefficient use of valuable space.
Storing appliances together also helps protect them from grease, cooking splatters, and dust, which can extend their lifespan and reduce cleaning time.
How To Do It
Dedicate one lower cabinet or a tall pantry shelf exclusively to small appliances such as your toaster, blender, food processor, rice cooker, or slow cooker. Group similar appliances together so they’re easier to find.
If your kitchen layout allows, create a simple appliance garage using a cabinet with a roll-up or lift-up door, or simply reserve a section of countertop beneath an upper cabinet where appliances can be tucked away when not in use.
Store heavier appliances on shelves between knee and waist height to reduce lifting. Use non-slip shelf liners to keep appliances stable and prevent scratches inside your cabinets.

4. Add a Magnetic Knife Strip
Knife blocks consume surprising amounts of counter space.
A magnetic strip mounted on the wall keeps knives accessible while freeing up workspace.
Why It Works
A magnetic knife strip eliminates the bulky footprint of a traditional knife block while keeping your most frequently used knives within easy reach. It also allows blades to dry more thoroughly after washing because air circulates freely around them.
With each knife visible individually, you’re less likely to damage blade edges by stacking them inside a drawer where they can rub against other utensils.
How To Do It
Choose a magnetic strip between 12 and 18 inches long, depending on how many knives you own. Mount it securely into wall studs whenever possible, or use heavy-duty anchors designed for your wall type if studs aren’t available.
Install the strip near your primary prep area but away from the stove to avoid reaching across hot cookware. Position it high enough that children cannot easily access the knives while keeping them comfortable to reach during meal preparation.
Leave a small gap between each knife so removing one doesn’t accidentally pull another loose. Wipe the strip occasionally to remove cooking grease and keep the magnetic surface working effectively.

5. Install Under-Cabinet Storage
The space beneath upper cabinets is often wasted.
Why It Works
Under-cabinet storage takes advantage of an area that normally sits empty while keeping everyday essentials close at hand. Adding storage here frees up drawers and cabinets without making the kitchen feel crowded.
Because these organizers sit underneath existing cabinets, they preserve valuable counter space while improving workflow around your prep area.
How To Do It
Install under-cabinet mug hooks for coffee cups, a paper towel holder beneath the cabinet, or a slim metal spice rack attached with screws or strong adhesive strips if drilling isn’t an option.
Many wire baskets simply slide onto cabinet shelves without requiring tools, making them ideal for renters. These baskets are perfect for storing dish towels, sandwich bags, or small kitchen wraps.
Before purchasing accessories, measure the depth and thickness of your cabinets to ensure a proper fit. Choosing organizers that interfere with cabinet doors is one of the most common installation mistakes.

6. Create a Mini Pantry Using Shelves
Kitchen organization with no pantry can feel impossible until you create your own pantry.
Why It Works
A dedicated pantry area keeps dry goods together instead of scattering them throughout multiple cabinets. This makes meal planning easier because you can quickly see what ingredients you already have before shopping.
Even a narrow shelving unit just 10 to 12 inches deep can hold canned goods, pasta, cereal, baking ingredients, and snacks while occupying very little floor space.
How To Do It
Use a slim freestanding shelving unit, sturdy floating shelves, or a narrow bookcase placed against an unused wall. Organize shelves by category, placing heavier canned goods lower and lighter items higher for stability.
Transfer flour, rice, sugar, pasta, and cereal into clear airtight containers to maximize shelf space and keep food fresh longer. Label each container clearly so everyone in the household can quickly identify its contents.
Use woven baskets or plastic bins to group snacks, baking supplies, and breakfast items together. This prevents small packages from creating clutter and makes shelves look cleaner without requiring expensive storage systems.

7. Use Matching Food Storage Containers
Food packaging creates visual clutter and wastes cabinet space.
Why It Works
Matching containers stack neatly, making far better use of shelf height than irregular boxes and bags. Uniform shapes reduce wasted gaps between items, allowing you to fit more food into the same cabinet.
Clear containers also let you see inventory at a glance, making it easier to notice when staples like rice, pasta, or flour are running low before your next grocery trip.
How To Do It
Choose BPA-free plastic or glass airtight containers in two or three standard sizes rather than buying a large assortment of different shapes. Keeping sizes consistent makes stacking easier and creates a more organized appearance.
Label each container with its contents and, if helpful, the cooking instructions or expiration date using removable labels or a chalk marker. This is especially useful for baking ingredients that look similar, such as flour, powdered sugar, and cornstarch.
If you’re on a tight budget, replace containers gradually instead of buying a complete matching set all at once. Start with the foods you use most often, then expand your collection over time as older packaging is used up.

8. Add a Rolling Storage Cart
A slim rolling cart can provide an entire extra storage zone.
Why It Works
A narrow rolling cart makes use of spaces that would otherwise sit empty, such as the gap beside the refrigerator, between cabinets, or next to a dining table. Even a cart that is only 6 to 10 inches wide can hold dozens of pantry items while remaining easy to move when you need extra floor space.
Unlike permanent cabinets, a rolling cart adapts to whatever you’re doing. Pull it beside your prep area while cooking, then slide it back into its storage spot when you’re finished. This flexibility is especially valuable in apartment kitchens where every square foot has multiple purposes.
Because everything is stored on open shelves, it’s easy to see what you have without digging through crowded cabinets. That visibility also encourages you to use ingredients before they expire.
How To Do It
Choose a sturdy metal or heavy-duty plastic cart with locking casters so it stays in place while you’re loading or unloading items. Three-tier carts are usually enough for most kitchens, while taller models work well if you have extra ceiling height.
Store heavier items like canned goods and bottled oils on the bottom shelf to improve stability. Reserve the upper shelves for spices, snacks, tea, coffee supplies, or frequently used cooking utensils.
Before buying a cart, measure the available gap carefully, including baseboards and door clearance. Leave at least one inch of extra space so the cart rolls smoothly without scraping walls or cabinets.

9. Organize Cabinets Into Zones
One of the best organizing small kitchens strategies is zoning.
Why It Works
Grouping similar items together eliminates unnecessary searching while cooking. Instead of opening several cabinets to gather ingredients or tools, everything you need for a specific task is already in one location.
Kitchen zones also make it easier for everyone in the household to put items back where they belong. Over time, this simple system helps prevent cabinets from becoming disorganized again.
Organizing by activity rather than item type creates a smoother cooking workflow. You’ll spend less time walking back and forth across the kitchen and more time actually preparing meals.
How To Do It
Assign each cabinet a clear purpose, such as baking supplies, breakfast foods, everyday dishes, cookware, snacks, or food storage containers. Keep frequently used zones closest to where you naturally use those items.
For example, store mixing bowls, measuring cups, flour, sugar, and baking sheets together if you bake regularly. Place cooking oils, spices, and utensils near the stove, while dishes and glasses should stay close to the dishwasher or sink for easier unloading.
Use inexpensive plastic bins or shallow baskets inside larger cabinets to separate smaller items. Labeling bins can be especially helpful in shared households where multiple people use the kitchen.

10. Use Cabinet Door Storage
Every cabinet door is hidden storage waiting to happen.
Why It Works
The inside of cabinet doors provides valuable storage without reducing shelf space. Small, lightweight items that normally clutter drawers can be stored vertically and remain easy to access.
Door organizers also reduce the amount of stacking inside cabinets, making it easier to reach what you need without moving multiple items first.
Making use of these overlooked surfaces helps maximize storage in kitchens where adding more cabinets simply isn’t an option.
How To Do It
Install slim wire racks or over-the-door organizers designed specifically for kitchen cabinets. These work well for spices, foil, plastic wrap, parchment paper, measuring spoons, or cleaning supplies under the sink.
If drilling isn’t practical, many lightweight organizers attach with removable adhesive strips or hook over the top of the cabinet door. Always check the weight limits before loading them.
Close the cabinet door slowly after installation to make sure nothing rubs against interior shelves. Leave enough clearance so bottles and containers don’t interfere with closing the door completely.

11. Store Items Vertically
Vertical storage is one of the most effective kitchen hacks for small kitchens.
Why It Works
Standing items upright instead of stacking them makes every piece easier to remove individually. You won’t have to lift an entire pile of baking sheets just to reach the one at the bottom.
Vertical storage also reduces scratches and damage to cookware by preventing heavy stacks from pressing against one another. It makes cabinet interiors look cleaner and far more organized.
Even narrow cabinets become much more useful when trays, lids, and cutting boards are stored on their edges rather than piled horizontally.
How To Do It
Use wire file organizers, adjustable dividers, or purpose-built cabinet racks to separate cutting boards, baking trays, cooling racks, serving platters, and pot lids. These organizers are widely available and generally fit standard kitchen cabinets.
Place the dividers near the front of the cabinet so frequently used items are easy to grab. If your shelves are especially deep, leave a little space behind them for rarely used serving trays.
Avoid overcrowding the dividers. Leaving a small gap between each item makes them easier to remove without pulling several pieces out at once.

12. Use Stackable Shelving
Many cabinets waste half their available height.
Why It Works
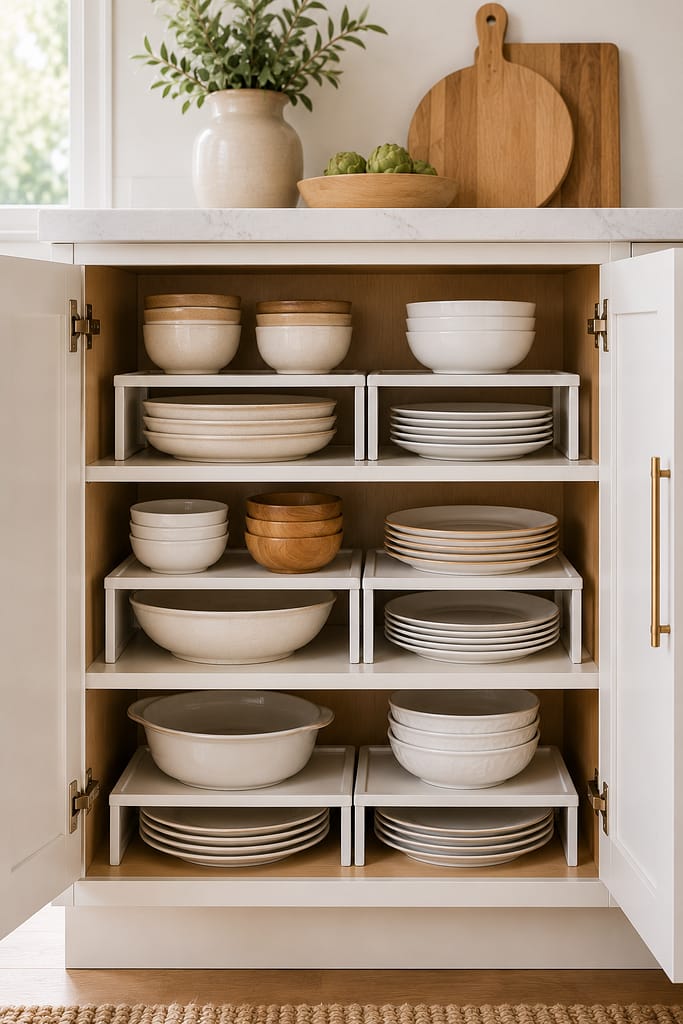
Shelf risers effectively create an extra level inside tall cabinets, allowing you to use the full height instead of stacking everything into one unstable pile. This is particularly useful for dishes, mugs, canned goods, and pantry containers.
Adding a second tier also makes it easier to see what’s stored in the back of the cabinet because shorter items no longer disappear underneath larger ones.
For a relatively small investment, stackable shelves often provide as much usable storage as adding an entirely new cabinet.
How To Do It
Choose sturdy metal or bamboo shelf risers that fit comfortably inside your existing cabinets. Measure both the cabinet width and interior height before purchasing to ensure a proper fit.
Place heavier dinner plates on the lower shelf and lighter bowls, mugs, or serving dishes on the upper level. Pantry shelves can hold canned goods underneath while boxed foods sit above.
Avoid stacking risers too high, especially in shallow cabinets. Keeping the upper shelf within comfortable reach makes the storage practical instead of frustrating to use.
13. Hang Pots and Pans
Large cookware often dominates cabinet storage.
Why It Works
Hanging cookware frees significant cabinet space while keeping your most-used pots and pans within easy reach. Instead of stacking heavy cookware, each piece hangs individually, reducing scratches and making cooking more convenient.
Wall-mounted cookware can also become an attractive design feature when arranged neatly. Copper, stainless steel, and cast iron pieces often add warmth and character to even the smallest kitchens.
Removing bulky cookware from cabinets leaves room for food storage, dishes, or small appliances that are harder to store elsewhere.
How To Do It
Install a sturdy wall-mounted rail or ceiling-mounted pot rack capable of supporting the combined weight of your cookware. Whenever possible, fasten mounting brackets directly into wall studs or solid ceiling joists for maximum strength.
Use strong S-hooks to hang frying pans, saucepans, strainers, and frequently used utensils. Arrange heavier pieces toward the mounting brackets rather than the center of the rail to distribute weight more evenly.
Limit the display to cookware you use regularly. Hanging every pot you own can quickly make a small kitchen feel crowded instead of organized.

14. Maximize Space Above the Refrigerator
Many homeowners ignore this storage opportunity.
Why It Works
The area above the refrigerator is ideal for storing items you don’t need every day. Because the space is elevated, it’s better suited for seasonal serving dishes, paper products, backup pantry supplies, or small appliances used only occasionally.
Using this overlooked storage area keeps lower cabinets available for everyday essentials while reducing overall clutter throughout the kitchen.
Organizing the top of the refrigerator also prevents loose items from collecting dust or becoming an unstable pile that’s difficult to access.
How To Do It
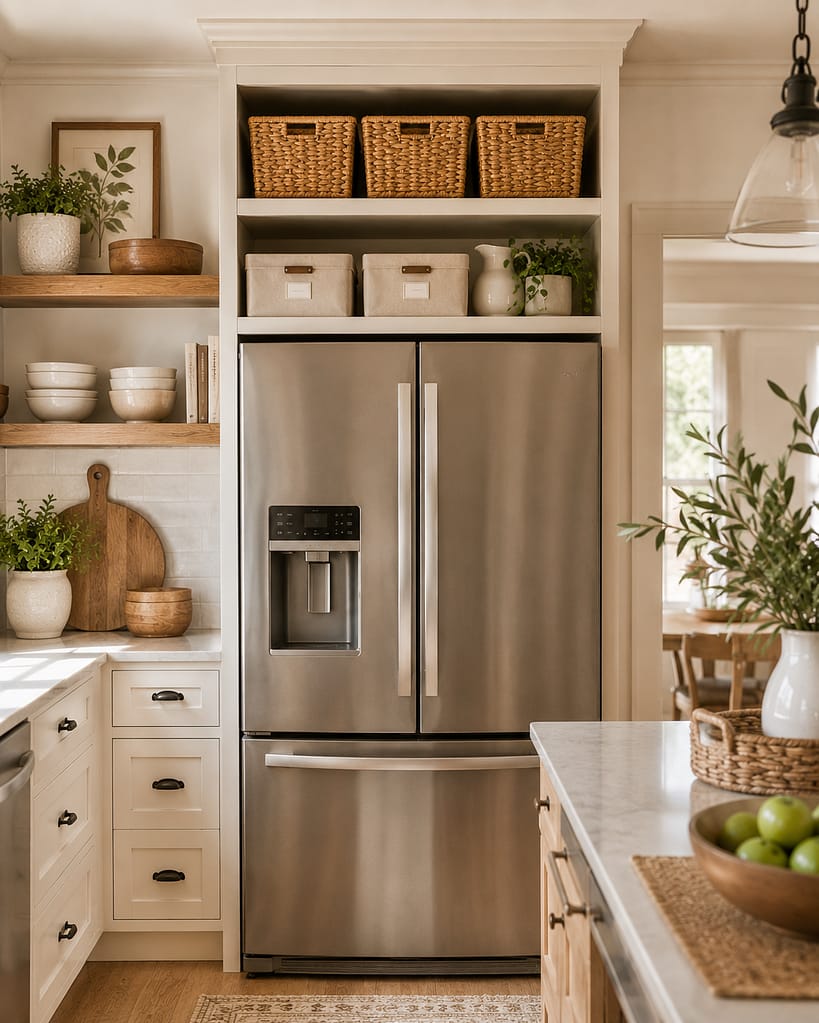
Place sturdy woven baskets, fabric storage bins, or lightweight plastic containers above the refrigerator to keep similar items grouped together. Matching containers create a cleaner appearance and make it easier to pull everything down at once.
Store lightweight items whenever possible rather than heavy cookware. If you need to reach the area regularly, keep a folding step stool nearby instead of stretching or climbing onto countertops.
Leave several inches of clearance around the refrigerator’s ventilation area if recommended by the manufacturer. Blocking airflow can reduce efficiency and make the appliance work harder over time.
15. Use Drawer Organizers
Messy drawers waste valuable storage space.
Why It Works
A well-organized drawer makes it easy to find exactly what you need without digging through a pile of utensils or gadgets. Instead of wasting time searching for a vegetable peeler or measuring spoon, every item has a dedicated place.
Drawer organizers also prevent small tools from shifting every time the drawer opens and closes. Keeping utensils separated reduces clutter and makes even shallow drawers feel surprisingly spacious.
Once each drawer has a clear purpose, it’s much easier to maintain organization because misplaced items become immediately noticeable.
How To Do It
Start by emptying the drawer completely and removing duplicates or tools you rarely use. Many kitchens accumulate multiple can openers, spatulas, or measuring spoons that serve the same purpose.
Install adjustable bamboo dividers or modular plastic organizer trays that can be customized to fit your drawer dimensions. Bamboo dividers are durable, affordable, and work well in drawers of different widths, while plastic trays are easy to wipe clean.
Group similar items together, such as cooking utensils, baking tools, knives with blade covers, or measuring tools. Leave a little extra room in each section so items can be removed easily instead of becoming tightly packed.

16. Add Open Shelving
Open shelving helps small kitchens feel larger.
Why It Works
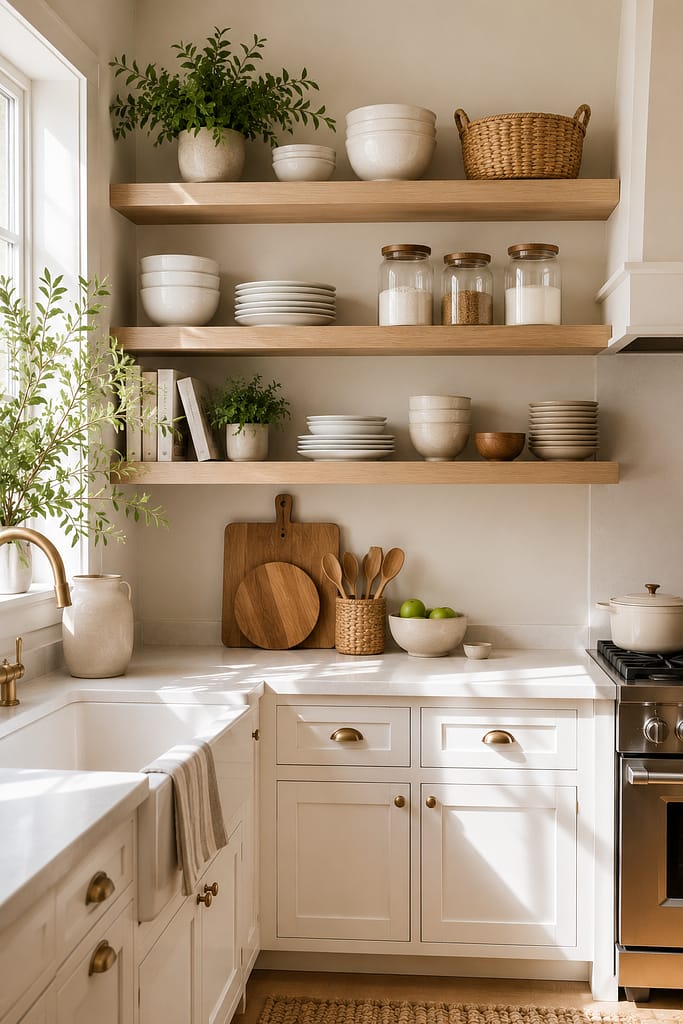
Unlike bulky upper cabinets, open shelves create a lighter visual appearance that makes a compact kitchen feel more spacious. They also keep everyday dishes and glassware within easy reach, reducing the number of cabinet doors you open throughout the day.
Open shelving encourages you to keep only the items you actually use. Since everything is visible, clutter becomes obvious, naturally promoting a cleaner and more organized kitchen.
When styled simply, open shelves provide both storage and decoration without overwhelming a small room.
How To Do It
Install sturdy floating shelves or simple bracket-supported wood shelves above a backsplash, coffee station, or unused wall. Shelves between 8 and 12 inches deep usually provide enough storage without projecting too far into the room.
Mount shelves securely into wall studs whenever possible. If you’re installing them on drywall, choose anchors rated for the expected weight, especially if you plan to store dishes or glassware.
Display everyday plates, bowls, mugs, and drinking glasses alongside a few matching storage containers or woven baskets. Avoid overcrowding the shelves, as leaving small gaps between items helps maintain the open, airy look.
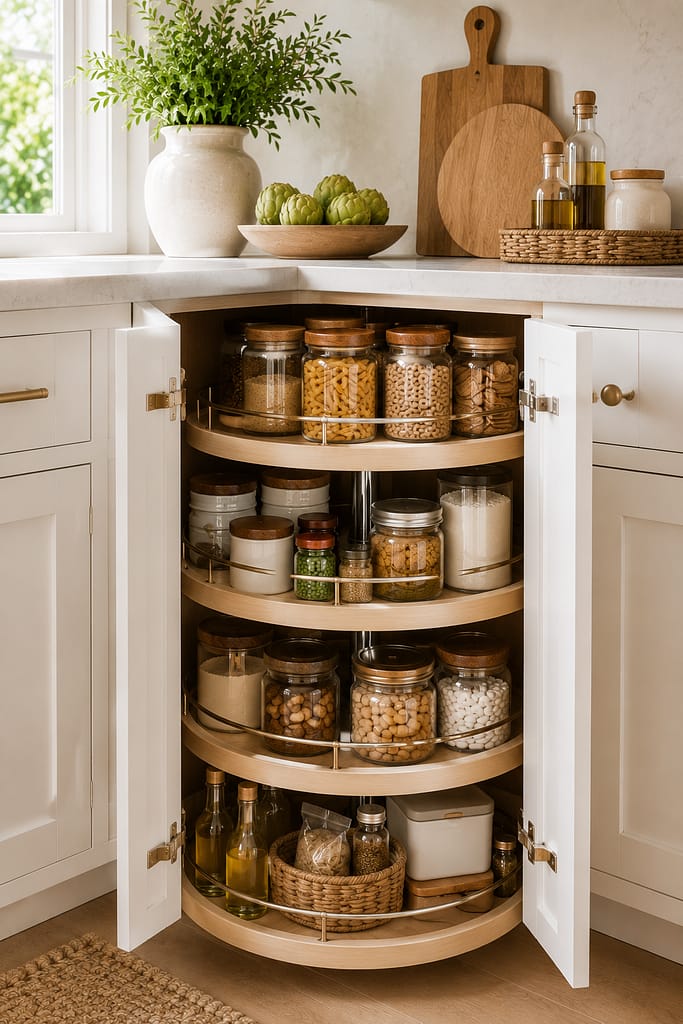
17. Utilize Corner Storage
Corners are often difficult to access.
Why It Works
Corner cabinets frequently become wasted space because items disappear into the back and are forgotten. Using rotating organizers allows you to reach everything without unloading half the cabinet first.
Making better use of corner storage increases your overall cabinet capacity without requiring additional furniture or renovations. It’s one of the simplest ways to reclaim storage that’s already available.
Whether you store spices, canned goods, baking supplies, or cookware, rotating systems make these awkward spaces far more practical.
How To Do It
Install a Lazy Susan, turntable organizer, or rotating shelf designed for the size of your cabinet. Single-tier organizers work well for spices and condiments, while two-tier models provide extra storage for taller pantry items.
Place frequently used ingredients toward the front of the rotating tray and heavier items closer to the center to keep it balanced. Under-sink corners can also benefit from rotating organizers designed for cleaning supplies.
Measure both the cabinet opening and interior dimensions before purchasing an organizer. Some corner cabinets have narrow openings that require smaller turntables than the interior space might suggest.
18. Store Similar Items Together
Grouping items reduces visual clutter and confusion.
Why It Works
When similar items are stored together, cooking becomes much more efficient because everything you need is located in one place. Instead of searching multiple cabinets for ingredients or utensils, you can complete tasks with fewer interruptions.
Grouping also helps prevent duplicate purchases. It’s much easier to see what you already own when similar products aren’t scattered throughout the kitchen.
This simple habit creates a more organized system that every member of the household can follow without memorizing complicated storage rules.
How To Do It
Organize your kitchen according to function rather than available space. Store baking ingredients together, keep pasta and sauces in one section, group food storage containers in another, and place cooking utensils close to the stove.
Use inexpensive baskets, bins, or clear containers inside cabinets to keep smaller items from spreading across shelves. Labeling each basket can make maintaining the system even easier.
Review these groups every few months as your cooking habits change. Small adjustments over time help keep the organization system practical instead of forcing you to work around it.
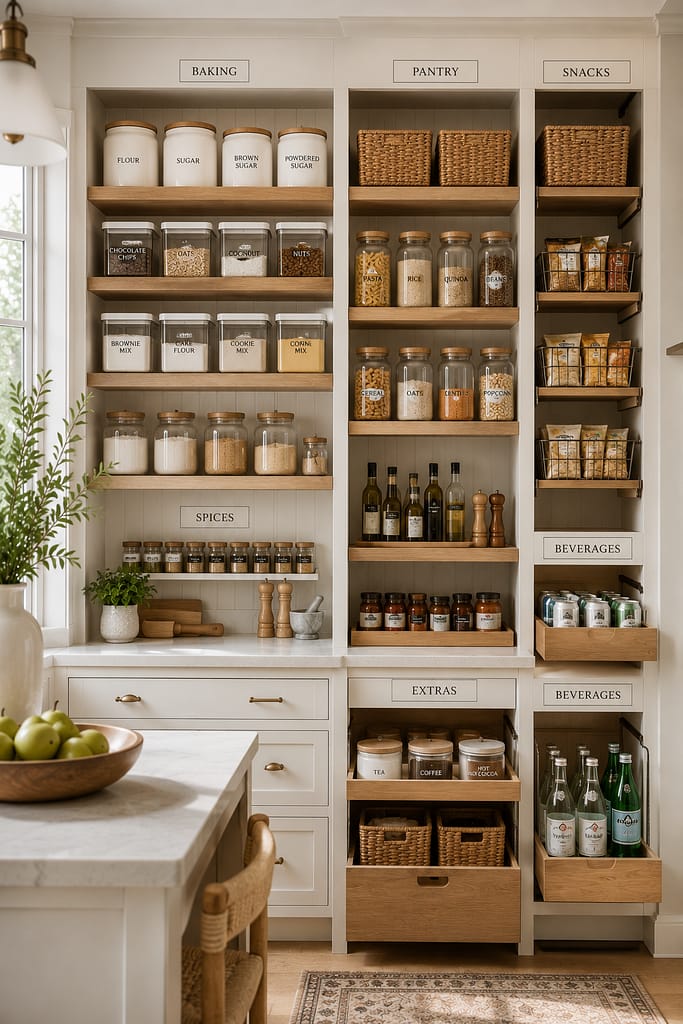
19. Keep Daily Essentials Accessible
The items you use most should be easiest to reach.
Why It Works
Keeping frequently used items close to your main work areas reduces unnecessary movement while cooking. Reaching for olive oil, salt, or a favorite frying pan should feel effortless rather than requiring multiple trips across the kitchen.
This approach also reduces wear on less accessible cabinets because you’re opening them only for items used occasionally. Daily cooking becomes smoother and more enjoyable when your kitchen supports your routine.
A thoughtfully arranged kitchen often feels larger simply because everything is where you naturally expect it to be.
How To Do It
Store everyday dishes near the dishwasher or sink to simplify unloading. Place cooking oils, commonly used spices, and utensils within easy reach of the stove, while prep tools like cutting boards and mixing bowls should stay close to your main work surface.
Reserve eye-level shelves for your most frequently used items. Less-used appliances, specialty serving dishes, and seasonal cookware can be stored on higher or lower shelves.
Take note of how you move through your kitchen during a typical meal. Rearranging storage to match those habits often improves functionality more than buying additional organizers.
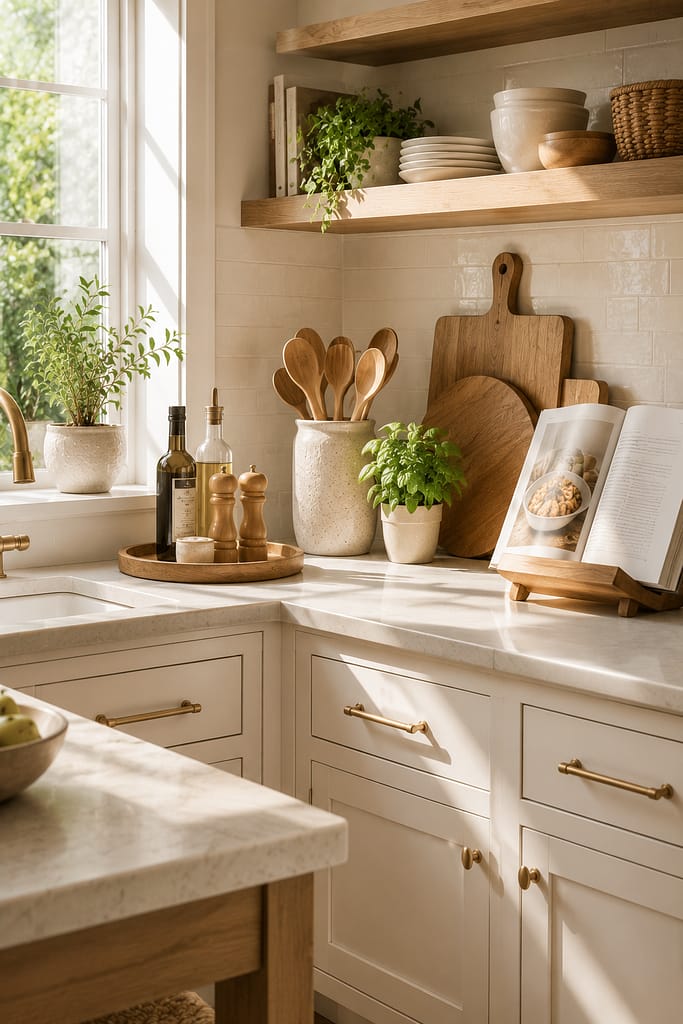
20. Adopt a One-In, One-Out Rule
Small kitchens stay organized when clutter is controlled.
Why It Works
Even the best organization system eventually becomes overcrowded if new items continue to enter the kitchen without removing old ones. The one-in, one-out rule keeps storage at a manageable level and prevents cabinets from slowly filling with duplicates.
This habit also encourages more thoughtful purchasing. Before buying another mug, gadget, or storage container, you’ll naturally consider whether it truly improves your kitchen.
Over time, maintaining organization becomes much easier because clutter never has the chance to build up again.
How To Do It
Whenever you purchase a new kitchen item, choose an older item to donate, recycle, or discard if it’s no longer useful. This works particularly well for mugs, water bottles, food containers, utensils, and small appliances.
Schedule a quick cabinet review every three to six months. Check for chipped dishes, duplicate tools, expired pantry items, or gadgets that haven’t been used in the past year.
Keep a small donation box in a nearby closet or utility area. Instead of deciding immediately what to do with unwanted items, place them in the box and donate them once it’s full.
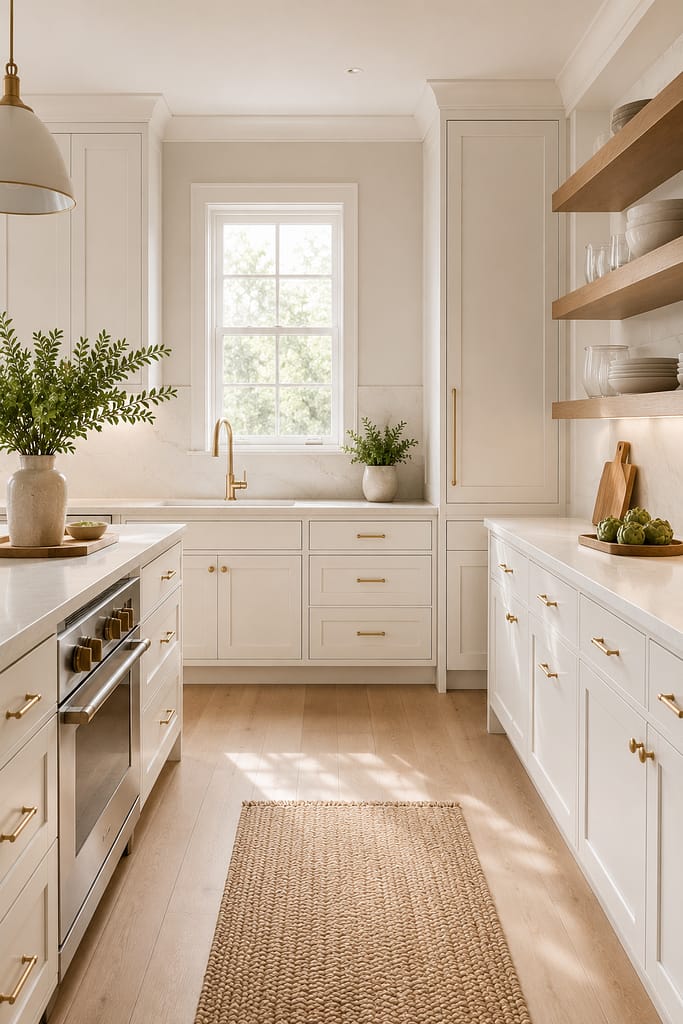
Quick Tips for Small Kitchens With No Counter Space
- Use walls whenever possible by adding shelves, rails, or hooks instead of relying on countertops for storage.
- Put away appliances you don’t use every day to reclaim valuable prep space.
- Choose stackable, clear food storage containers to maximize cabinet height and make pantry items easier to see.
- Install shelves or cabinet organizers before purchasing additional furniture that may reduce floor space.
- Make use of cabinet doors with lightweight organizers for spices, wraps, or cleaning supplies.
- Keep countertops limited to genuine daily-use essentials so meal preparation always has enough room.
- Divide cabinets into practical zones based on how you cook rather than storing items wherever they fit.
- Look for unused vertical space above cabinets, refrigerators, and doorways before assuming you’ve run out of storage.
- Measure every cabinet, shelf, and empty wall before buying organizers to avoid wasting money on products that don’t fit.
- Declutter regularly. Even the best storage system works better when it holds only the items you actually use.
Frequently Asked Questions
How do I organize a small kitchen with no pantry?
Start by identifying another area that can serve as a pantry, such as a narrow shelving unit, the top shelves of a cabinet, or a slim rolling cart. Store dry goods in airtight containers, group similar foods in baskets, and keep frequently used ingredients at eye level. Labeling containers and bins makes it much easier to maintain the system over time.
What is the best storage solution for a tiny kitchen?
There’s rarely a single solution that fixes every small kitchen. The biggest improvement usually comes from combining several ideas, such as wall-mounted shelves, under-cabinet organizers, cabinet door storage, and vertical dividers inside cabinets. Layering multiple storage methods allows you to use every surface more efficiently.
How can I make a small kitchen more functional?
Begin by improving your workflow rather than buying more storage products. Keep prep tools near your main workspace, cooking items close to the stove, and dishes near the sink or dishwasher. Once everything is arranged according to how you actually cook, you’ll often find the kitchen feels larger without changing its footprint.
What should I keep on my kitchen counter?
Limit countertop items to those you genuinely use every day, such as a coffee maker, utensil crock, cutting board, or a small container of cooking oils. Decorative pieces should be minimal so they don’t compete with valuable workspace. If an appliance sits unused for weeks at a time, it’s usually better stored inside a cabinet until needed.
Final Thoughts
Learning how to organize a small kitchen with no counter space isn’t about fitting more into an already crowded room—it’s about making smarter use of the space you already have. By clearing your countertops, maximizing vertical storage, organizing cabinets into practical zones, and choosing storage solutions that match your daily routine, even the smallest kitchen can become far more efficient.
You don’t have to tackle every idea at once. Start with one project, whether that’s installing a floating shelf, organizing a single cabinet, or clearing your counters, then build from there. Small improvements add up quickly, and before long you’ll have a kitchen that’s easier to cook in, easier to clean, and much more enjoyable to use.