
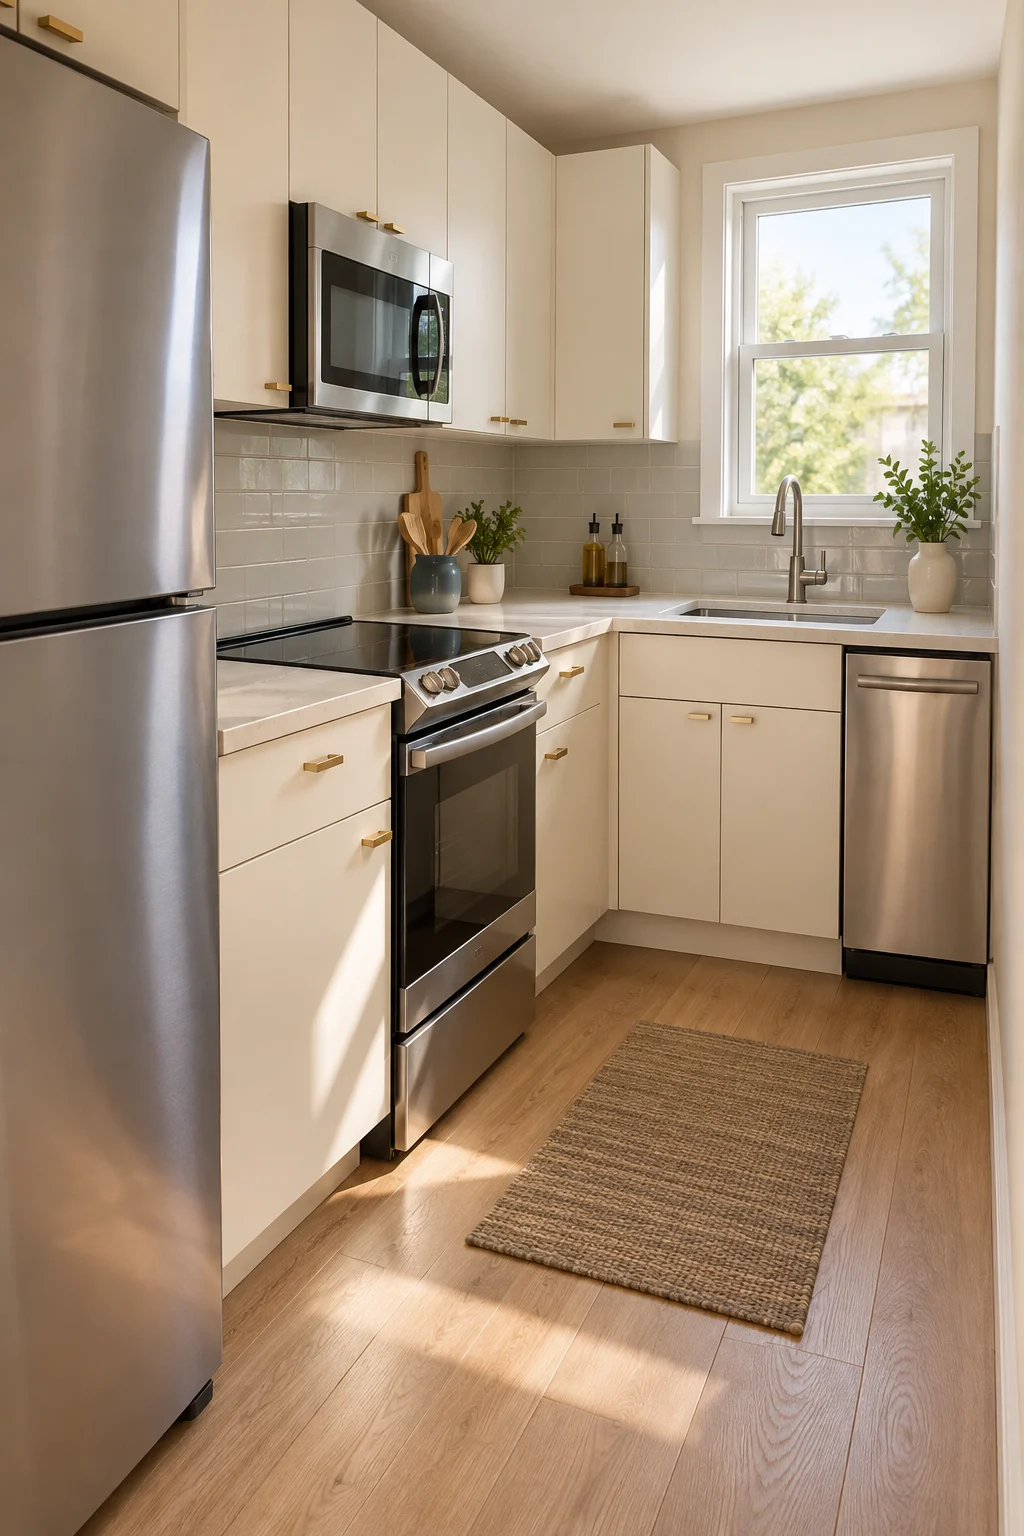
14 Micro Kitchen Ideas That Make Extremely Small Spaces Work
A micro kitchen can make the simplest tasks feel surprisingly complicated. Preparing breakfast becomes a juggling act, groceries take over the countertop, and finding a place for one more pan feels like solving a puzzle.
But a tiny kitchen doesn’t have to be frustrating.
The secret isn’t squeezing miniature versions of everything into the room. It’s choosing a layout that supports your daily routine, using storage more efficiently, and protecting the little countertop space you have.
Whether you’re working with a studio apartment kitchenette, a compact guest suite, or a very small kitchen in an older home, thoughtful decisions can make a noticeable difference.
These 14 micro kitchen ideas cover layouts, vertical storage, compact appliances, lighting, and simple finishes that help small cooking spaces feel more organized and comfortable.
You don’t need to try every idea. Start with the biggest problem in your kitchen, whether that’s limited storage, poor lighting, or nowhere to chop vegetables, and build from there.
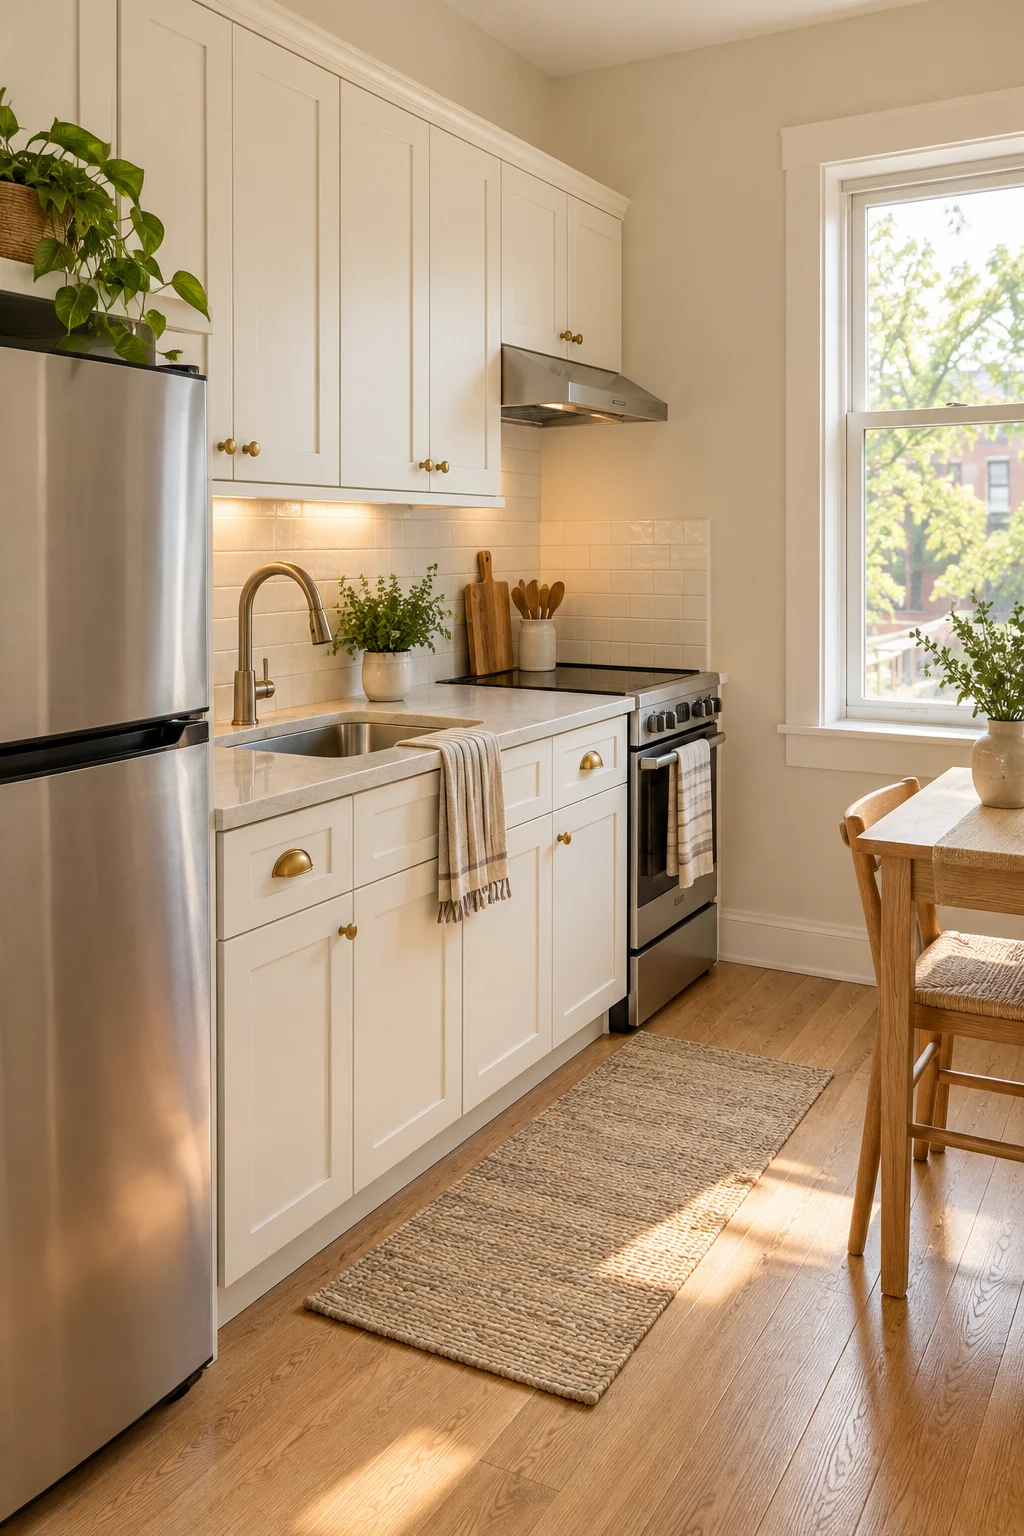
1. Build a Compact Single-Wall Kitchen
A single-wall layout can be one of the most practical arrangements for a micro kitchen.
Instead of spreading cabinets and appliances across multiple walls, the refrigerator, sink, cooking equipment, and storage are arranged along one continuous run.
This leaves the rest of the room available for movement, which can be especially helpful in a studio apartment or small guest suite.
The important part is planning the order of the work areas.
Try to preserve a usable section of countertop for preparing ingredients, placing groceries, and setting down dishes.
A kitchen with a sink directly beside the cooktop and no preparation space between them may look compact, but it can be frustrating to use.
Choose cabinets that suit the wall’s dimensions and make use of available height without placing everyday essentials out of reach.
If the room has a window, consider how the layout can preserve natural light.
A simple run of warm white cabinets, a pale countertop, and light wood flooring can also make the arrangement feel visually connected.
The best single-wall kitchen isn’t necessarily the one with the most appliances. It’s the one that makes essential tasks comfortable.
2. Use Tall Storage Cabinets
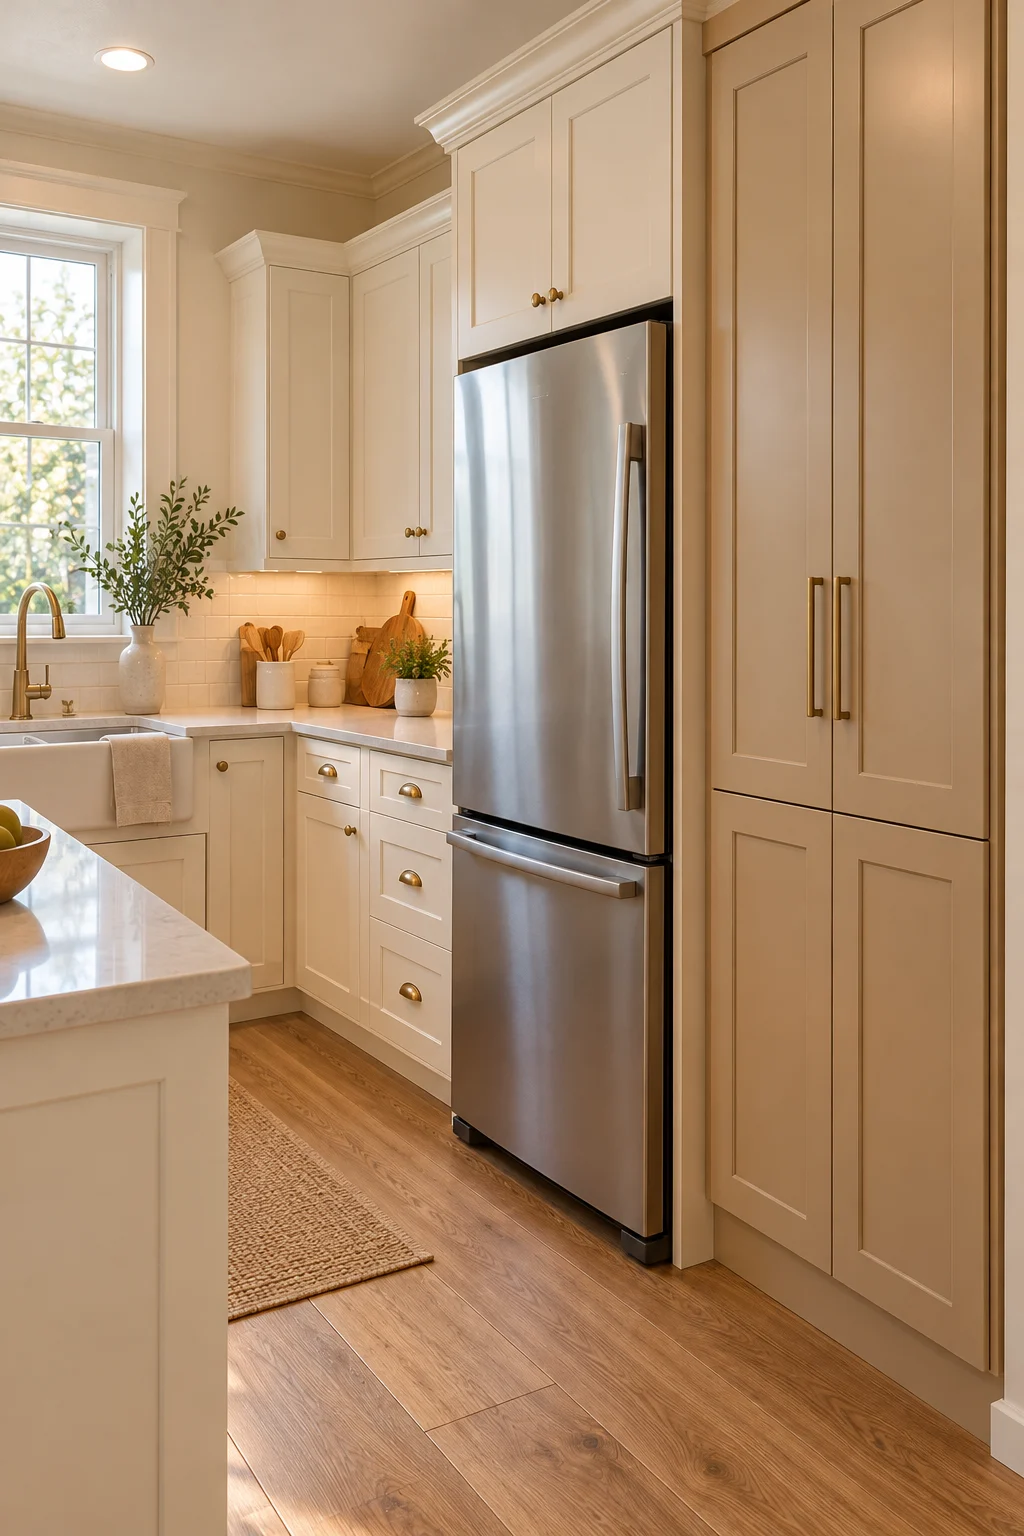
When floor space is limited, vertical storage becomes especially valuable.
A tall pantry cabinet can hold dry goods, cookware, small appliances, and cleaning supplies without requiring an additional freestanding storage unit.
Choose a cabinet that fits the available wall rather than filling every inch with oversized furniture.
Inside, combine adjustable shelves with drawers or pullout baskets where appropriate.
Place frequently used ingredients and dishes at comfortable heights.
Less frequently used items can go higher, while heavier cookware should remain in accessible lower storage.
A narrow tall cabinet can be particularly useful beside a refrigerator if the layout and required appliance clearances allow it.
Keep the cabinet’s exterior simple. Warm white or light wood doors can help the storage blend into the rest of the kitchen.
Avoid treating the uppermost shelves as essential daily storage.
Vertical space is useful, but a kitchen becomes less convenient when you need a step stool every time you want a mixing bowl.
3. Choose Compact Appliances Carefully
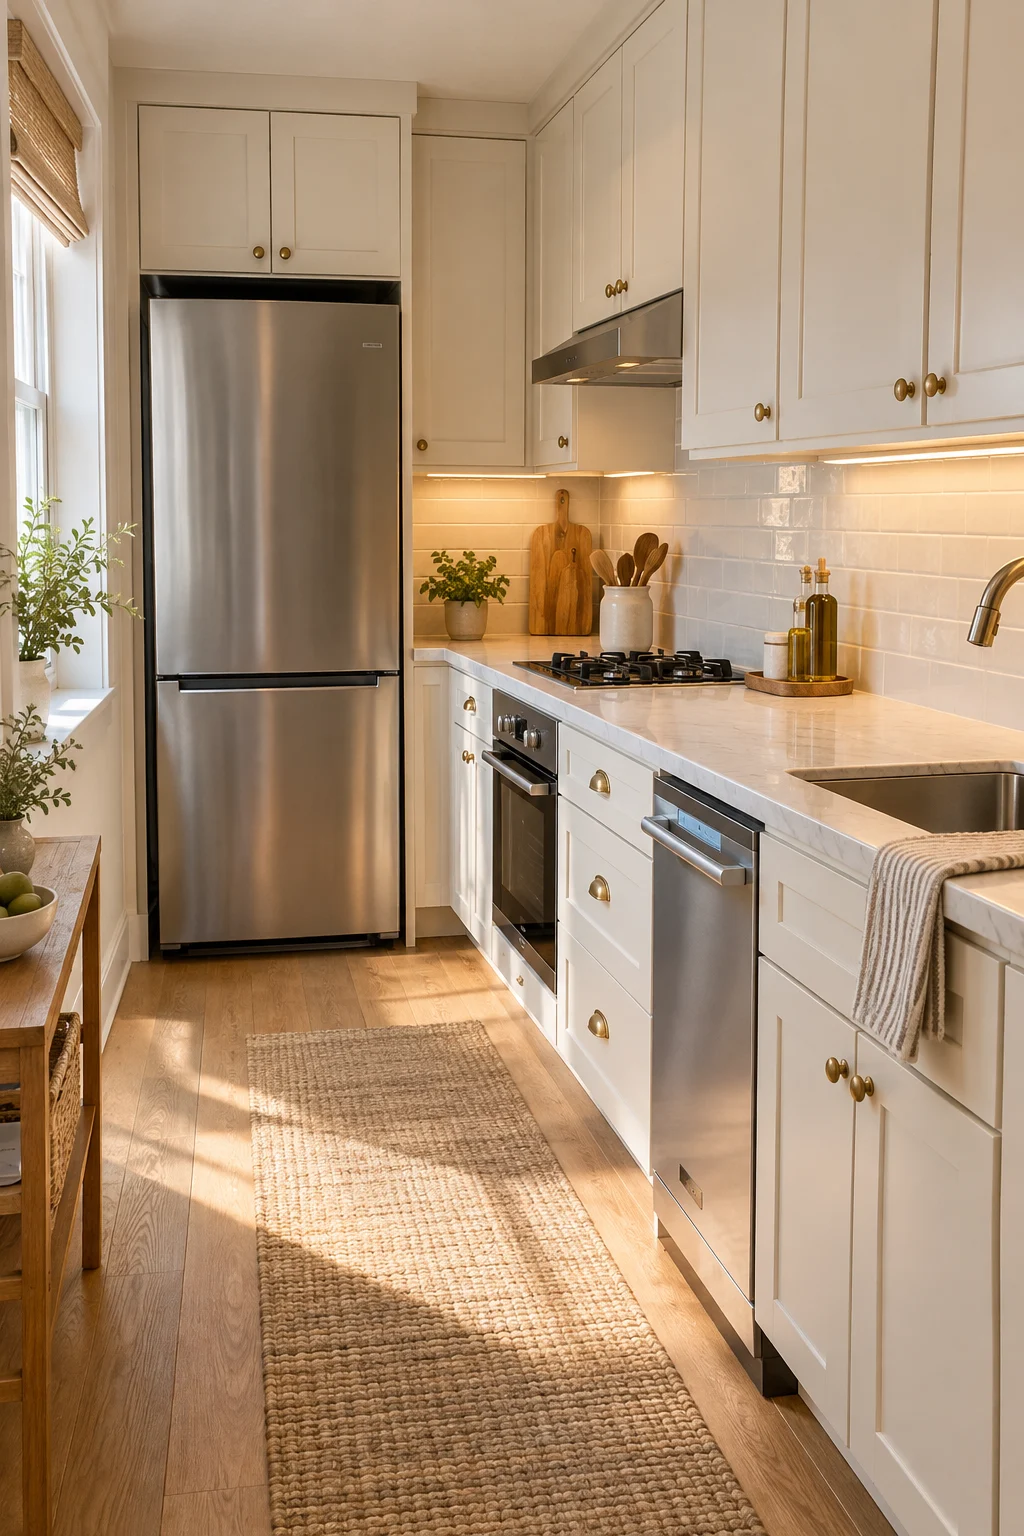
Compact appliances can free up valuable space, but smaller isn’t automatically better.
A narrow refrigerator, compact cooking appliance, or smaller dishwasher may make sense in a micro kitchen, depending on how you cook and how many people use the space.
Start by considering your actual routine.
If you prepare most meals at home, an extremely small refrigerator might create more frustration than it solves.
If you rarely bake, a large range may occupy space that could be better used for storage or food preparation.
Compare appliance dimensions, capacity, door swing, ventilation requirements, and installation instructions.
Don’t forget to account for the space needed to open the appliance and access its contents.
A compact refrigerator that fits perfectly into a cabinet opening isn’t useful if the door can’t open far enough to remove its shelves.
Keep access for cleaning and servicing in mind as well.
The goal is to choose appliances that meet your needs without taking over the entire room.
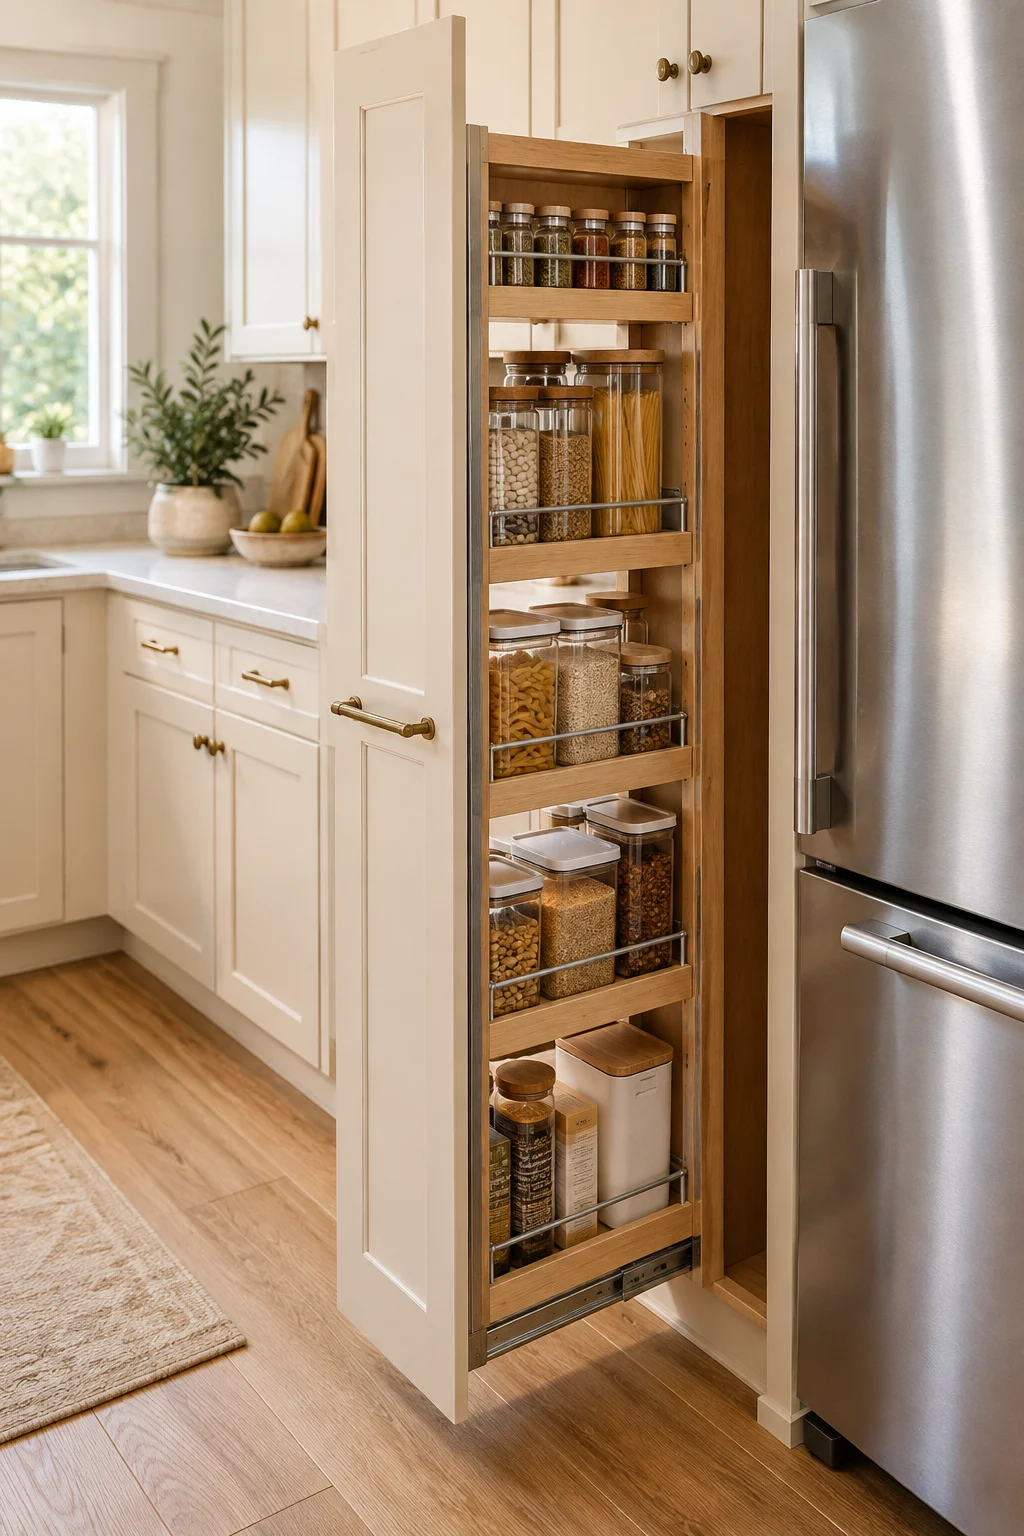
4. Add a Narrow Pullout Pantry
A narrow pullout pantry can turn an awkward cabinet opening into useful food storage.
These slim storage systems are particularly helpful for spices, canned goods, dry ingredients, and other small pantry essentials.
Instead of reaching into a deep, narrow cabinet, you can pull the contents outward and see what you have.
Choose a system designed for the cabinet’s actual width, depth, and load capacity.
Organize items by how often you use them.
Everyday cooking ingredients should be easy to reach, while occasional baking supplies can occupy less convenient positions.
Matching containers aren’t necessary, but keeping packages upright and grouping similar items can make the storage easier to manage.
Before installing a pullout, check that it can extend without hitting the refrigerator handle, nearby cabinets, or another appliance.
A pullout pantry should simplify access, not create a new obstacle.
It’s especially effective when paired with simple cabinetry and a clear countertop.
5. Use a Fold-Down Preparation Surface
When there’s barely enough room for a cutting board, a fold-down preparation surface can be a useful solution.
A purpose-built wall-mounted worktop can provide temporary space for preparing ingredients, assembling sandwiches, or setting down lightweight kitchen items.
When you’re finished, the surface folds away and leaves the floor area open.
This can work particularly well in a kitchenette where a permanent island or table would obstruct movement.
Choose a design with suitable support hardware and a surface appropriate for the intended tasks.
Think carefully about where the worktop will open.
It shouldn’t block a doorway, interfere with appliances, or prevent access to the sink.
A fold-down surface may also work as a small dining spot when the kitchen layout allows.
Keep the design simple, with a finish that complements the existing cabinetry.
The biggest advantage is flexibility: you gain usable space when you need it without permanently giving up the room around it.

6. Install Under-Cabinet Lighting
Poor lighting can make a tiny kitchen feel even more cramped.
When upper cabinets cast shadows over the countertop, preparing food becomes less comfortable, especially in a kitchen with a small window or limited natural light.
Under-cabinet lighting can brighten the work surface without taking up valuable space.
Choose suitable LED fixtures that provide even illumination across the areas where you chop, mix, and prepare meals.
Warm-neutral light can work beautifully with cream cabinetry, pale countertops, and natural wood accents.
If you’re updating an existing kitchen, consider how the fixtures will be powered and installed before purchasing.
The goal is a clean, practical result without exposed cords crossing work areas.
Under-cabinet lighting should complement general ceiling lighting rather than replace it.
A micro kitchen still needs enough illumination for cleaning, cooking, and moving around safely.
For additional ideas, explore 16 Kitchen Lamps on Counter Ideas for Cozy Layered Lighting.

7. Use a Light and Consistent Color Palette
A simple color palette can make a micro kitchen feel more cohesive.
Warm white cabinets, pale beige countertops, and light wood flooring create a gentle foundation without introducing too many visual divisions.
You don’t need to make every surface identical.
A small amount of contrast can add character, but the main finishes should work together.
For example, warm cream cabinetry paired with a light oak shelf and a pale ceramic backsplash creates interest through texture rather than bold color.
If you want an accent, try muted sage, dusty blue, or matte black in a limited number of details.
Avoid using a different strong color on every cabinet section.
In a very small room, multiple competing finishes can make the layout feel more fragmented.
Natural light matters too.
Test paint and material samples in the actual kitchen before making major changes.
A consistent palette won’t physically enlarge the room, but it can help the limited space feel calmer and more connected.
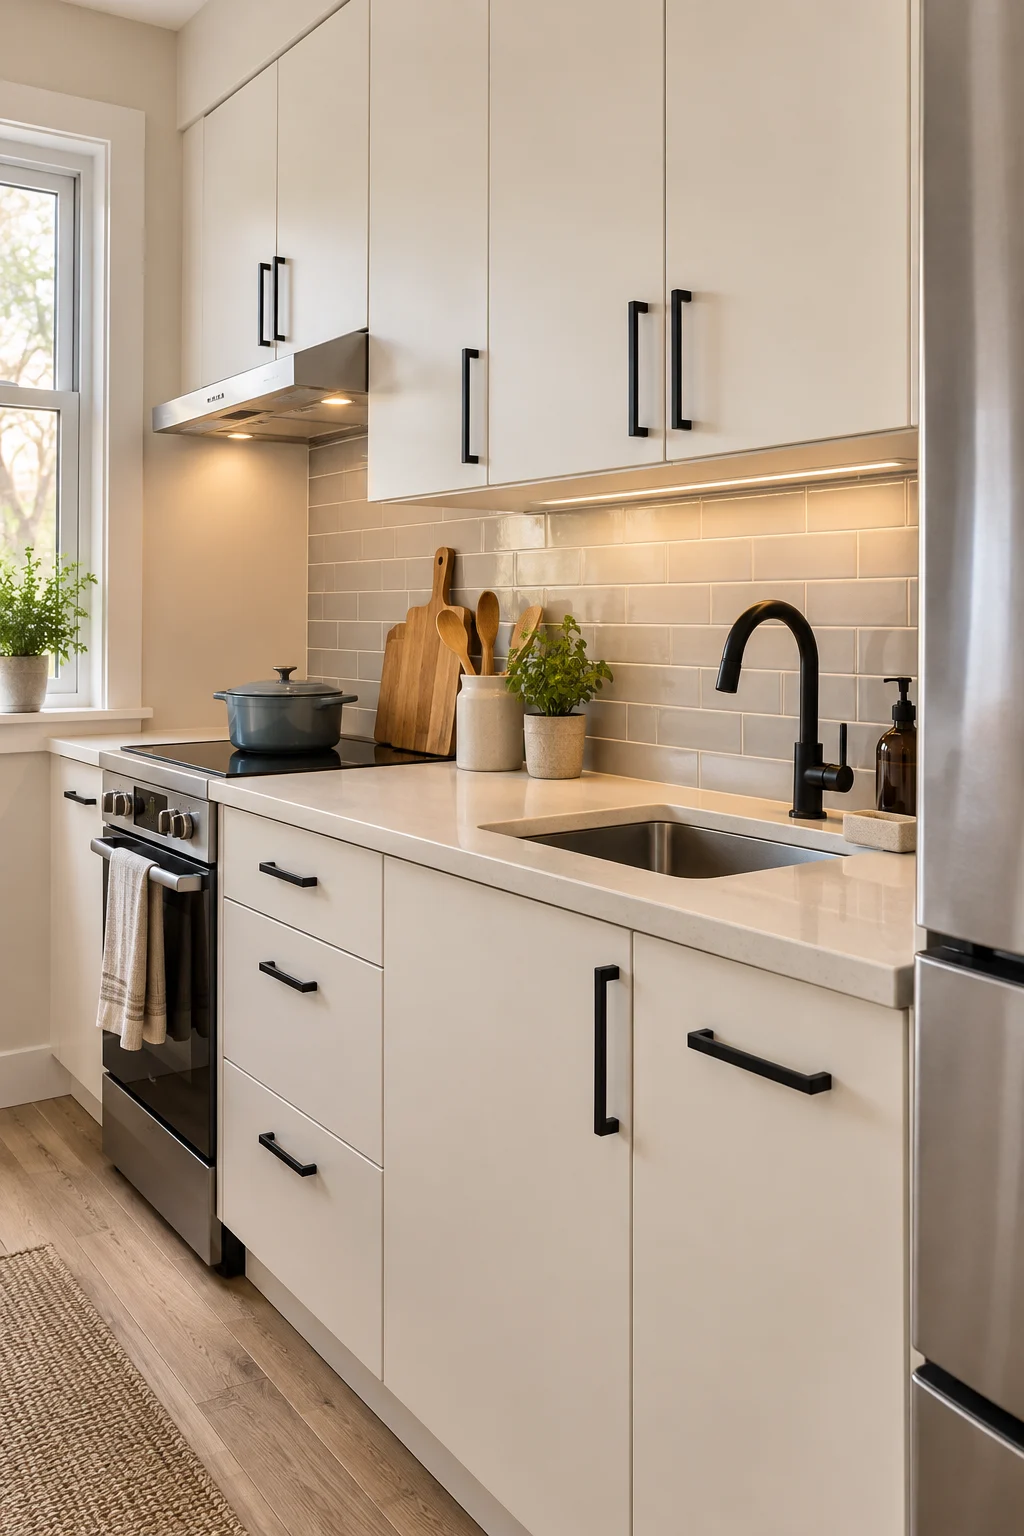
8. Replace Bulky Cabinet Hardware
Cabinet hardware might seem like a minor detail, but in a micro kitchen, even small projections can become annoying.
Large decorative handles may catch on clothing or interfere with nearby cabinet doors in narrow areas.
Replacing them with compact pulls or simple knobs can create a more streamlined appearance.
Choose hardware that’s comfortable to grip and suitable for the cabinets.
Small matte-black pulls, brushed nickel handles, or understated metal knobs can work well with simple cabinetry.
Before purchasing replacements, measure the spacing of the existing screw holes.
This may allow you to update the hardware without additional drilling or repairs.
Check how the handles interact with neighboring drawers, appliance doors, and tight corners.
Avoid choosing hardware that’s so small that opening a heavy drawer becomes difficult.
The best update improves both the appearance and everyday function of the cabinets.
9. Store Everyday Items on Secure Open Shelves
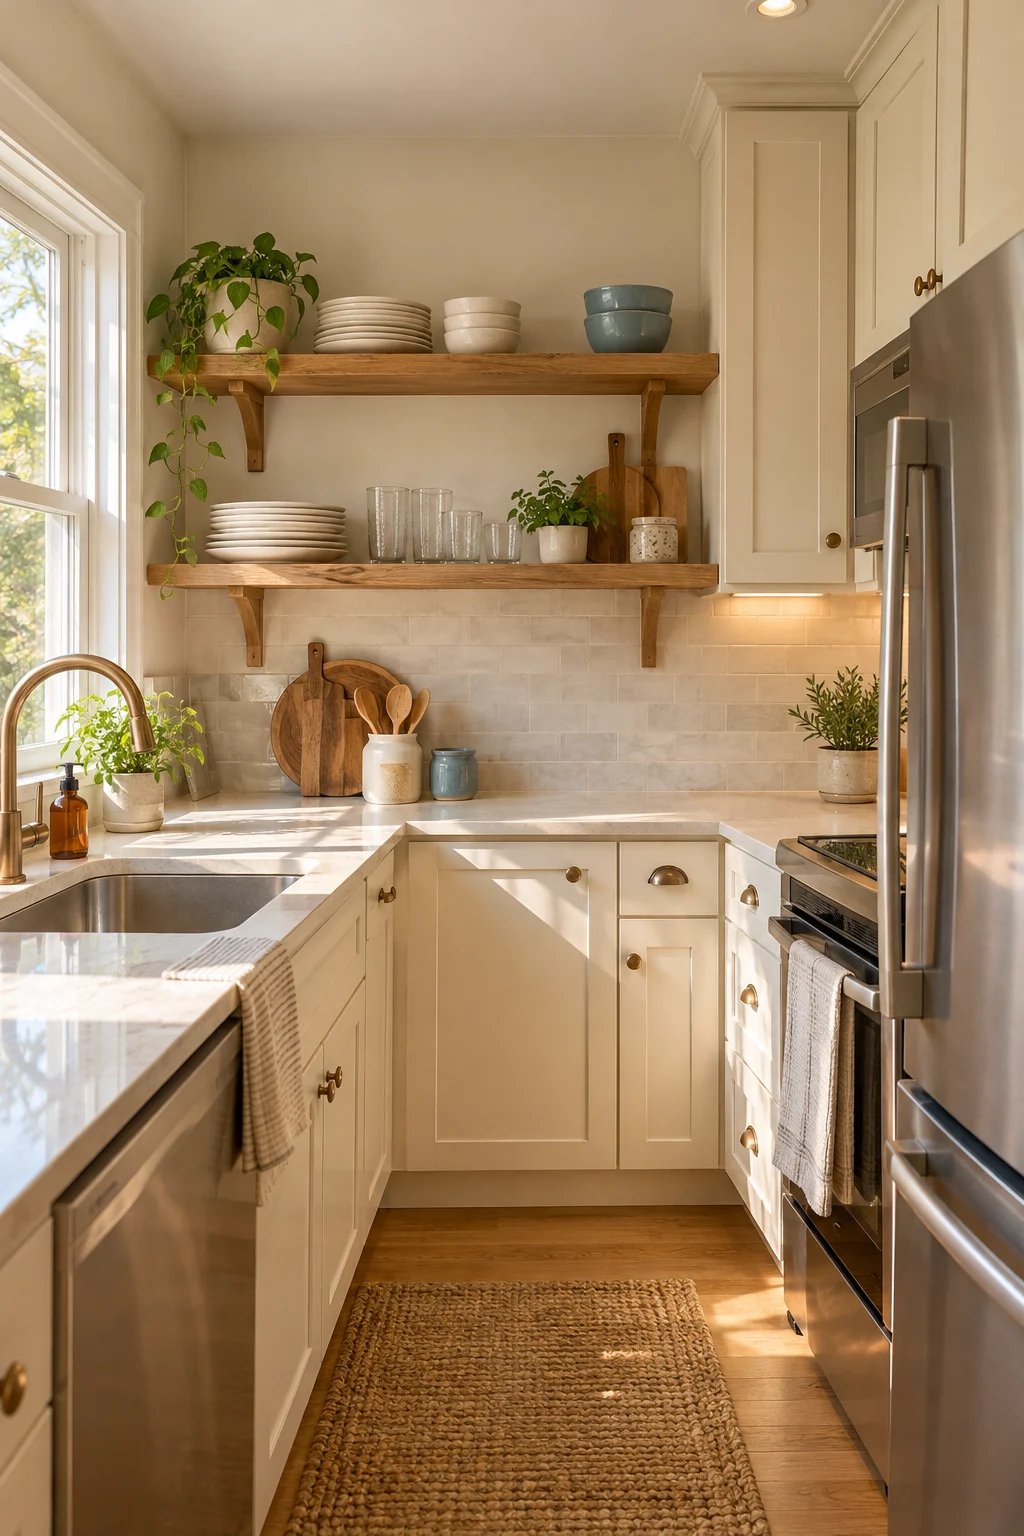
Open shelves can be useful in a micro kitchen, especially when you need convenient access to everyday dishes.
A short shelf above a suitable counter section can hold mugs, bowls, or other frequently used items.
Choose a simple wood or painted finish that complements the cabinets.
Keep the arrangement practical.
A few stacked cream bowls and a small collection of mugs can look attractive without requiring decorative accessories.
Don’t feel pressured to replace all your upper cabinets with open shelving.
Closed storage is often more useful for food packaging, cookware, and items that don’t need to remain visible.
Open shelves also require regular cleaning, especially near cooking areas.
Choose appropriate brackets and fixings for the wall and the expected load.
For more shelf styling inspiration, see 18 Kitchen Shelves Decor Ideas for Beautiful Open Storage.
10. Choose a Compact Sink With Useful Counter Space
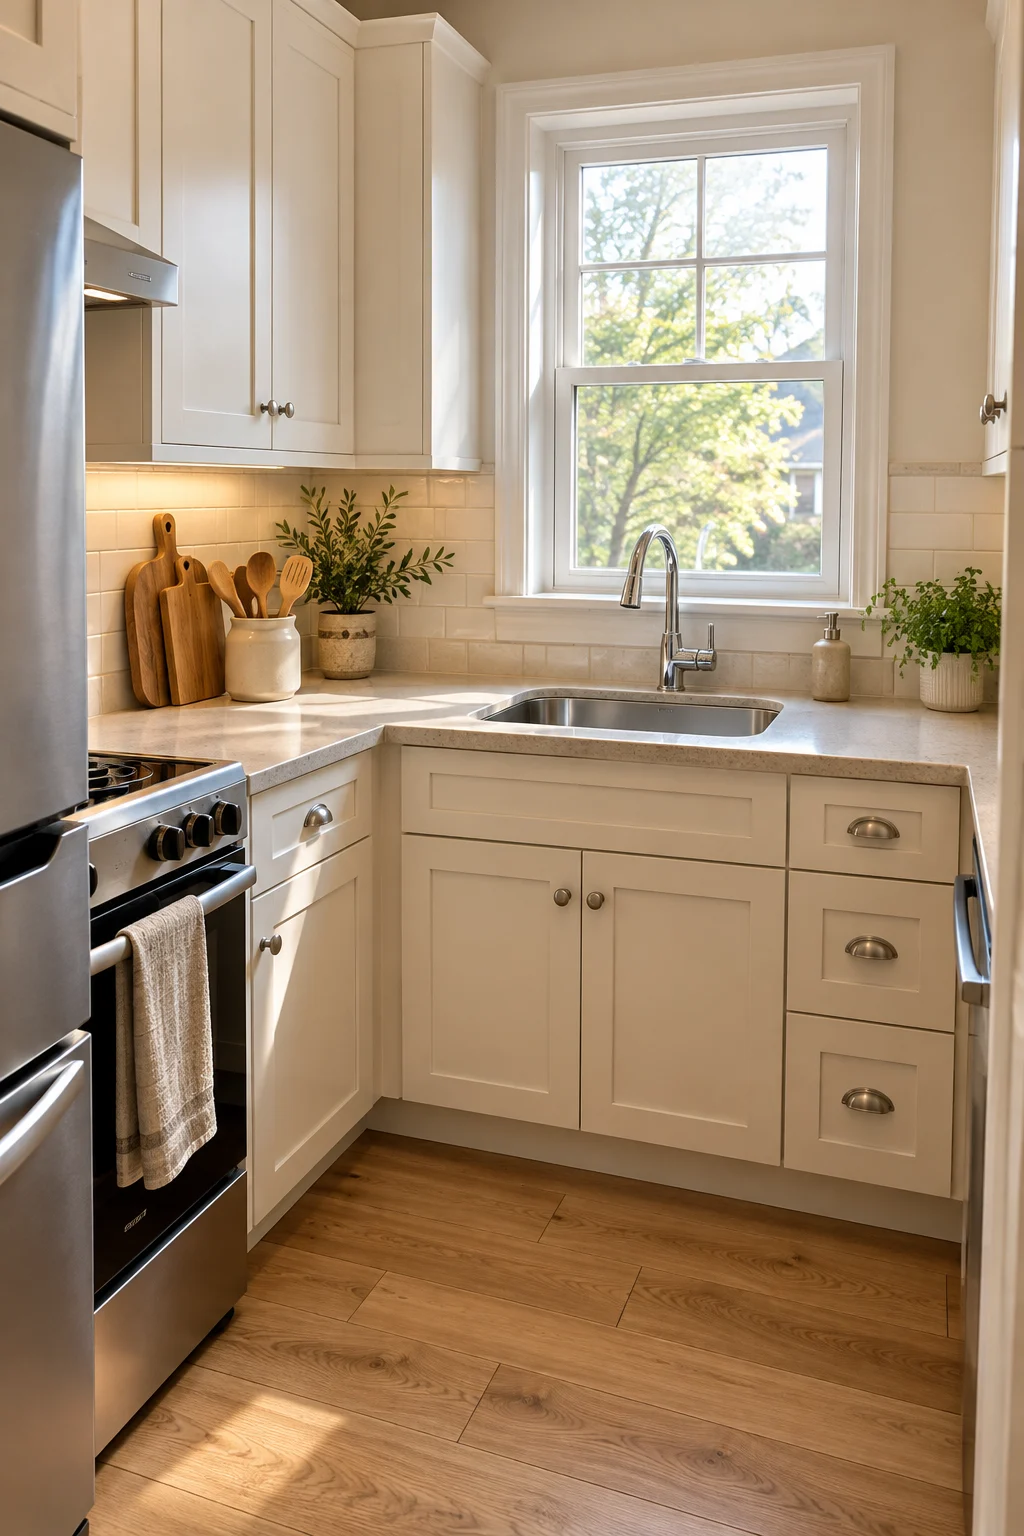
A sink that’s too large can consume a significant portion of a micro kitchen’s worktop.
Choosing a more compact model may preserve valuable space for food preparation.
But don’t rush to buy the smallest sink available.
Think about the cookware and dishes you wash most often.
A basin that can’t comfortably accommodate your everyday pans may make cleaning more difficult.
Compare sink width, depth, faucet reach, cabinet dimensions, and countertop space.
A simple single-bowl sink can be practical when its proportions suit the room.
If you have limited preparation space, consider whether a compatible fitted cutting board or removable sink accessory would be useful.
Choose products designed for the specific sink rather than improvising unstable surfaces.
The goal is to balance washing and preparation.
A good micro kitchen makes both tasks manageable without allowing either to dominate the entire counter.
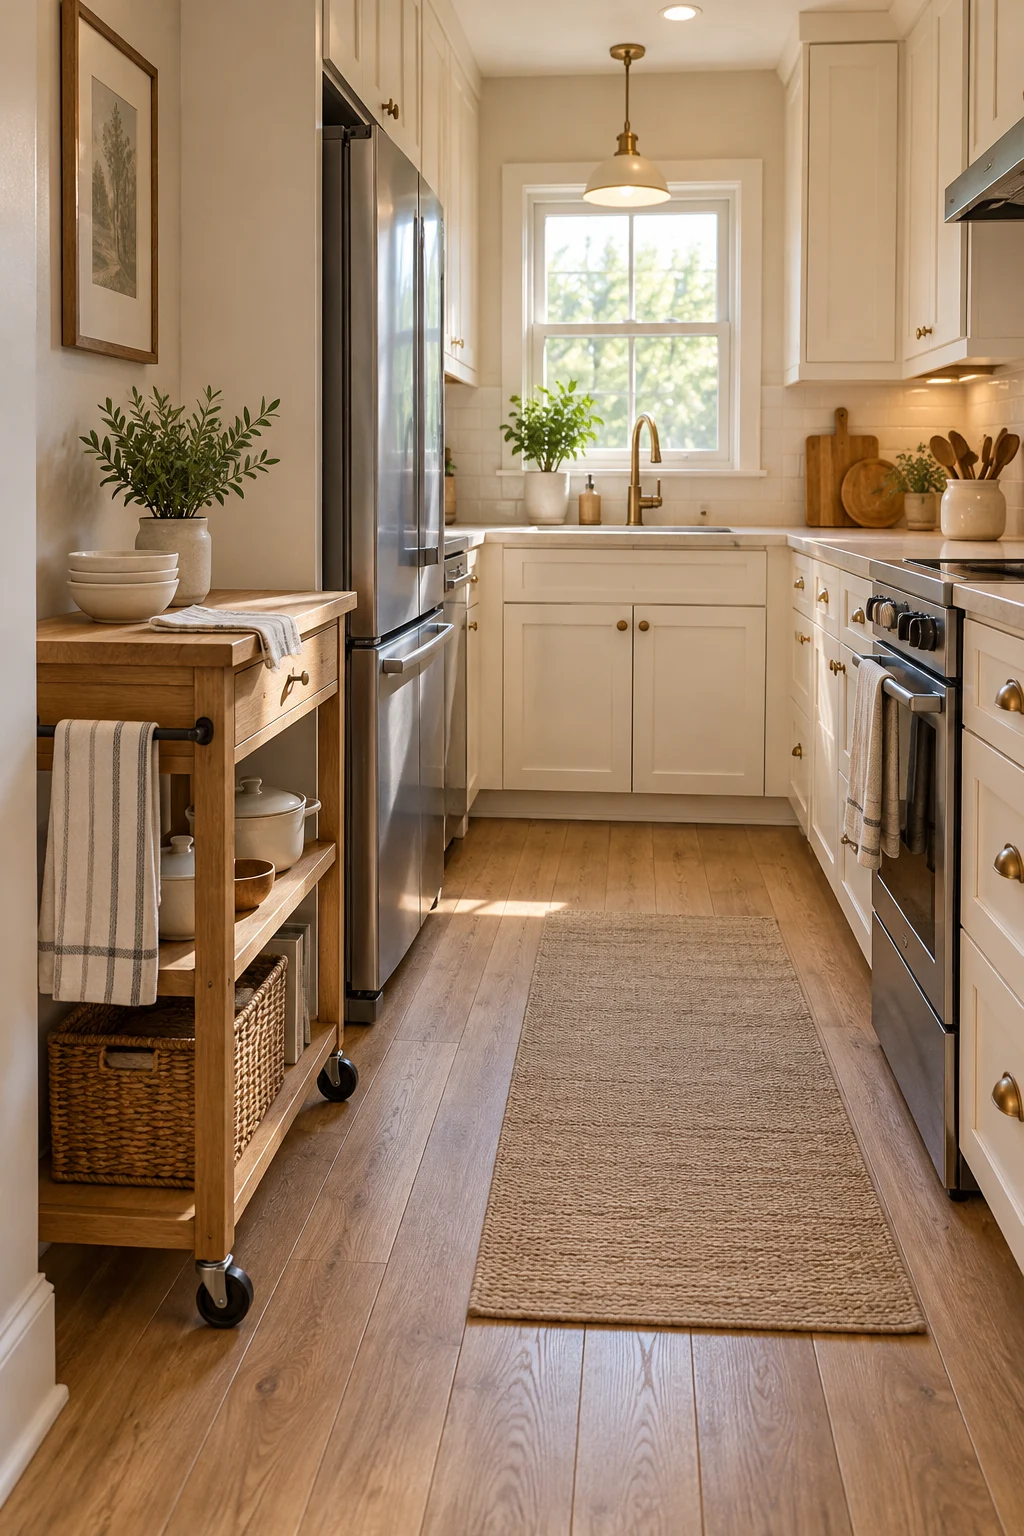
11. Add a Small Mobile Cart Only When Space Allows
A compact mobile cart can provide extra storage or temporary workspace in a micro kitchen.
However, it only works when there’s enough room to move around it comfortably.
Choose a narrow, stable cart with locking casters and a surface suitable for its intended use.
Lower shelves can hold lightweight kitchen supplies, while the top may provide additional space for simple preparation tasks if the product is designed for that purpose.
A cart can be especially useful when it can move into an adjoining dining area or another convenient location after use.
Avoid positioning it in front of the refrigerator, sink, or main doorway.
If the kitchen already feels crowded, adding another piece of furniture may make the problem worse.
In that case, improving existing drawers or cabinets may be more effective.
A mobile cart should add flexibility, not become a permanent obstacle.
12. Use Drawer Organizers to Reduce Clutter
Drawers can become surprisingly inefficient when utensils and small tools are piled together.
A few well-fitted organizers can make the contents easier to see and reach.
Start by emptying the drawer and sorting everything by purpose.
Separate everyday utensils from occasional baking tools and rarely used accessories.
Choose adjustable dividers or trays that fit the drawer’s actual dimensions.
Avoid buying a large organizer before measuring the interior.
A poorly fitting tray can waste space or prevent the drawer from closing properly.
Keep the most frequently used items in convenient locations.
If you discover several duplicate tools that rarely get used, consider whether they need to occupy valuable kitchen storage.
Good organization isn’t about creating a perfectly photographed drawer.
It’s about being able to find what you need without digging through a pile of utensils.

13. Keep the Countertops Clear
In a micro kitchen, an empty section of countertop is valuable.
It’s where you prepare ingredients, place groceries, assemble meals, and set down dishes.
When every surface is covered with appliances, containers, and decorative accessories, even simple cooking tasks become inconvenient.
Start by identifying which items genuinely need to remain out.
A coffee maker used every morning may deserve a permanent place.
A blender used twice a month probably doesn’t.
Store occasional appliances in accessible cabinets and group everyday essentials in one practical area.
A small tray can help contain a few frequently used items, but it shouldn’t become another excuse to accumulate clutter.
Avoid adding organizers before deciding what actually needs to be stored.
Sometimes the most effective improvement is removing unnecessary objects.
For more space-saving inspiration, explore 20 Small Kitchen Storage Ideas That Make Every Inch Count.
14. Use Continuous Flooring and a Simple Backsplash
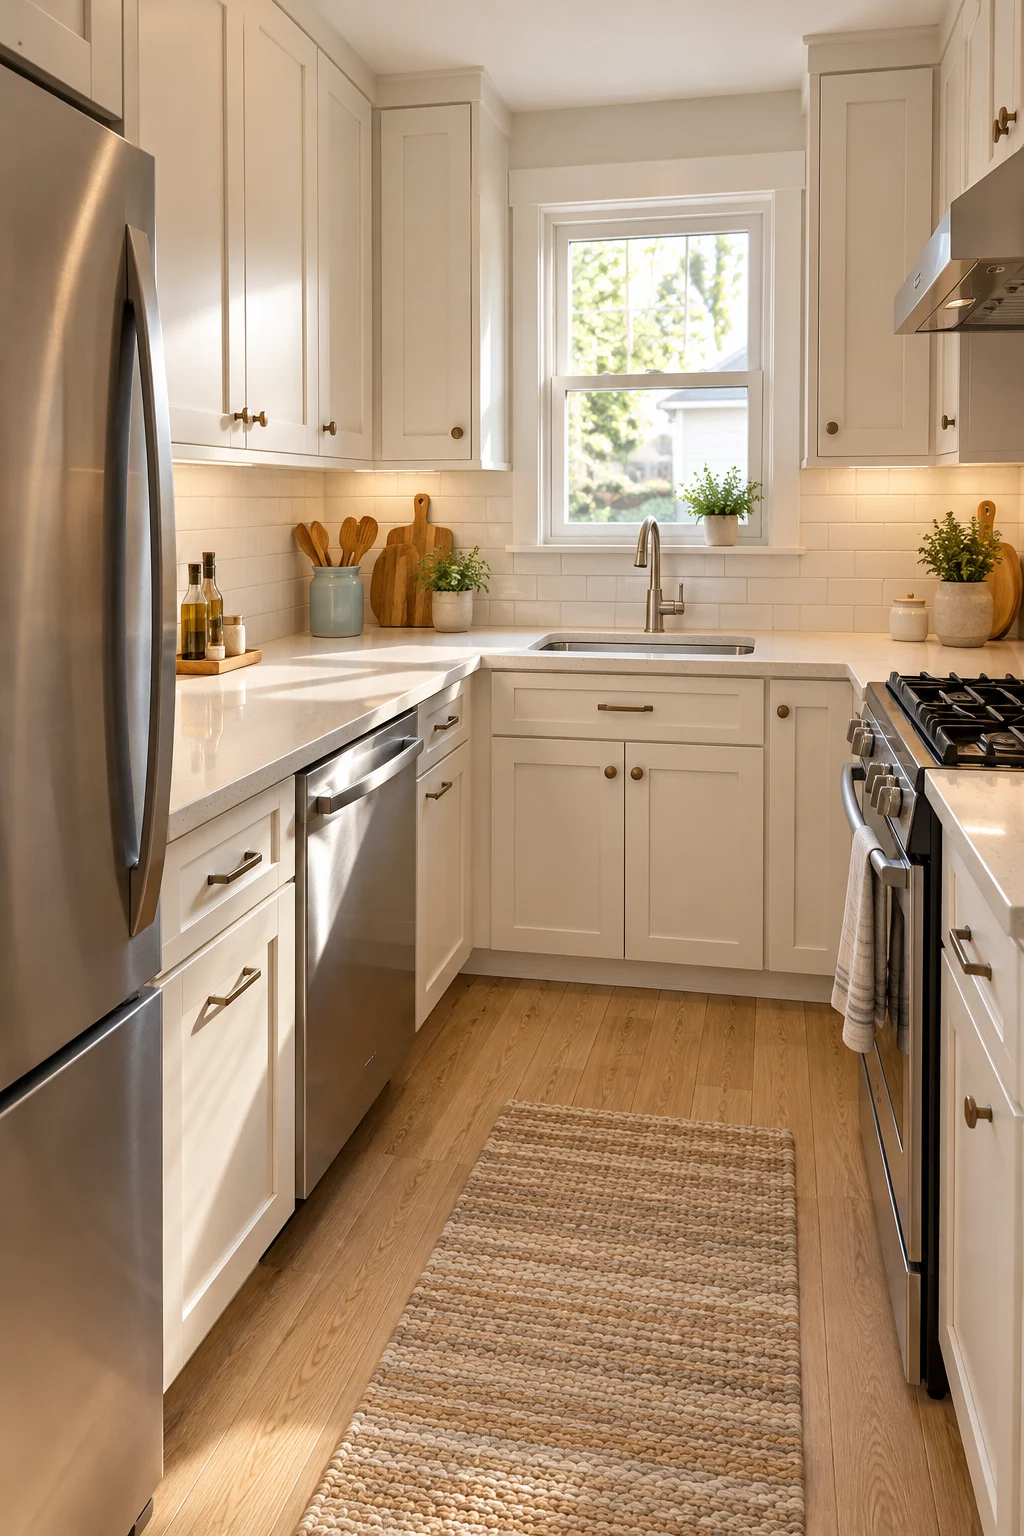
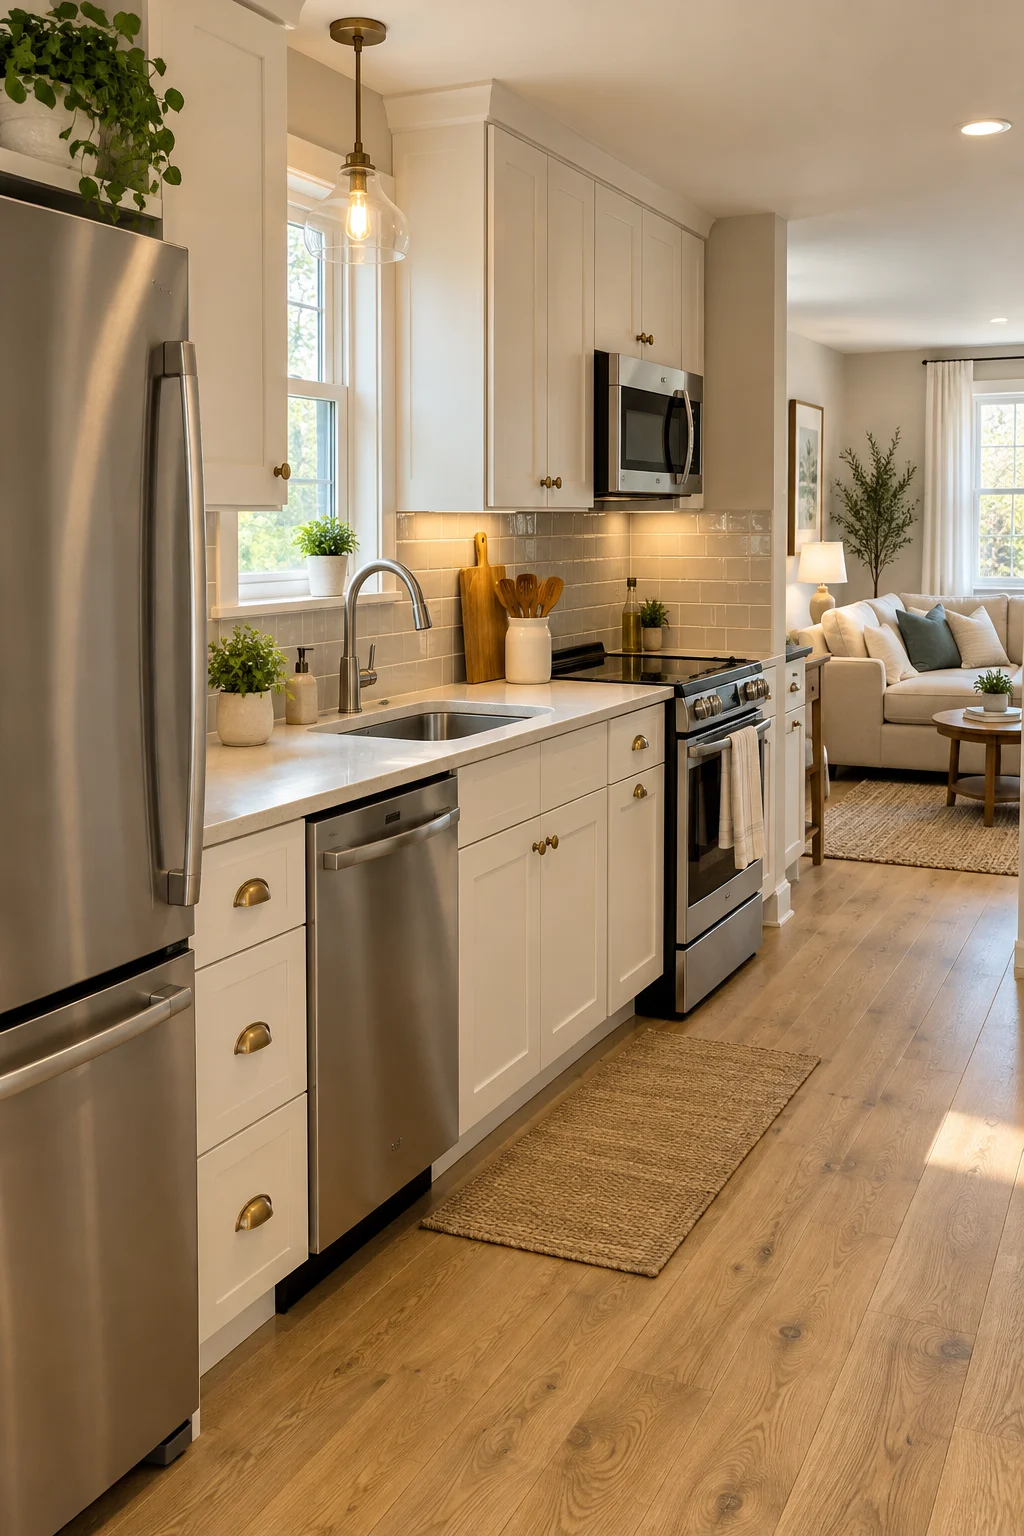
Continuous flooring can help a micro kitchen feel visually connected to the surrounding space.
This is particularly useful in studio apartments or open-plan rooms where the kitchen occupies only a small section.
Choose flooring that’s suitable for kitchen moisture, spills, and regular foot traffic.
If the kitchen connects directly to a living area, a consistent finish may reduce abrupt visual transitions.
A simple backsplash can provide a similar effect on the walls.
Warm white ceramic tiles, pale beige finishes, or subtle handmade-look surfaces can protect the wall without introducing a busy pattern.
Keep the backsplash color related to the countertop and cabinetry.
Avoid combining several dramatic tile patterns in a tiny space unless there’s a clear design reason.
Plan flooring transitions carefully, especially where materials meet.
A restrained combination of continuous flooring and simple backsplash tile can make the kitchen feel more cohesive without requiring elaborate decoration.
How to Plan a Micro Kitchen
Before buying cabinets, appliances, or organizers, think about how the kitchen will actually be used.
Someone who cooks full meals every day needs a different arrangement from someone who mainly prepares coffee, breakfast, and simple dinners.
Start with the essentials: refrigeration, washing, cooking, food preparation, and storage.
Identify the biggest limitation.
Is there no clear work surface? Are the cabinets difficult to access? Does opening the refrigerator block the walkway?
Solving those problems should come before choosing decorative finishes.
Measure the available wall space, floor area, appliance openings, and door swings.
Consider where dishes will dry, groceries will be unpacked, and frequently used cookware will be stored.
If the kitchen is part of a studio apartment, think about how it connects visually and functionally to the rest of the room.
A successful plan supports everyday routines rather than simply fitting the maximum number of objects into the smallest footprint.
Budget-Friendly Micro Kitchen Improvements
You don’t need a complete renovation to make a micro kitchen easier to use.
Start with the changes that solve the most frustrating everyday problems.
Clearing unused items from the countertop, organizing drawers, and improving task lighting can make a noticeable difference.
If storage is the main issue, consider adjustable cabinet organizers or a suitable pullout system.
Replacing bulky hardware may also make narrow cabinets more comfortable to use.
If you’re considering a new appliance, compare its size and capacity carefully before purchasing.
A compact replacement only makes sense if it improves the layout without making daily tasks harder.
Work with the cabinetry and finishes you already have whenever possible.
Small, targeted improvements often provide more value than buying additional furniture or decorative accessories.
Common Micro Kitchen Mistakes
One of the biggest mistakes is adding too much storage furniture.
A cart, freestanding pantry, extra shelves, and a folding table might all sound useful individually.
Together, they can make a tiny kitchen difficult to navigate.
Another mistake is choosing appliances solely because they’re small.
A compact appliance that doesn’t meet your needs may create more inconvenience than it solves.
Avoid sacrificing all preparation space for an oversized sink or unnecessary countertop equipment.
Don’t overlook lighting either.
A tiny kitchen can feel especially frustrating when cabinets cast shadows over the only available work surface.
Finally, resist the temptation to decorate every open shelf and countertop.
In a micro kitchen, functional space should come first.
Cleaning and Maintenance
A small kitchen is easier to maintain when surfaces remain accessible.
Wipe countertops regularly and clean the areas around the sink and cooking equipment.
Pay attention to narrow gaps beside appliances, where crumbs and grease can accumulate.
Follow the manufacturer’s cleaning instructions for cabinets, countertops, flooring, and appliances.
Dust open shelves and clean drawer organizers periodically.
Check that pullout mechanisms, cabinet handles, shelf supports, and mobile cart casters remain in good condition.
Keep frequently used cleaning supplies in an accessible location that doesn’t interfere with food storage.
A practical maintenance routine helps prevent the limited space from becoming crowded and difficult to use.
Safety and Practical Considerations
Keep the main walkway, exits, and appliance doors unobstructed.
Maintain the ventilation and clearances required by cooking equipment, refrigerators, and other appliances.
Secure tall cabinets and wall-mounted shelves with suitable fixings.
Route electrical cords away from water, cooking heat, and walking areas.
Choose stable carts and lock their casters when stationary.
Store heavy cookware and appliances in accessible lower cabinets where practical.
Select flooring appropriate for kitchen use and address slipping or tripping hazards.
If you’re installing a fold-down worktop, ensure the mounting structure and hardware are designed for the expected load.
For changes involving plumbing, electrical systems, or structural elements, use appropriately qualified professionals where required.
Final Thoughts
A micro kitchen doesn’t have to feel like a constant compromise.
With the right layout, accessible storage, compact appliances, and useful lighting, even a very small cooking area can become more comfortable.
Start by protecting your preparation space and removing obstacles from the daily routine.
Then introduce storage solutions and finishes that work with the room rather than crowding it.
The best micro kitchen isn’t the one that fits the most things. It’s the one that makes the most important things easier to do.
